
I love making state string art projects!
I love them so much that I actually spent four years making custom state string art pieces for clients on Etsy.
State string art was by far the most popular thing I sold in my shop and I loved making them. They were so fun to create and easy to personalize.
I’ve shared instructions for string art projects before, like my Mason Jar String Art tutorial or my Snowflake String Art tutorial, but this is the first time I’m sharing exactly how I make State String Art!
Now that my Etsy days are over, I’m super excited to share my process with you, including the tips and tricks that made my state string art look so finished and professional.

Links in this post may be affiliate links, which means I may earn a commission if you make a purchase from any of them, at no additional cost to you. You can find out more information by reading my full disclaimer.
State String Art: What You’ll Need
The items you’ll need to make your own piece of state string art are not hard to find.
You’ll need:
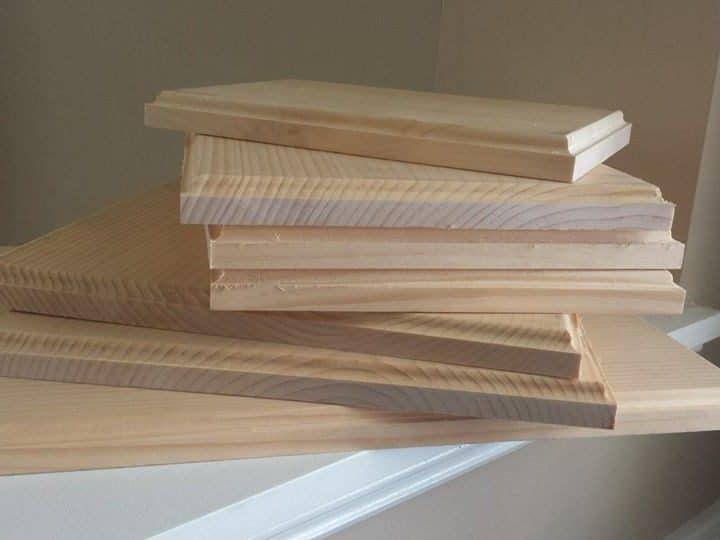
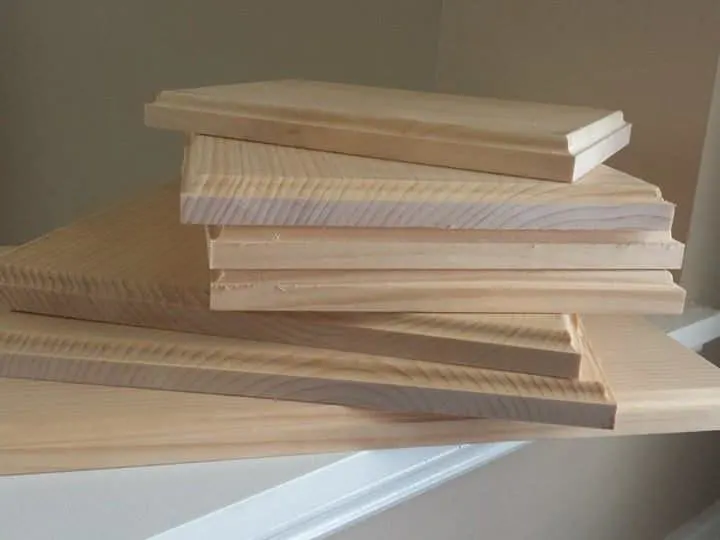
- a wooden board
- a paper template of your state
- linoleum nails
- embroidery thread
- masking tape
- a hammer
- a pair of needle nose pliers
- a glue stick
My husband is great with wood working projects, so he always cuts and routes boards to size for me.
But if you don’t have access to power tools, you can use just about any board you like. Local craft stores like Michaels or Hobby Lobby often carry boards that will work just fine for these projects.
The size and shape of the board all depends on what state you choose and the aesthetic you’re going for. Looking for just a small piece to accent a room? Want to make a gigantic piece that’s really a focal piece? Either one works for this project!
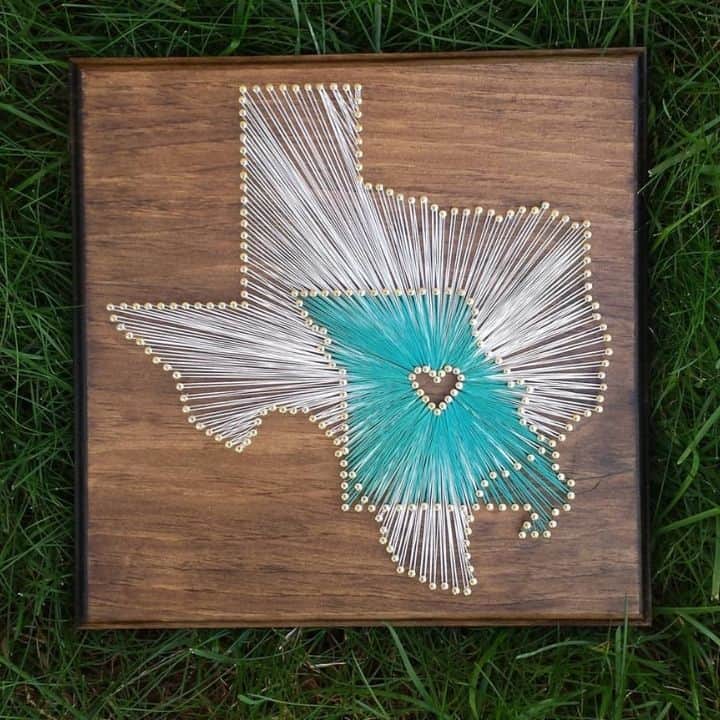
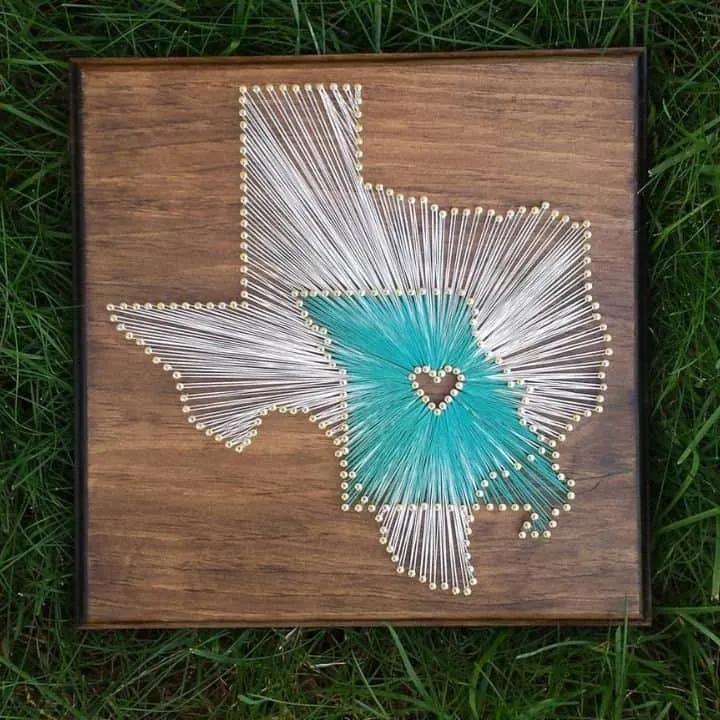
Square boards work great for states like Texas or New York, but sometimes you need a longer rectangle to compliment states like North Carolina or Tennessee. Or you could use something round or oval! It’s totally up to whatever looks good to you.
I like to sand and stain my boards before creating any string art on them, but you can totally leave the wood raw if you like. Again, it all depends on the aesthetic you’re going for.
I’ll share some more detailed info about setting up your template in the next section.
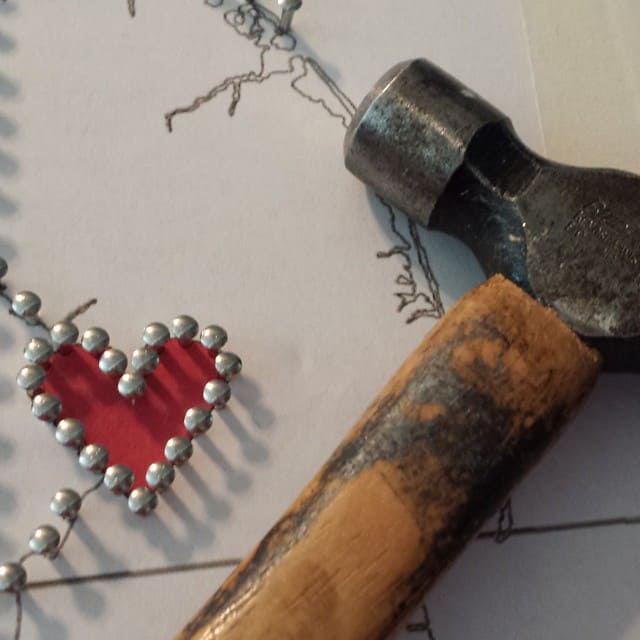
I use linoleum nails because they’re the perfect size and have nice pretty tops that make a great finished product, but you can go for any type of nail you want as long as it has a good nailhead to hold the string in place.
Embroidery thread is perfect for this project because it is so inexpensive and comes in such a HUGE variety of colors.
I like to use one strand of embroidery thread at a time, but you could use it bunched, as it come on the skein. Or you could use other types of string, like crochet thread.
The masking tape is not just for securing your picture to the board. It serves a really great trick purpose that I’ll explain later.
Make sure you’re using a hammer that is easy to manage and not too heavy. I like a this small ball peen hammer. Sometimes jewelry hammers make a good choice here.
Needle nose pliers are key to being able to hammer without injuring yourself.
For finishing the piece, you’ll need a glue stick. I just used a plain old Elmer’s School Glue Stick, but any kind is fine as long as it dries clear.
The Prep Work
The prep work it the most important part of doing any project, and the same is true here.
Creating Your State String Art Template
Getting your template for your state string art set up and sized properly is a huge part of the prep work.
You need to start with the shape of your state.
You’ll want to find one that give you a good outline of the state without the lines being too wide. One that gives enough detail that the state is recognizable, but not so much detail that it is impossible to nail.
I like the maps you can find on WorldAtlas.com. If you click through to the individual state maps, they have great outline maps available.
I like to use Microsoft Publisher or Canva to size my state outline, but any design software you have should work fine. It’s a VERY simple design project.
In your design software, set up a page size to fit your board. If it’s smaller than 8.5×11, you might need to draw a rectangle to fit it.
If it’s larger, it might take up multiple pages and need to be pieced together. For some extra large projects, I’ve sent them to places like Staples or OfficeMax to be printed on extra large paper.
You’ll want to size your outline to fit the size board you’re using. Make sure it’s big enough to really take up space on the board, but small enough that you leave an inch or two between side of the outline of the state and the edge of the wood.
Once your state is properly sized, you’ll want to add your heart to the location you’re highlighting.
The heart needs to be the appropriate size for the piece you’re making. Too small and it’s impossible to nail, too big and it looks odd.
Just make sure you take this into consideration when creating your template.
Place the heart over the area you want to highlight in the state.
It’s easiest to make a piece that has the heart placed over a location somewhere in the middle of the state, but it isn’t impossible to make one from a location right on the border. It’s just a little trickier when you’re stringing the piece.
Once you’ve placed your heart, the template is ready to print.
Prepping Your Template
Here’s where I’m letting you in on my professional secrets.
This tip has saved me hours of headaches and cleanup later in game when I’m making state string art pieces.
Before you attach your template to your board, flip your template over to the back side and put masking tape over any areas you plan to put nails through.
It sounds weird, but when you do this, it reinforces the area, and you’ll have a lot less problems removing the template after you nail through it.
Most times that I used this method, it comes off cleanly with no little bits of paper to pull out from under the nails.
While it’s not 100% effective every time, it DEFINITELY cuts down on the clean up time you’ll have to do when you get to that step.
After you’ve applied the masking tape to the back of the template, tape it to your board with more masking tape. Painters tape is ok for this too, but it’s more expensive, I so don’t use it.
Nailing Your State String Art
Now that you have your board all prepped, it’s time to move on to nailing your piece.
This is where those needle nose pliers come in super handy.
Start by nailing the heart portion of your state string art piece. Trust me, it’s MUCH easier to do this part first than it is to wait and do it at the end.
Using your needle nose pliers to hold the nail in place, hammer the nails in as close together as you can get them without them touching each other.
I always start with the point in the middle of the top of the heart and work my way out from there, alternating sides to insure that the placement of the nails is even.

Once the heart is completed, you can start on your state.
If your state has any right angles in its shape, it really helps to start at one of these corners and work your way around.
I usually space my nails out about 1/4 inch apart, but you really just have to eyeball the spacing and adjust where needed to get it even.
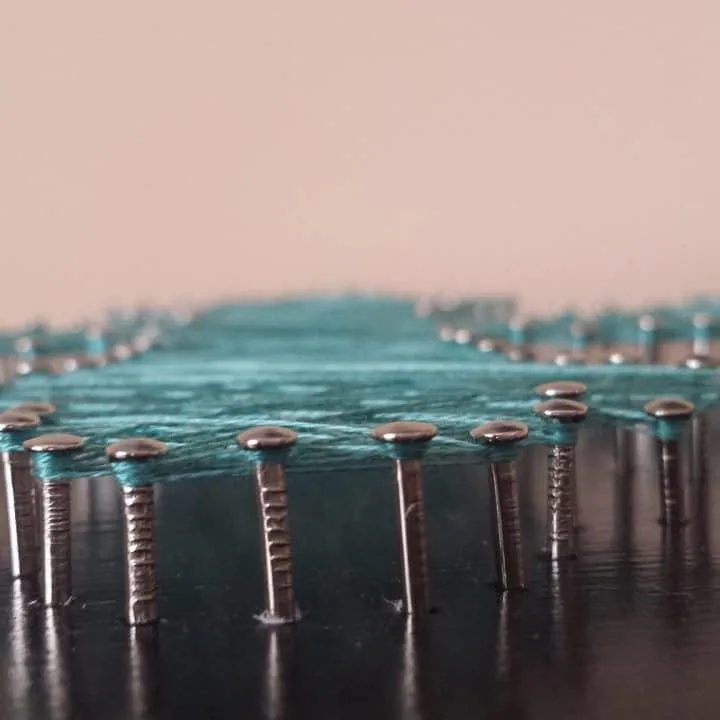
Make sure you don’t hammer your nails in completely. Leave at least half of the nail sticking up so you have space to string around it.
Also make sure you hammer all your nails in approximately the same amount so they sit evenly on the board.

After you’ve finished nailing, carefully remove the template by gently pulling it away from the nails.
The goal is to try not to pull the nails out when you remove the paper, but not leave behind bits of paper hanging onto the nails.
If you prepped your template with the masking tape on the back, this should be relatively easy.
And if a few bits of paper are still hanging behind, use your pliers to gently remove them.
Stringing Your Piece
Once you’ve nailed your entire piece and removed the template, it’s time to move onto stringing.
You need to be really mindful here of stringing your piece evenly, so the thread spreads out naturally.
Count up how many nails you’ve used to created the shape of the state and divide it by how many nails you used to create your heart.
This will give you an idea of approximately how many strings should radiate out from each nail. Of course, this will need to be adjusted as you go, depending on how close your heart is to the edge of your state.
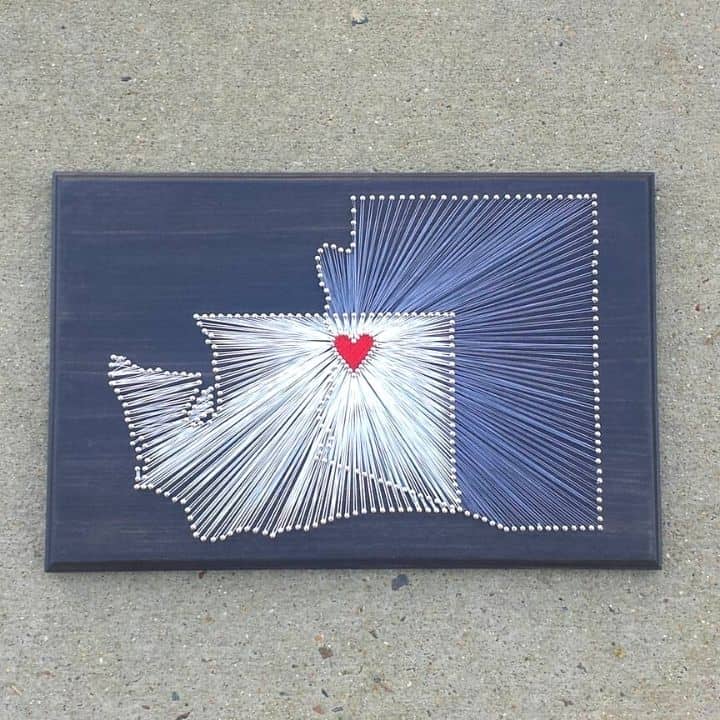
I always start from the top of my heart and work outward from there.
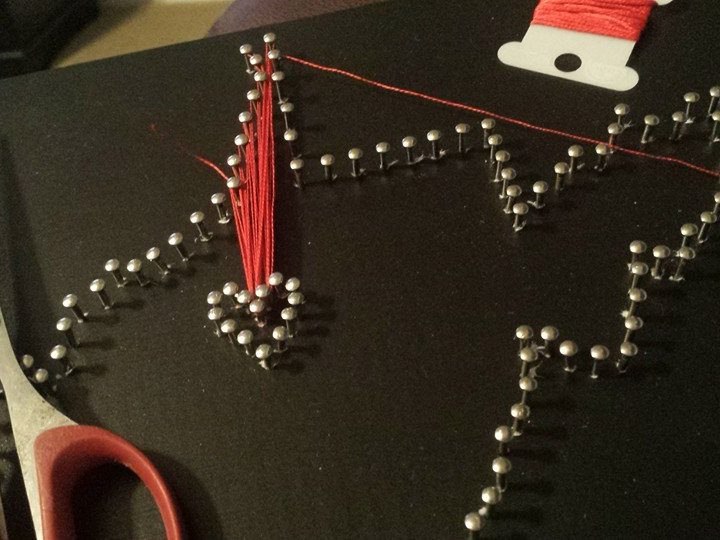
Tie the end of your string to a nail on the state shape, leaving a few inches on the end for you to trim and secure later.
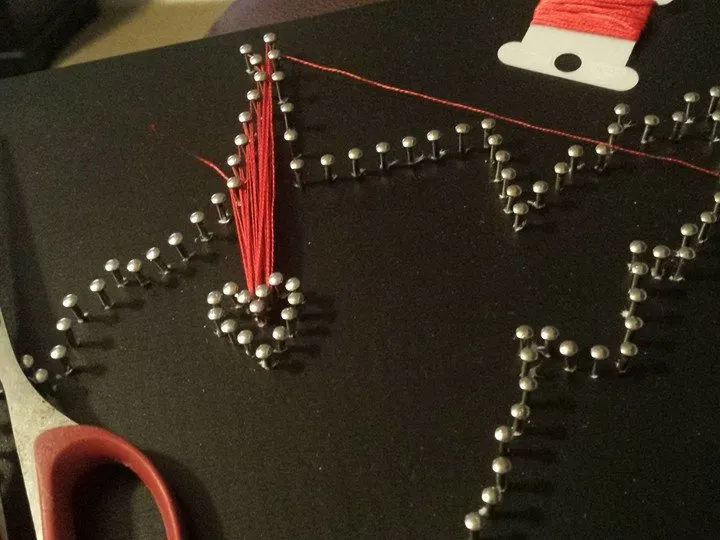
I always overlay my strings between hearts to give a more even coverage of the board.
Make sure you wrap all of the strings around the nails tightly, to keep them in place. Nobody like saggy strings.
Once you’ve finished stringing the state, you can go back and fill in the heart if you want. Filled or unfilled, it’s still a lovely piece.
To fill in the heart, you can use any stringing pattern you like. You could make it completely random, or have some order to it.
No matter how you do it, just make sure to fill it in as much as possible. It’s a much prettier effect this way.
When you’ve finished stringing your piece, tie off the end on one of the nails.
Find any end strings that are hanging out there, and make sure they are tied securely.
Trim them short and secure the to the nail with a tiny dab of the glue stick.
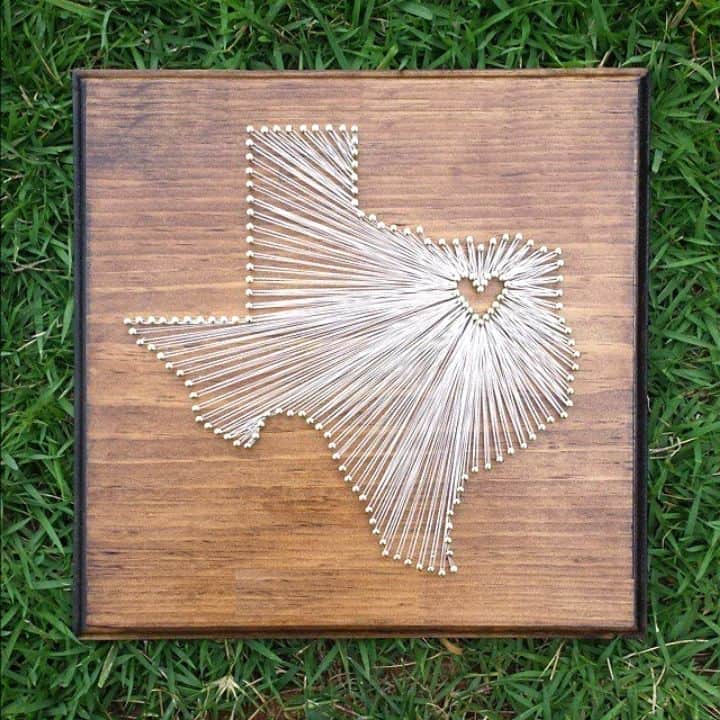
Your Finished State String Art Piece
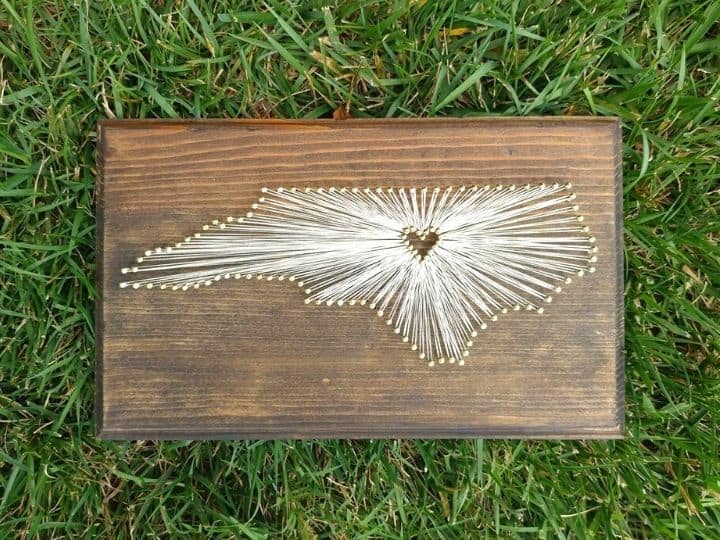
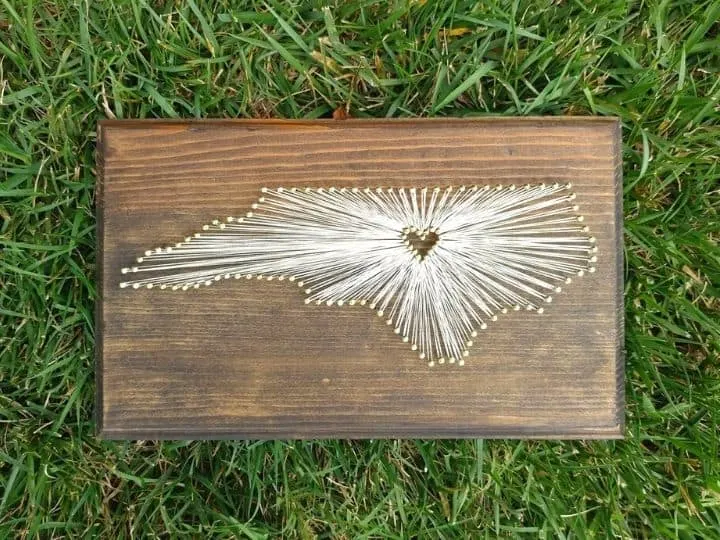
You did it! You created your very own piece of state string art!
You can recreated this project for just about any location. I’ve done almost every state and several countries.

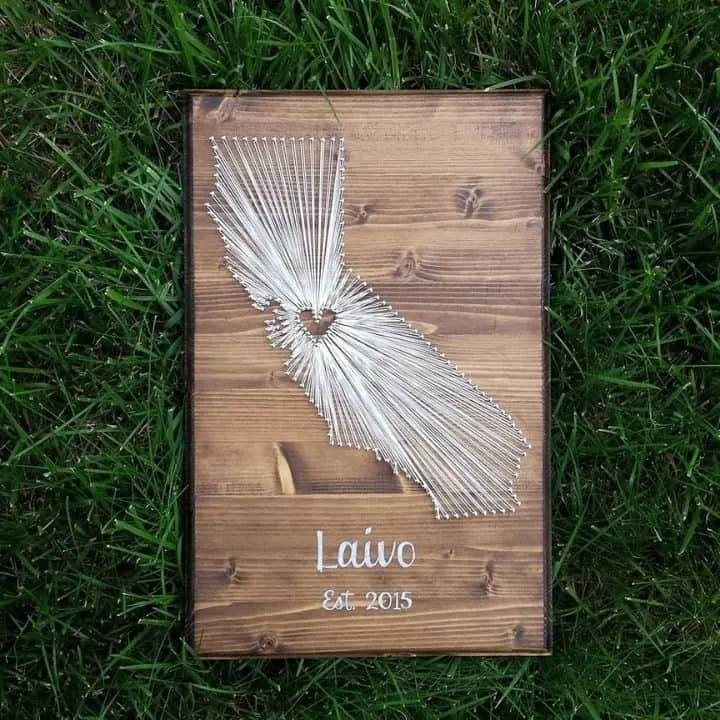
I’ve even added custom lettering to some. They make great wedding gifts!

You can even overlap states to honor two places you love!
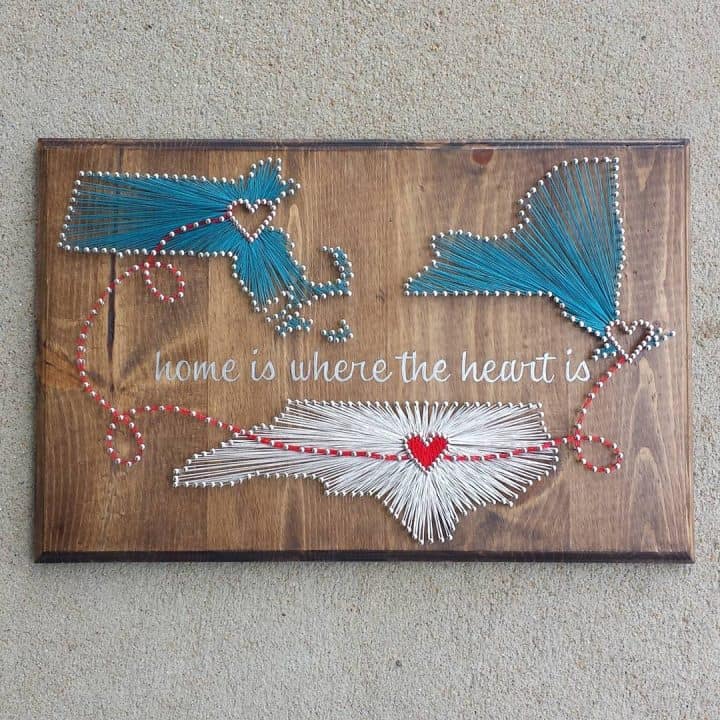

Or you could created a “map” of sorts to chronicle your journey.
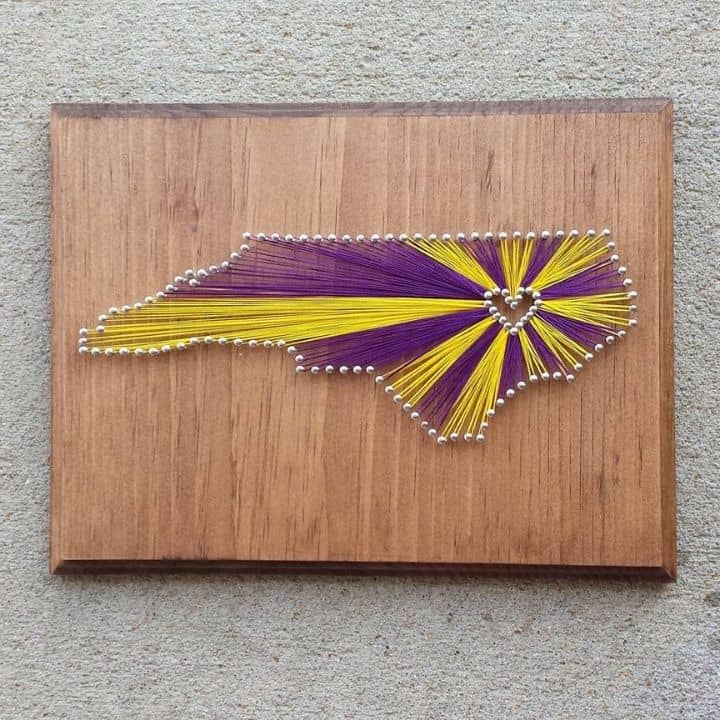

I’ve even used multiple colors of string to create “spirit” pieces for different schools!
There are so many possibilities with this project! What state did you make? Let me know in the comments!