This snowflake string art craft is super easy and super fun to create.
I spent 4 years making and selling string art professionally, and this was ALWAYS one of my favorite designs to make. It comes together very quickly and just looks so cute!
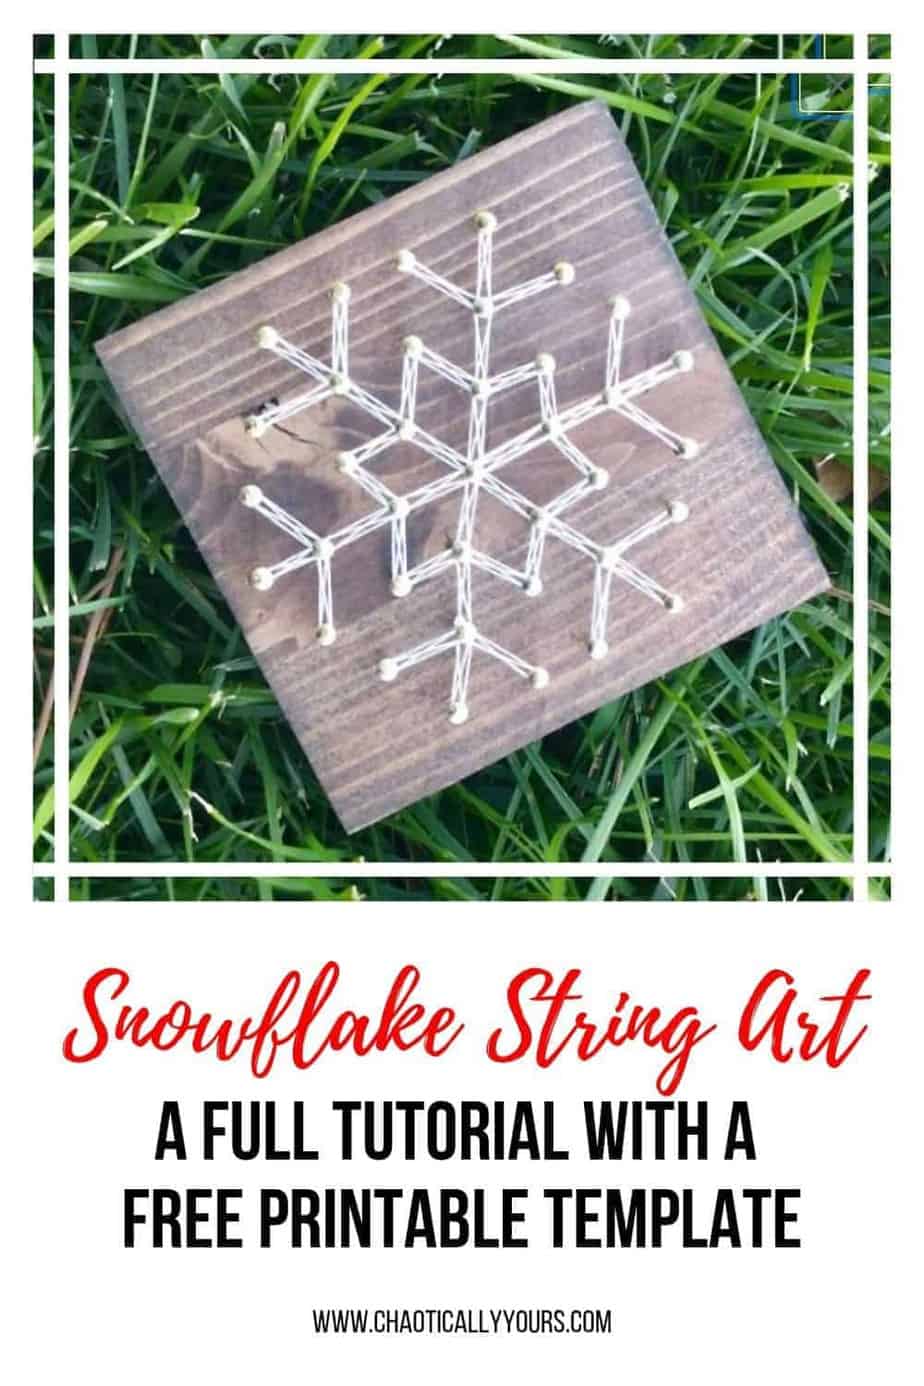
I’m super excited to share my free printable snowflake string art template with everyone!

What You’ll Need
To make this project, you’ll need a few things:
3 x 3 inch piece of wood
Small decorative nails
Masking tape
White embroidery thread
Glue stick
Small hammer
Needle nose pliers
When you’ve gathered all your materials, you’ll need to download my free snowflake string art printable template at the bottom of this page.
Next, watch the video tutorial below and read through the detailed instructions.
Now you’re all ready to get started on your string art snowflake!How To Make Snowflake String Art
The first step is to cut out and tape the template to your piece of wood.
Be sure to examine the wood closely and choose the best looking side to create your design on.
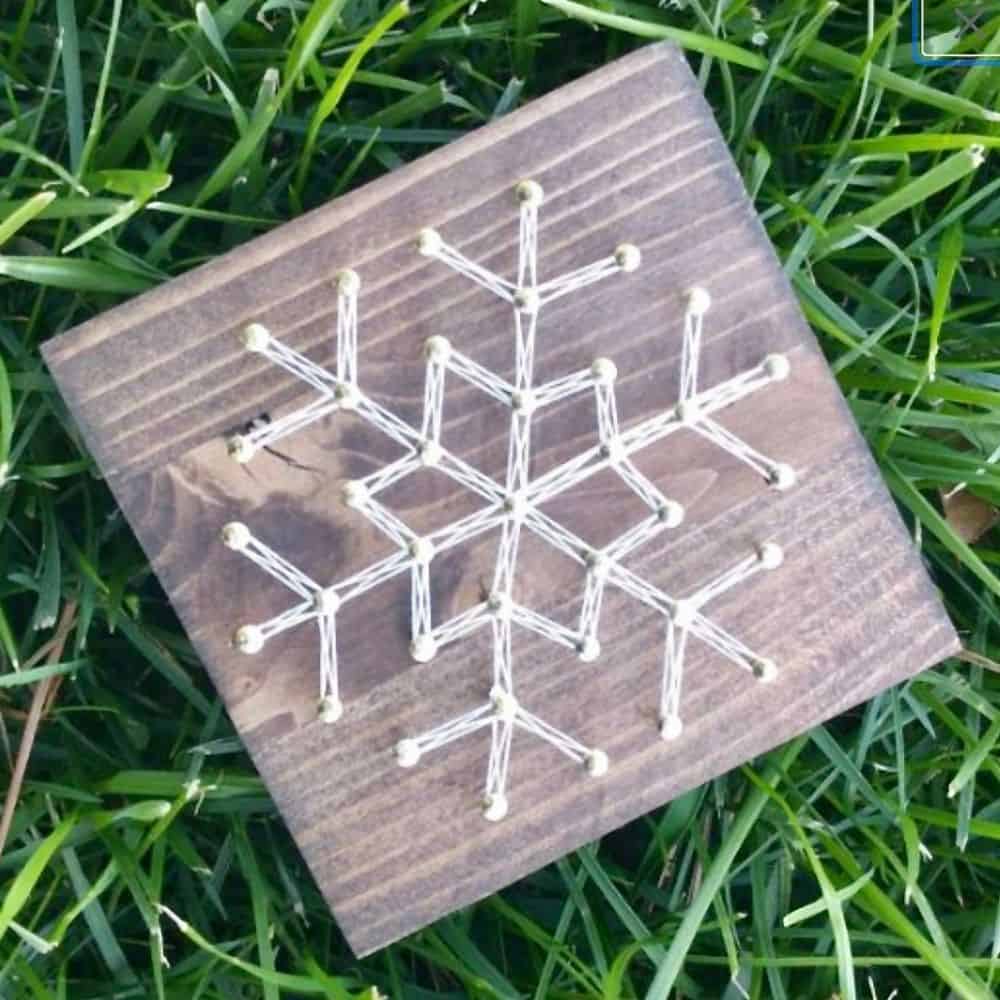
I prefer to used a dark stained piece of wood for this project because it contrasts so nicely with the nails and white thread. It really make the snowflake string art stand out.
Once your template is secured to your board, you’re ready to get to the real work!
Take your nails and begin to hammer them into the board, directly through the template on the orange dots.
DO NOT hammer them until they are flush with the board. You want to leave about half of the nail still visible above the board.
Use the needle nose pliers to hold your nails in place and hammer them without hurting your fingers.
The pliers can also be used as a spacer to keep you from hammering the nails all the way into the board.
After all the nails are secured into the board, you’ll want to carefully remove the template from the board.
Be careful not to pull too sharply on the template, or you might accidentally pull your nails out of the board.
Any scraps of paper that tear away and get stuck under the nails can be removed with the needle nose pliers.
At this point, your board will just look like rows and rows of nails, and not much like a snowflake string art project.
With this next step the project REALLY starts to come together.
Tie your string onto one of the outer nails.
I like to used a single strand of embroidery thread. Other people use the whole bundle of threads.
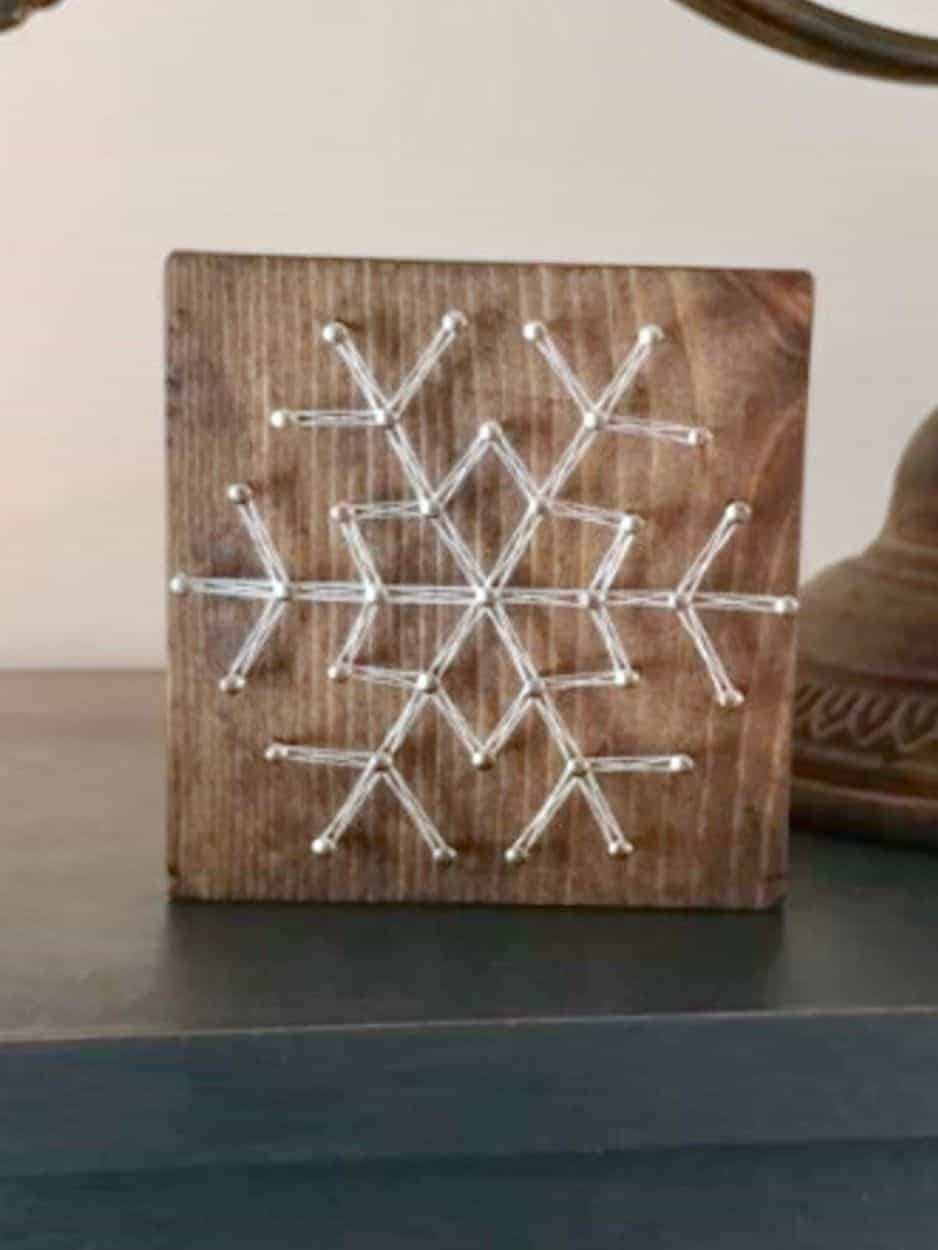
I use a “Criss Cross” method of stringing that I developed myself, to create a light delicate look.
It’s a little hard to explain how to do it, so I created this video to show you the process:
Each method creates a different look to the final product. I find the thicker the thread is, the harder it is to string.I also like the more delicate look of the single strand. But if you do use the strands together, you get a thicker look.
It’s all a matter of preference.
You can use this method, or any method you choose to get the look you want. It’s completely up to you.
When your end is securely tied off, run it between the nails, wrapping it tightly around each one.
I use a circle then crisscross pattern that is clearly demonstrated in the video.
Follow the pattern in the picture on the printable template to create the shape of the snowflake.
Once the stringing is done, make sure you work your way back to the starting point to tie off your string to the same nail you started with. Doing this makes clean up easier.
Tie the thread off to the nail, then clip the ends short.
Put a small dab of glue from the glue stick onto the nail, and use your finger to tuck the end strands under the nail head.
Be sure to use a glue stick that dries invisible. It really finishes off the piece well.
And that’s it! You’re totally done!

How cute is your snowflake string art?
It’s pretty easy to make a lot of these in a short amount of time.
I’ve used them for teacher gifts or sold them at craft fairs. They’re always a big hit!
Ok, now you’ve read all that, I’ll FINALLY give you the template. You can download it by clicking on the link below:
DOWNLOADABLE SNOWFLAKE STRING ART TEMPLATE
Did you like this project? Click here to check out my instructions for how to make an adorable String Art Mason Jar Vase!
Want another quick, lovely craft? Click here to read my tutorial on how to make Felt Flower Magnets!

Sharon
Wednesday 5th of October 2022
How do you separate the floss and keep it from tangling? Do you separate an entire strand from the embroidery packet? Can’t wait to try it!
Louise Emery
Wednesday 5th of October 2022
Separating the strands can be SO tricky! It actually took me a lot of trial and error to figure out how to do it without it being a tangled mess. I always separate one strand out at the end and then pull VERY SLOWLY from the rest of the strands. I try to gather the remaining strands in my other hand while I pull. If done slowly enough, as soon as you've pulled the whole strand, the rest will look just like normal when the one you've pulled finally comes away.
Sarah
Wednesday 15th of December 2021
Hi there! I am SO excited to try this out at a ladies night Christmas party tonight! I have all the materials but I have been through your tutorial multiple times to find the video and do not see one. Has it been removed? Thank you SO much for posting this!!!
Louise Emery
Wednesday 15th of December 2021
How frustrating! I'm so sorry ! The video is still up. It's located in the What You'll need section. The video plays after an ad, so if you have an ad blocking software, you might not be able to see it. I hope everything went well for your party. I'd love to see pictures of the results! Feel free to send them to me on facebook!
Cassandra Bland
Sunday 27th of September 2020
How thick are these 3x3 pieces of wood? What is the length of the nails?
admin
Monday 28th of September 2020
The boards that I use are around 3/4 of an inch thick, pretty standard for what you can buy at your local home improvement store. The nails I use are 5/8 of an inch long. As long as you aren't hammering the nails all the way through the wood, almost any length will do. It's up to personal preference. I hope this helps!
Ginger
Thursday 6th of February 2020
That is so stinkin’ cute!!!! I love it. Thanks for sharing.