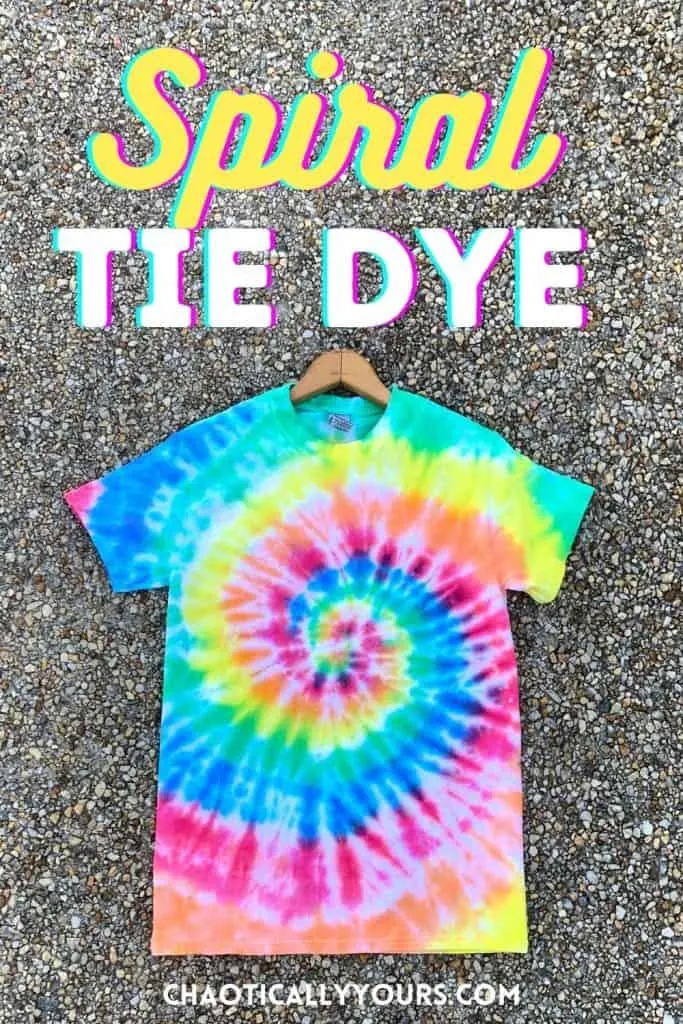
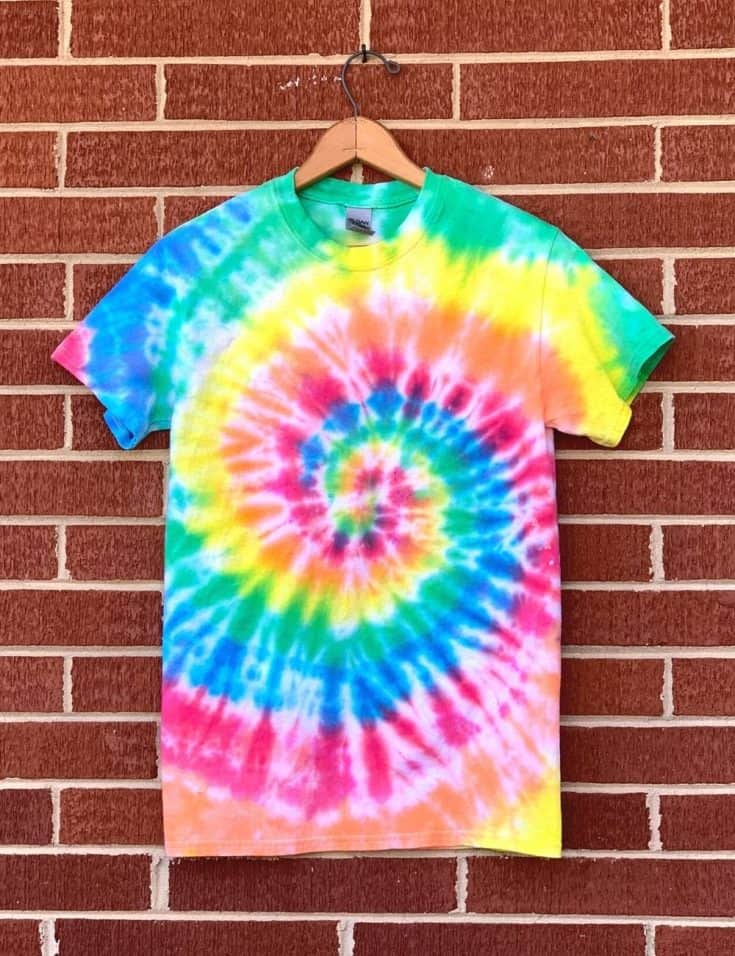
Spiral tie dye is iconic.
The swirling mix of custom colors on a t-shirt or sweatshirt is the absolute classic look for any tie dye project.
The spiral tie dye design seems like it would be very difficult to accomplish. But if you know the right steps to follow to put it all together, it can be pretty simple to achieve.
Today, I’m sharing with you detailed instructions on how to spiral tie dye.
I’m including printable instructions for this project at the bottom of this post, but it’s really just the absolute basics meant to refresh your memory.
Or if you’d like to just purchase some of our tie dye creations, check out our Etsy Shop!
You’ll want to read the whole post first to get all the important tips and tricks to get this project right the first time!

Links in this post may be affiliate links, which means I may earn a commission if you make a purchase from any of them, at no additional cost to you. You can find out more information by reading my full disclaimer.
Spiral Tie Dye Supplies
You can actually do a spiral tie dye design on lots of items like masks, sweatshirts, tote bags, and even bed sheets!
It’s the technique I used for one of my most popular posts, my Tie Dye Hoodie tutorial.
For this tutorial, we’re using a t-shirt, but just keep in mind the same process can be used on just about any item.
The supplies you’ll need for this project are pretty easy to find.
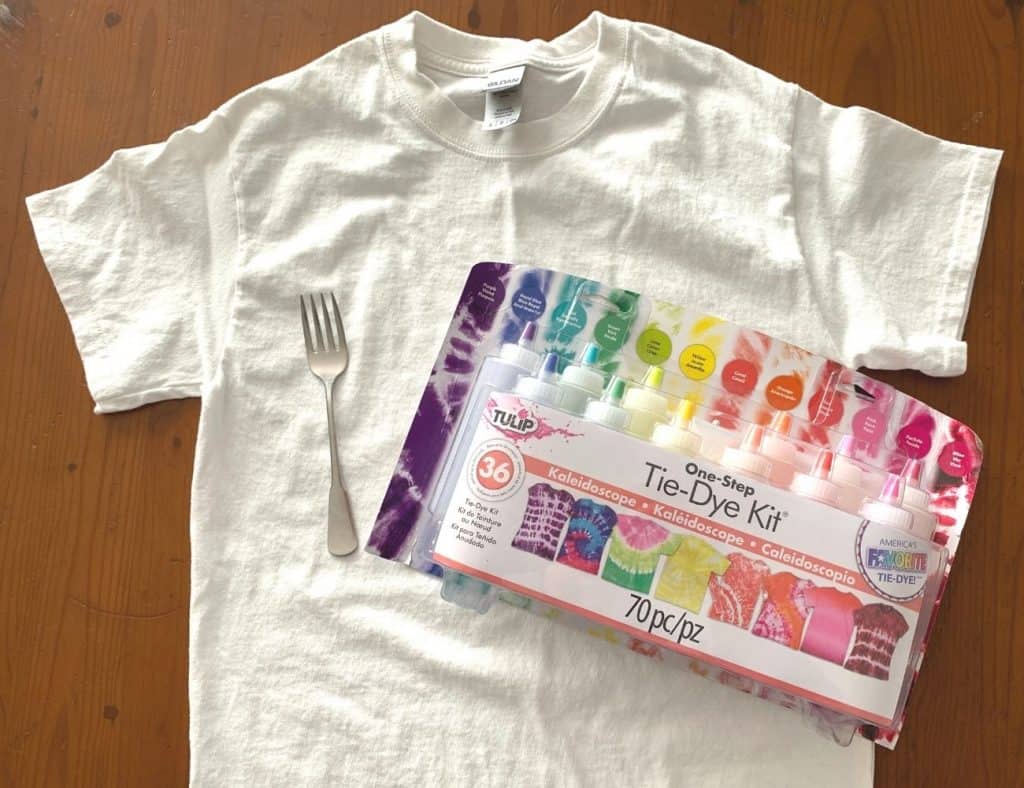
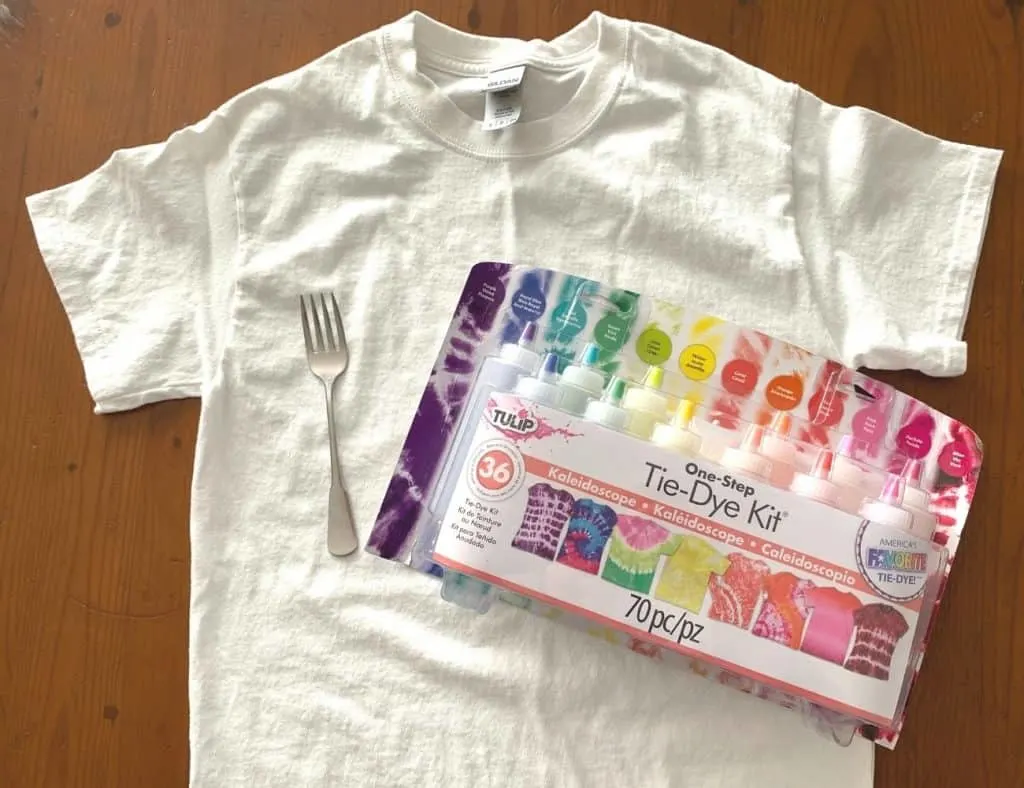
You’ll need:
- A white cotton t-shirt
- Rubber bands
- Dye
- Squeeze bottles
- Disposable gloves
- A ziploc bag
- A fork
If you’re a beginner at tie dye, I definitely recommend getting a tie dye kit. You’ll find that most tie dye kits include a lot of these items, like rubber bands, squeeze bottles and disposable gloves.
I highly recommend these Tulip Tie Dye Kits. They come with just about everything you need to get started and they make a really easy to use product.
You’re probably wondering about the fork.
I know, it seems like an odd thing to add to this list. But it is absolutely key to this process, so don’t laugh yet! You’ll understand as you read further!
The Prep Work
As with most projects, the prep work is the most important step in this entire process.
Without proper preparation, your spiral tie dye pattern won’t turn out well.
Work Space
The first thing you should do is find an appropriate workspace for this project.
Tie dye can be a damaging process. As is implied in the name, it will dye just about anything it comes in contact with, including surfaces and clothes.
If you’re a beginner to tie dye, don’t let this scare you. My best recommendation to avoid damaging anything inadvertently is to work outside when applying the dye.
If it’s not possible to make your spiral tie dye outside, there are spaces inside a house that are more appropriate than other.
For this project, I used my stainless steel sink that can be cleaned up fairly easily with a bleach cleaner or by my favorite “save the day” cleaning product, Bar Keepers Friend.
When I did my Ice Tie Dye project, I used one of the shower stalls in my house, but protected the surface by using an old under bed box to do the actual dye process in.
I also ALWAYS recommend wearing old clothes that you don’t care about for tie dye projects. It’s SO easy to get it on your clothes without meaning to, and you definitely don’t want to ruin your favorite shirt or best pair of jeans in the process.
Getting Your Shirt Ready
Once you’ve located an appropriate workspace for your spiral tie dye project, you’ll need to prepare your shirt.
You should ALWAYS wash anything you plan to tie dye before you attempt to dye it.
New items often come with chemicals on them to keep them from wrinkling or dirt and dust from being stored for a long time.
It’s always best to give them a good wash to remove that kind of stuff.
Be sure to wash your t-shirt with just detergent. Don’t add any kind of fabric softener or laundry enhancer to the cycle. You want your shirt as clean as possible for applying the dye.
Once your shirt is washed, DO NOT dry it.
The dye will spread more easily on a slightly damp shirt than it will on a dry one.
Creating the Spiral Tie Dye Pattern
Now fo the most crucial step: creating your spiral tie dye pattern.
Start by laying your damp shirt out on a completely flat surface and determine where you want the center of your spiral to be.
We chose to go with the exact center of the front of the shirt, but you could put it anywhere you like, maybe to the side or on the shoulder.
While that placement would look fantastic, just be aware it will be more difficult to get your pattern secured with rubber bands if you choose to do that.
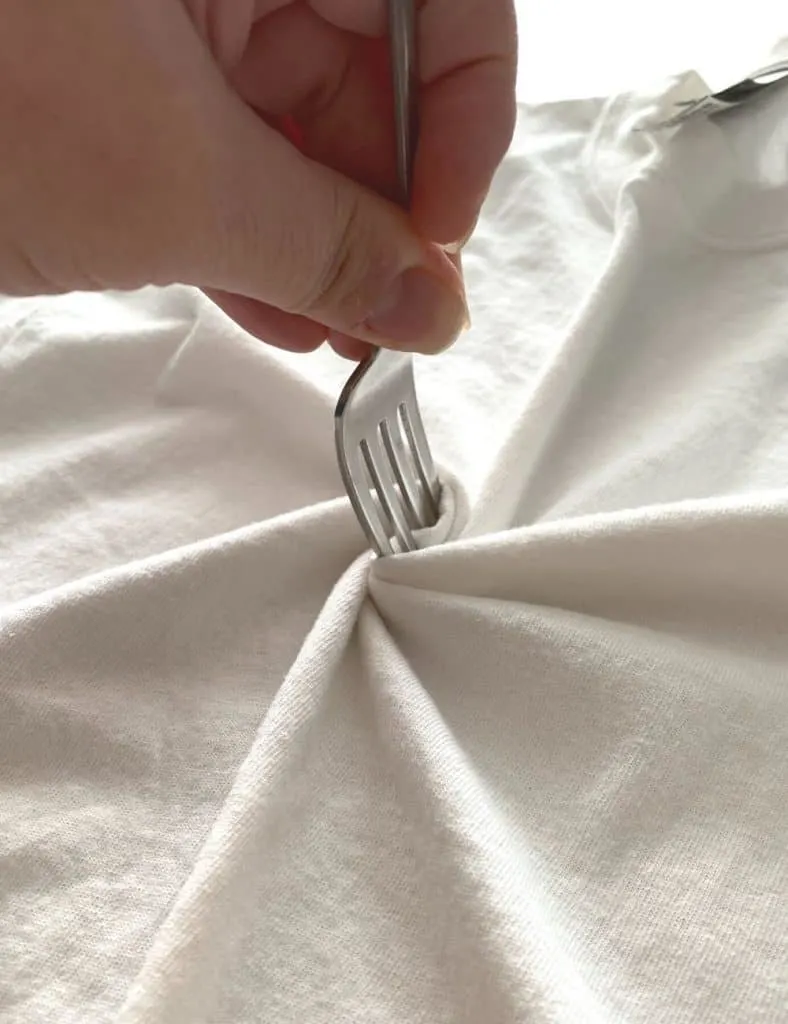
Here is where your fork comes in!
In order to get the spiral tie dye effect to work properly, you need to spin the shirt into a really tight spiral for the rubber bands to be able to hold it properly.
It can be really difficult to do this by just pinching the shirt with your fingers.
Using a fork to hold the center of your design tight works wonders for this step.

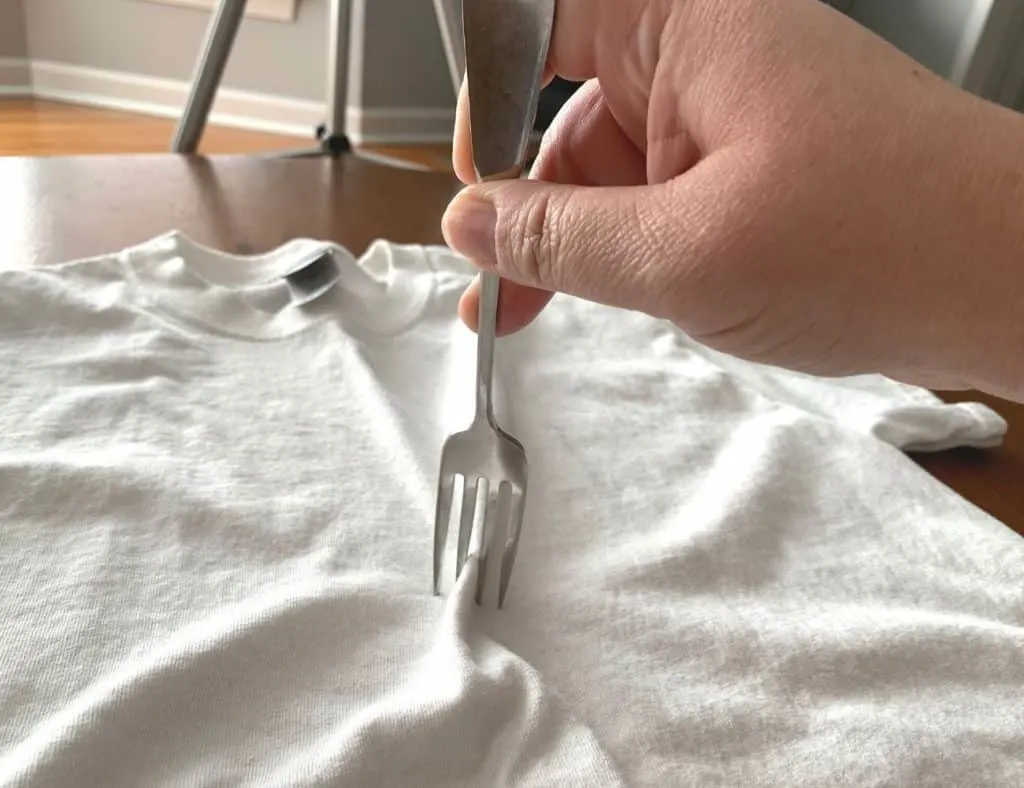
To do this, pinch the fabric up at the place you want the center of your spiral to be. You’ll want there to be about an inch or a little less of fabric pinched together.
Slip the fabric between the two middle tongs of the fork.
Now carefully turn the fork, using your other hand to hold the spiral tight.

Keep turning until you have the entire shirt wound around the fork.
Do this step slowly, and try to make sure the natural folds that form in the shirt are all approximately the same size.
The goal is to have a roughly uniform disk ready to put your rubber bands around.
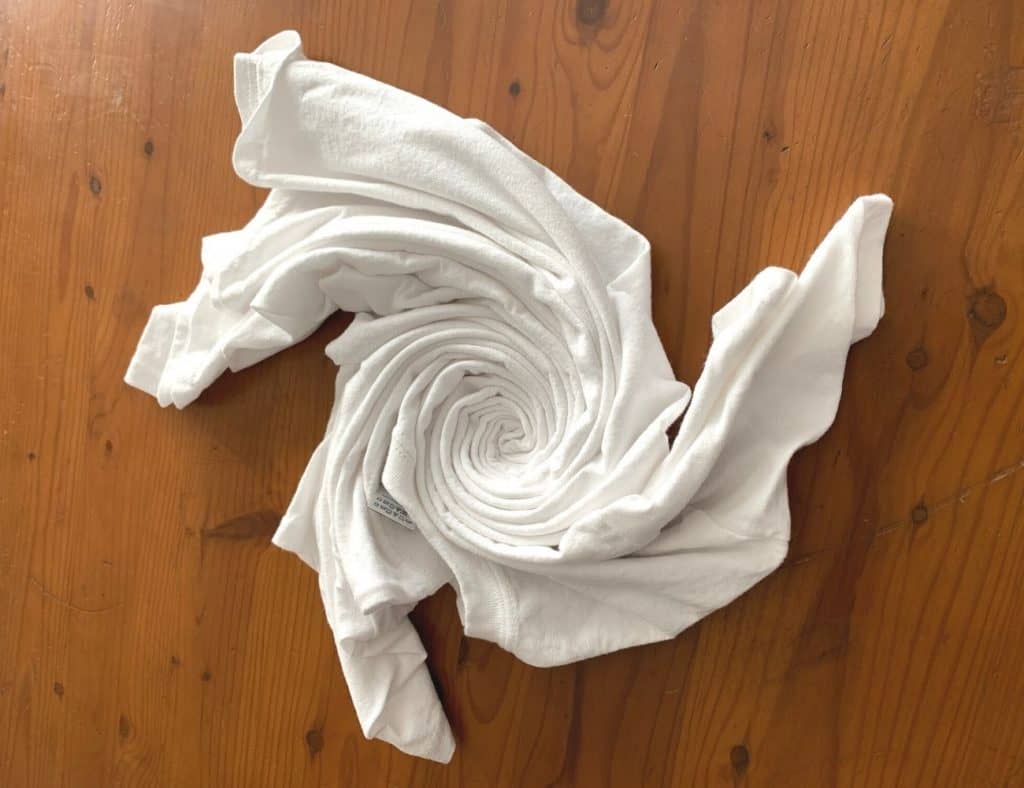

Don’t remove the fork until you are ready to put the rubber bands on. And when you do remove it, do so carefully so as not to disturb the nice, neat t-shirt puck you’ve just created.
If this proves to be difficult, enlist the a helper!
I often ask my teenagers to hold the fork still for me while I wind the fabric tightly around it. Some days I can do it alone and other days I need some assistance.
Now you need to secure your shirt disk with rubber bands. This can be a little tricky as well.
You want the bands to secure the shirt enough to hold it tight, but not so tight that it squishes the shirt together too much, ruining your spiral.
Just use great care when wrapping your bands around your shirt.
Applying the Dye
Now that you’ve twirled your shirt and secured it with rubber bands, it’s time for the fun part of spiral tie dying!
Mixing the tie dye
Take your shirt to your workspace and then mix up your dye according to the package directions.
You’ll want to go ahead and put on your disposable gloves for this part.
Our tie dye kit just required that we add water to the squeeze bottles, since a premeasured amount of dye powder was already inside them.
You’re kit may require a bit more measuring.
Just mix it up exactly like the package says to.
How To Spiral Tie Dye
To achieve the tie dye spiral pattern, you’ll need to apply the dye in a very specific way.
Each color needs to be applied in a wedge shape around the circle.
If you’ve ever played Trivial Pursuit, you’ll know what I’m talking about here.
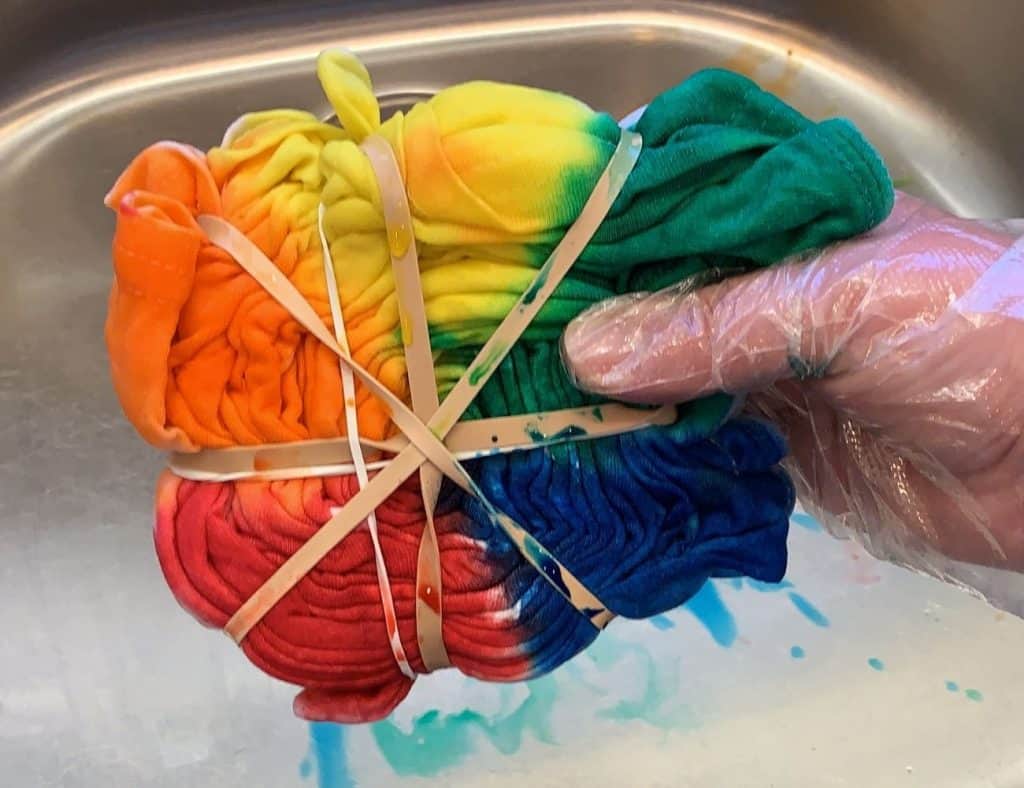

Think of the shirt disk we created like it’s a pie, and each slice of that pie is a different color.
It’s up to you if you want to leave white space between the color wedges or not. Doing so will change up the pattern a bit, but will still give you that cool spiral tie dye look.
If you’re used just one color and want to get a tie dye spiral design with it, you definitely need to leave white space between the wedges.
If you don’t leave space the spiral won’t be as visible, but might give you a decent effect. I haven’t tried this myself, so I don’t have firsthand experience with a single color spiral.
Just make sure you get that color all the way to the center of the spiral so that when your shirt is done the spiral starts there.
Once you’ve thoroughly covered one side, flip the shirt over and continue the pattern on the other side. Make sure to match up the colors to where they’re located on the opposite side of the shirt.
If you’re working with the basic rainbow of colors like we did, you’ll want to put them in the proper order, so that if the colors bleed together they blend well.
If you aren’t using colors that blend well, then definitely leave some white space between them.
For an even tie dye spiral, you each wedge of color to be approximately the same size. Of course you can play around with this if you want to and create different looks for your shirt.
If you want good color saturation, be sure to apply the dye generously. This makes sure it soaks through to the middle part of that t-shirt disk.
The Waiting
Once you’ve applied your dye to create your spiral tie dye pattern, place your item in a ziploc bag.
This will keep the dye from transferring onto other surfaces and will also keep the shirt wet so the dye can adhere to the fibers of the shirt.
Find a safe place to store your spiral tie dye shirt and then the wait starts.
Tie dye is a fantastic craft, but it’s not one for people who want instant gratification. It takes time for those colors to really set.
Our package directions said to wait six to eight hours for the dye to set. But we always like to wait at least 24 hours before opening up our tie dye projects.
The longer you wait, the more brilliant the colors will be, and 24 hours seems to be a pretty sweet spot for getting great color.
Now if you don’t want bright vibrant colors, and want more of a pastel look, you could open it up early. But it will be hit or miss with how dark your colors get. There are better, more consistent ways to make pastel tie dye.
Finishing Your Spiral Tie Dye
You’ll want your disposable gloves back on for this part.
Once your wait time is over, return to your work space and remove the dyed shirt from your ziploc bag to get ready to rinse it.
Rinse your shirt under running water until the water coming out of the shirt runs clear.
You can unbundle it at this point, but I like to do a preliminary run under the water before taking the rubber bands off. This removes a lot of the color while it’s still in that original shape and keeps the colors from bleeding over too much.
I do a little rinse and squeeze routine that seems to really get the dye out of the shirt pretty quickly.
Once you’re water is running clear, wash your spiral tie dye shirt all by itself, again using only detergent and no laundry additives.
This will remove any residual dye that may still be hanging around in the shirt.
Once it’s clean, dry the shirt on high heat, which will further set the dye.
Now your shirt is ready to wear!!

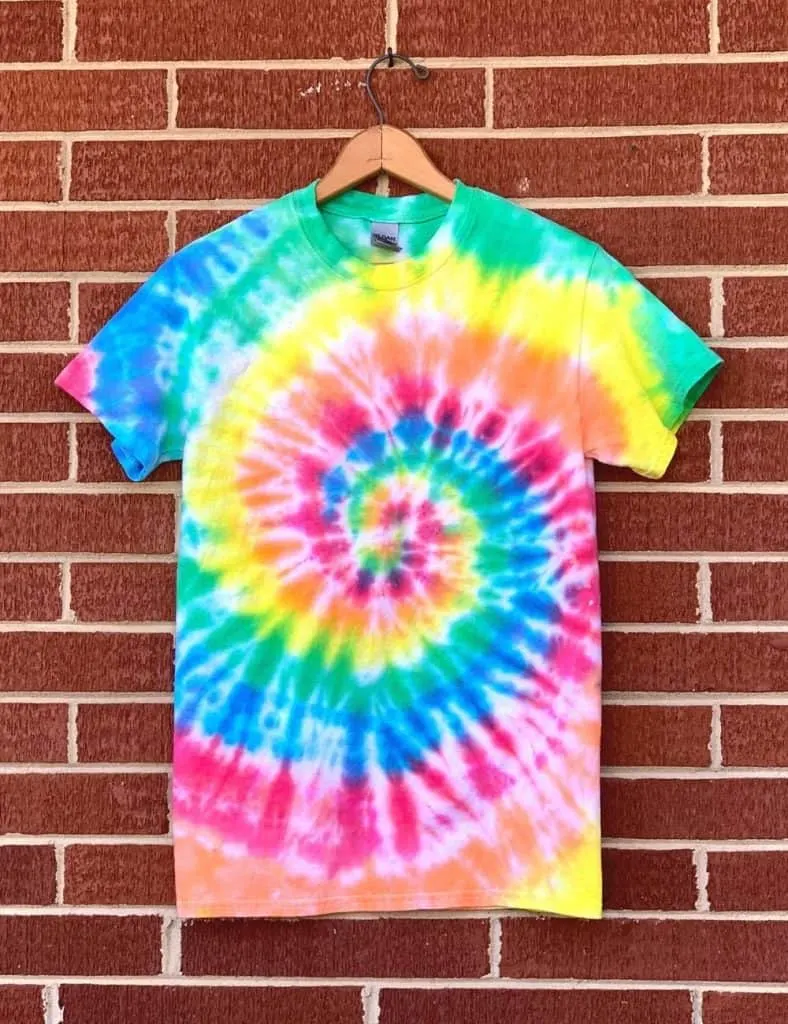
I always love how a spiral tie dye turns out.
I’ve followed these steps many times and I have yet to have one not turn out really really well.
Have you ever tried spiral tie dye? Tell me how it went in the comments!
Spiral Tie Dye

Create a spiral tie dye pattern with these easy instructions. Details in the full post.
Materials
- A white cotton t-shirt
- Dye
Tools
- Rubber bands
- Squeeze bottles
- Disposable gloves
- Ziploc bag
- A fork
Instructions
- FInd an appropriate space to work in that won't be damaged by the tie dye process. Wear old clothes.
- Wash your shirt, but don't dry it. Leave it damp to absorb the dye.
- Lay your damp shirt out on a flat surface.
- Locate where you want the center of your swirl tie dye to be.
- Using a fork, twirl the shirt into a tight disk.
- Secure the shirt with rubber bands.
- Mix the dye according to package directions.
- Apply the dye in a wedge formation around the disk.
- Place your shirt in a ziploc bag.
- Let it sit for 24 hours.
- Remove shirt from bag and remove bands.
- Rinse shirt until water runs clear.
- Wash your shirt by itself with no laundry additives.
- Dry your shirt on high heat.
Notes
Tie dye can damage clothing and surfaces. Use extreme caution to prevent damage.
This process is not recommended for children.
Detailed instructions are available in the full post.
Recommended Products
As an Amazon Associate and member of other affiliate programs, I earn from qualifying purchases.
