In today’s post, I’m going to share with you how to make felt flowers.
Felt flowers are a quick, easy and inexpensive craft that make adorable gifts.
We’ve given these little cuties out in all sorts of situations, and they’ve always been a huge hit! I’ve even sold them at craft fairs!
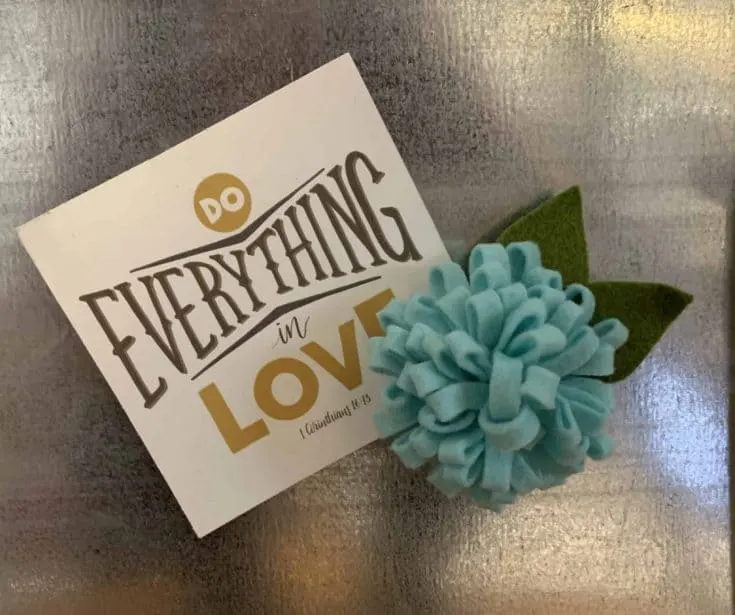
They look like little felt carnations or felt chrysanthemums. I just love them!
It’s so easy to learn how to make felt flowers. They come together so quickly that you can make a lot of them in a very short amount of time.
Links in this post may be affiliate links, which means I may earn a commission if you make a purchase from any of them, at no additional cost to you. You can read my full disclaimer HERE.

What You Need To Make Felt Flowers
The most important part of any successful craft is having great supplies, and this do it yourself felt flower project is no different!
You’ll need:
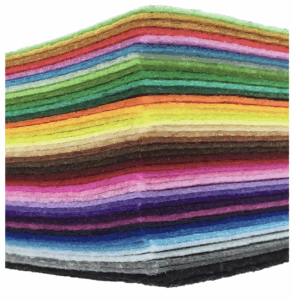
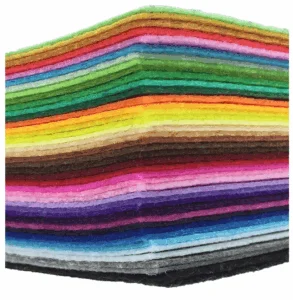
- Felt in your desired colors (approximately 8×12 inches each)
- A good pair of scissors
- A hot glue gun with clear glue sticks
- OPTIONAL: small magnets
Everything you need to learn how to make felt flowers should easily be able to find on Amazon or at your local craft store.
Many people will recommend using an expensive wool felt available from places like Etsy for making felt flowers.
You’re welcome to do this, but for this simple design, wool felt doesn’t really make a discernible difference in the finished product.
Just make sure it isn’t poor quality felt that feels cheap in your hands and pulls apart easily.
The thicker felt from Hobby Lobby works great or you can order this felt from Amazon for the project.
I really like this set:
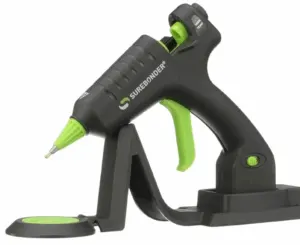
Every crafter knows that hot glue guns can be treacherous!
I’ve been using them for over 30 years and I STILL manage to burn myself every time!
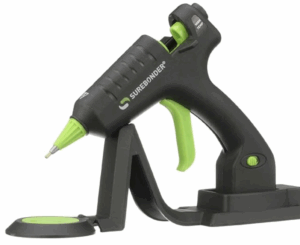
As much as I’d love to use some other sort of glue, a hot glue gun really is the best option for this project because of the instant adhesion and secure hold on the felt.
I like this model that’s cordless:
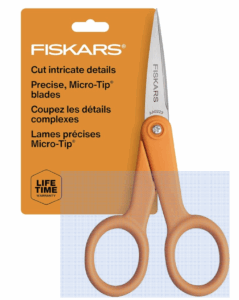
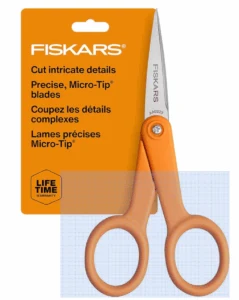
I use my small sewing scissors for do it yourself felt flowers.
The smaller blades are easier to manage for detail work. I have this pair:
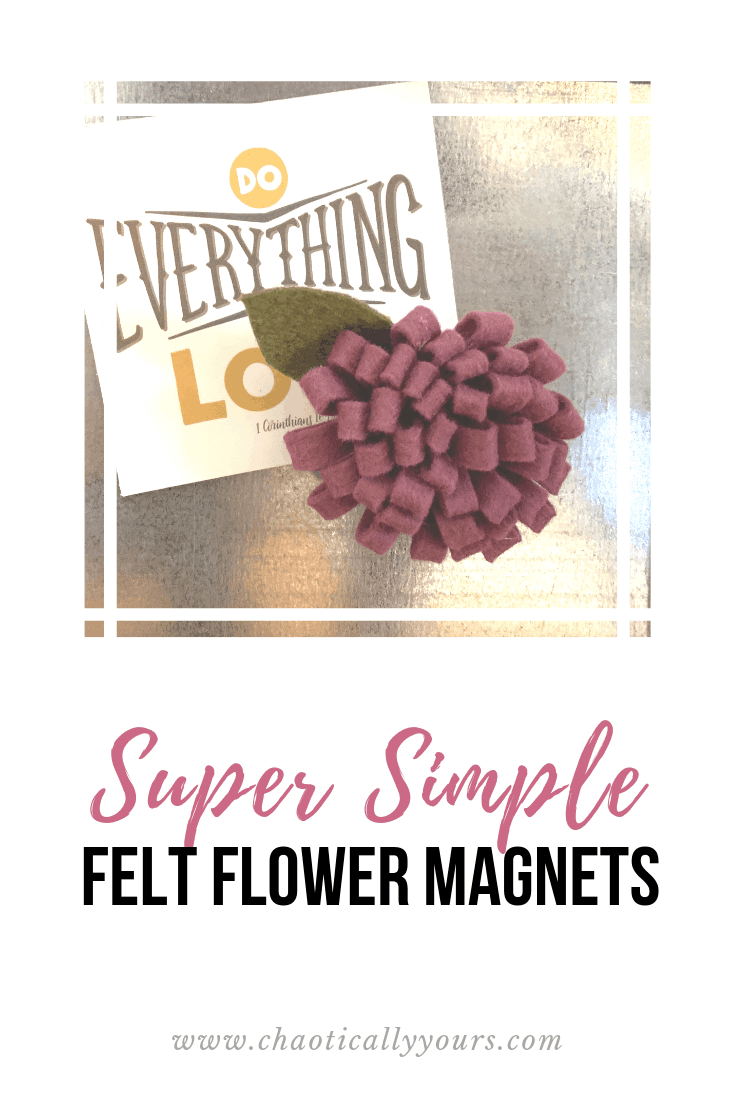
When I made this particular batch of felt flowers, I made them into magnets.
I used these circular ones I found on Amazon:
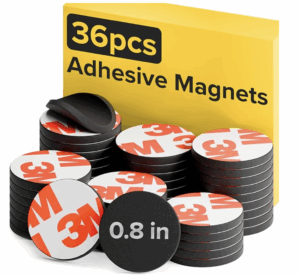
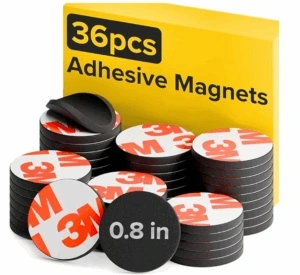
I recommend the small circular ones over the strips you can cut to size.
They hold tighter to a surface and make a nice finished looking product when you’re done.
Warning: Keep small magnets away from children. They pose not only a choking hazard, but can cause severe internal damage if swallowed.
How To Make Felt Flowers
Now for the fun part, actually learning how to make felt flowers!
The first step is to select which color you’d like your flower to be. I love bright colored felt for this!
Take your 8×12 inch sheet of felt that you want to used for the petals of your felt flowers.
You’ll want to orient it on it’s longest side and cut it into four equal 2 x 12 inch strips.
Since the edges will become the bottom sides of the felt flower, these don’t have to be perfectly straight cuts. I actually never even measure these, and just fold the felt in half, then cut along the fold.
Each 8×12 inch sheet should make 4 flowers.
Next you’ll want to fold and glue your felt strips to make along tube.
Fold your felt strip longways again, and glue to the two longest sides together. This step is really clear in the video.
Now you can cut the petals. On the non-glued side of the felt tube, begin cutting small slits about a quarter to a third of an inch apart.
How far apart these cuts are is up to you. I’ve found the smaller, the better, but you don’t want them ridiculously small.
DO NOT CUT ALL THE WAY THROUGH THE GLUED SIDE OF THE TUBE!!
You want the entire piece to stay together. The goal is to end up with a strip of small loops.
Again, the video makes this part of the process of how to make felt flowers very clear.
Next you’re going to roll and glue the strip together, forming your felt flower.
Put a small dot of glue on one end of your felt tube near the attached seam and begin rolling it tightly together.
Every so often, add another dot of glue to hold the flower together.
When you reach the end of the roll, make sure you secure the end tightly.
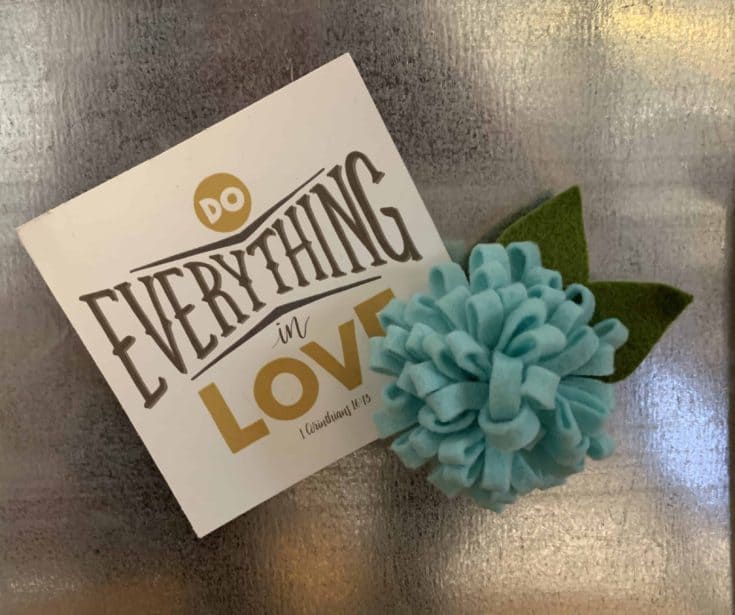
Now you can add a leaf!
Cut a small rectangular from a piece of green felt.
Next cut a leaf shape out of the green felt, making sure it’s not too small.
Secure the leaf with a small dot of glue.
I usually cover my end seam of the felt flower with the leave for a more finished look.
And that’s it! You know know how to make felt flowers!
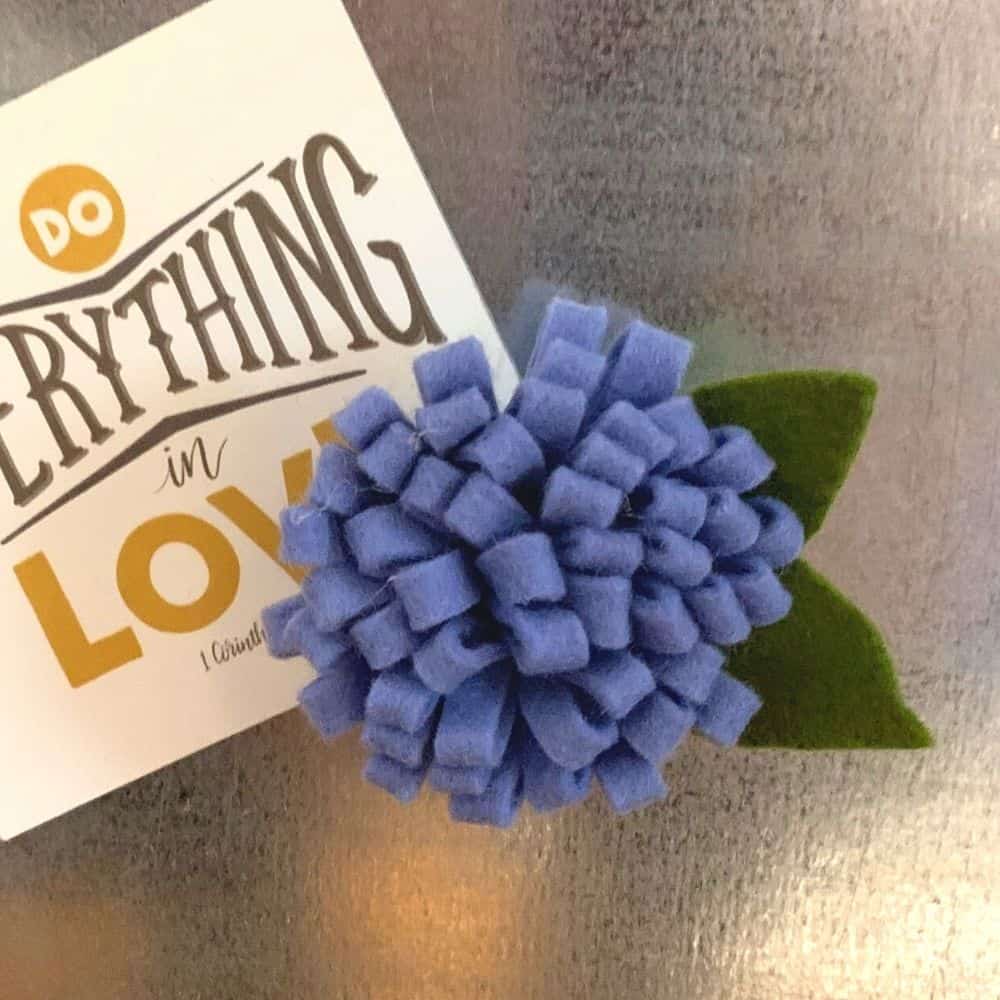
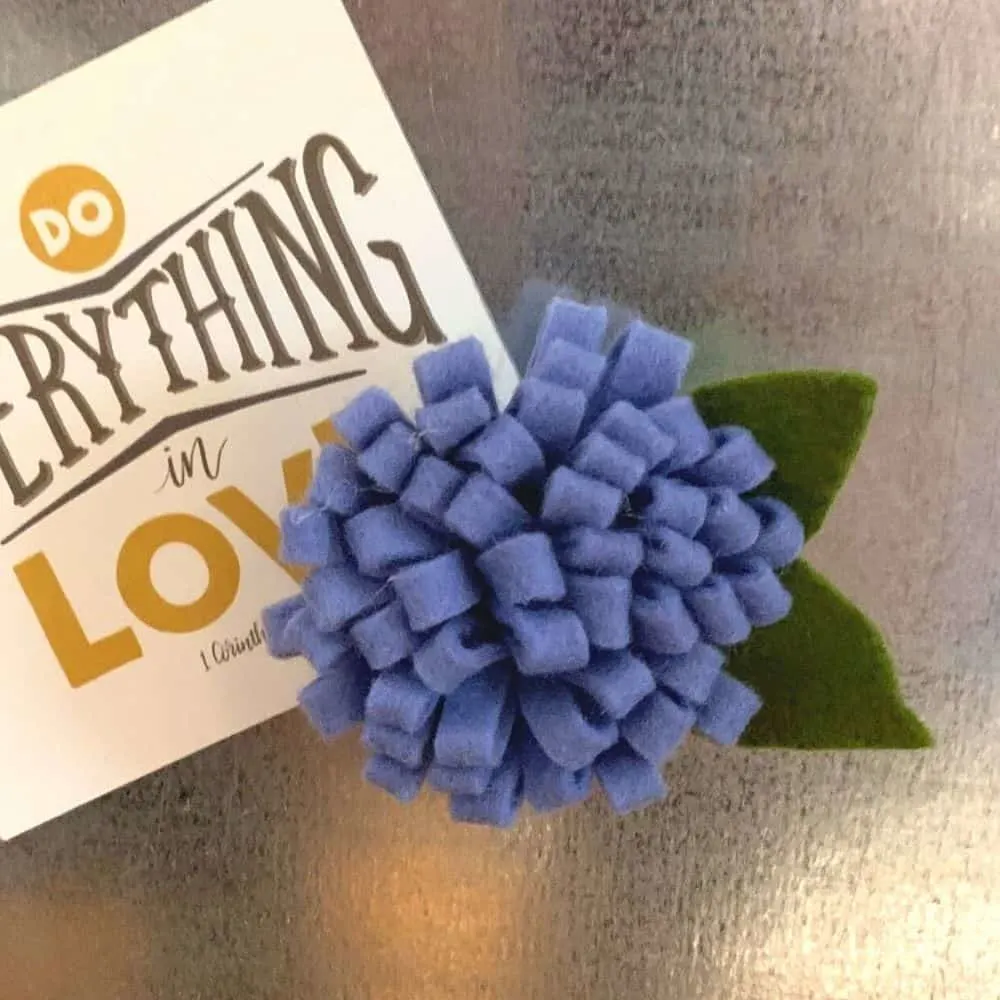
You can make these felt flowers into all sorts of things. For this project, I just added a magnet directly to the back and had a finished product.
Be sure to inspect your newly created felt flower for leftover strings of hot glue and gently pull those off.
These felt flowers make great little gifts. You can also use them for all sorts of things, like headbands, wreaths, or instead of a bow on a present!
Looking for other fun and easy crafts? Check out my Mason Jar String Art Tutorial or my Bleach Stencil T-shirt Tutorial!
Do It Yourself Felt Flowers
Make these beautiful DIY felt flowers with just a few simple materials in just a few easy steps!
Materials
- Felt sheets in multiple colors (approximately 8x12 inches)
- Hot glue sticks
Tools
- Scissors
- Low temp glue gun
Instructions
- Cut the felt. Cut your 8x12 inch sheet of felt into four equal 2x12 inch strips. Each 8x12 inch sheet will make 4 flowers.
- Fold and glue. Glue the two long sides of your 2 x 12 inch strip of felt together, forming a long tube.
- Cut the petals. On the folded, non-glued side of the felt tube, begin cutting small slits about a quarter to a third of an inch apart. DO NOT CUT ALL THE WAY THROUGH THE GLUED SIDE OF THE TUBE!! You want the entire piece to stay together. The goal is to end up with a strip of small loops.
- Roll and glue. Tightly roll the strip of loops together, placing a dot of glue every so often to hold the flower together.
- Add a leaf. Cut a leaf shape out of the green felt, making sure it's not too small. Secure the leaf with a small dot of glue.
- Clean up your flower. Clean up any leftover strings of hot glue around your felt flower.
- OPTIONAL: Add a magnet. Add a large dollop of glue to your magnet, and secure the flower directly to it.
Notes
CAUTION: Glue guns can cause severe burns if not used properly. I recommend using a low temperature glue gun for this project, but please still use caution. Children should never use glue guns unsupervised.
laurie
Tuesday 5th of December 2023
I love working with felt and these are super cute. Thanks!
Evelyn Walker
Saturday 21st of October 2023
Thank you this looks easyy to do. I'm a very senior person trying to learn new things.
God Bless You.