In today’s post, I’m going to teach you how to fix Christmas lights!
Everyone has been there. You’re all set to decorate for Christmas.
You’ve gotten all your holiday stuff out and set it all up to decorate your home, only to find one (or twelve) strand of Christmas lights is no longer working.
You know they were working last year when you put them away, but now it’s like the lights hate you and are just trying to find a way to drive you crazy.
Well, I’ve found the key to the problem and learned how to fix Christmas lights quickly and easily.
I’m super excited to share it with you.
Links in this post may be affiliate links, which means I may earn a commission if you make a purchase from any of them, at no additional cost to you. You can find out more information by reading my full disclaimer.
The Annual Christmas Light Problem


We put up a lot of Christmas lights at our house.
We’re one of those houses that goes all out, putting lights on all the things, even in the backyard!
Every year, we’re faced with the same problem. When we test our lights before putting them up, it never fails that several have quit working.
Or even worse, one quits working while we’re trying to put them up.
Few things are more frustrating than spending hours trying to figure out which bulb is out or even if it’s a bulb problem at all.
Last year we ended up with about 10 spools of our outdoor lights not working. I spent HOURS trying to figure out if they were fixable.
I really didn’t want to replace them all, since it was about $200 worth of lights!
So we used some extras that we had stashed away, and then labeled and stored the broken ones in hopes of figuring out how to fixing them in time for next year’s display.
So this year I got smart.
Instead of spending hundreds of dollars replacing all those strands, I decided to get started early and learn how to fix a Christmas light myself.
Fortunately, I found the perfect tool that not 0nly helped me fix Christmas lights, but saved a ton of time as well.
The Right Tools For The Job
I started by doing a little research to I could teach myself how to fix Christmas lights.
We mainly have LED Christmas light at our house, since they save so much energy, and seem to last quite a while.
Since I am definitely NOT an electrician and have absolutely ZERO knowledge about how these things work, I needed a solution that was really easy to use.
After some research, I came across the Ulta Lit Keeper LED Light Set Repair tool, thankfully available on Amazon.
Of course, I ordered it as quickly as I could.
Good old Amazon delivered it in just one day, so I was able to get started teaching myself how to fix Christmas lights pretty quickly.
The LED Keeper testing tool not only features a wire testing mechanism, but also a bulb puller, a bulb tester, and a fuse tester.

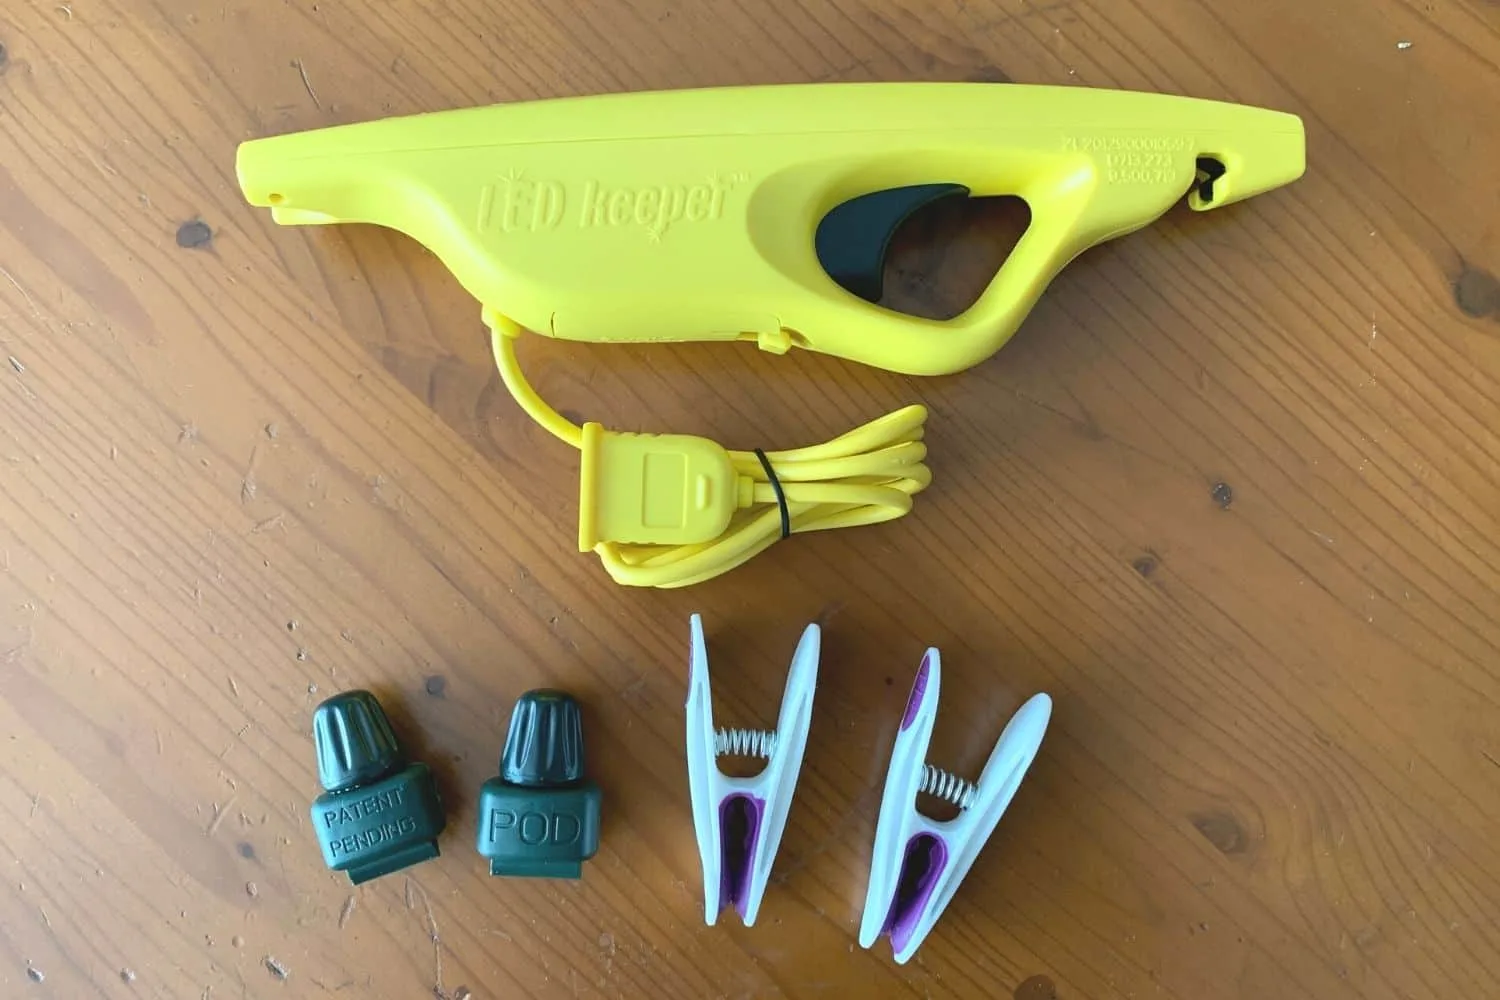
In addition to the features of the tool itself, the kit came with two place markers, two universal replacement PODs, and a 9 volt battery.
It was literally everything you need to fix Christmas lights.
You can order your own LED Light Keeper on Amazon by clicking this hyperlink.
Now that I had everything I needed to repair Christmas lights, I was ready to get started.
It’s important to note that this tool will not fix incandescent Christmas lights. There are other products on the market that I’ll mention later in the post that will fix those types of lights.
(This tool will also not fix light sets with control boxes, battery operated lights, low voltage sets, led rope lights, or most prelit trees.)
It wasn’t too hard to figure out how to fix Christmas lights with the LED Keeper tool. It just took a little trial and error, but it was WAY easier and faster than just trying to figure it out on my own.
How To Fix Christmas Lights If The Bulb Is Out
Here’s what you need to know about how to fix a christmas light using the LED Keeper tool.
You need to start by testing the Christmas lights like you regularly would.
Simply plug the Christmas light set into an outlet to see where the lights stop working.
Using one of the place markers provided in the LED Keeper set, place a clip on the strand of lights where they stop lighting up.
Now unplug the strand of Christmas lights from the outlet and plug it into the LED Keeper tool.
The instructions say to start halfway into the area of the lights that have stopped working, but you can really just start anywhere you like.
Each bulb on your set should have two wires coming out of the bottom of the socket.
Some types of lights have three wires. We’ll deal with those types in a minute.
Take one of the wires coming directly out of the light bulb socket and slip it into the black hook portion of the LED Keeper tool.
Then simply pull the trigger on the tool.
When you pull the trigger the LED Keeper tool pushes a small, non-damaging pin through the plastic insulation, and makes connection with the copper wire inside, illuminating the functional section of the Christmas lights.
When you pull the trigger, the lights from that point on, either forward or backward, should come on.
If it doesn’t work the first time you try it, the pin is probably not connecting properly with the copper wire.
Simply move to another section of the same wire, about half an inch away, and try again.
If the lights come on now, move on to another wire in the sequence.
If it’s still not working, you may have found the problem bulb.
This is where that other place marker clip comes in handy when you’re learning how to fix Christmas lights!
Use the clip to mark your place on the string of Christmas lights to indicated that you’ve already tested that section.
Now move on to the other side of the same bulb, and keep testing.
Move from bulb to bulb until you find one where all the bulbs work on both the left and the right side.
If the bulb is removable, use the bulb puller (the little u shaped part) on the end of LED Keeper tool to help you pull it out of the socket.
Then you can test the bulb, using the tester on the LED Keeper tool to see if that’s the problem with the light set.
The bulb tester is located on the top of the tool, and works like this:
To test the bulb, the wires from the bulb must be firmly contacting the metal plates of the bulb tester.
*Important* Bulbs will only light up when placed the correct direction on the plates, so you need to turn the bulb around and try it again to make certain that the bulb is actually out.
If it turns out that the bulb is out, simply replace it with a bulb that is designed for the light set your using.
Most sets come with replacement bulbs when purchased, and it’s always good to hang onto those so you don’t have to buy more later!
How To Fix Christmas Light If The Two Wire Socket Is Broken
If the bulb lights up in the bulb tester, it’s likely that the bulb socket is broken.
To fix this problem, you’ll need to use one of the two replacement PODs that are included in the LED Keeper set.
CAUTION: For this step it is VERY important that you unplug the light strand from any power source, including outlets, other light sets, or the LED Keeper tool. We’re dealing with electricity here, and you DO NOT want to get hurt.
Again, this process is for sockets with two wires coming out of it, one on each side. I’ll address the three wire sockets in a minute.
With a replacement POD handy, you’ll want to start by cutting the socket out of your unplugged light strand.
Next, take the cap off of the POD and open it up.
The open POD will look like this:


Place the two wires into the metal slots inside the POD. The wires should NOT touch each other.
Now simply close the pod and twist the cap back on.
How To Fix Christmas Light If The Three Wire Socket Is Broken
Some Christmas light sets have three wires coming out of each bulb socket. Here’s how to fix Christmas lights if they’re the three wire type.
If your bulb socket has three wires, two should come out of one side with the third wire coming out of the other.
You’ll want to start by cutting the two wires that come out of the socket together. Cut them as close to the socket as possible.
Next you’ll have to strip the insulation at the end of these wires. That basically means, pulling off the plastic cover a little bit, exposing the copper wire inside.
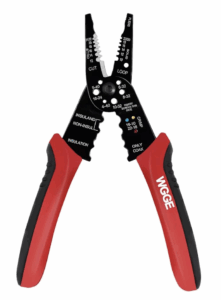
There are several ways to do this, but the most effective is to use a wire stripping tool.
These tools are easy to use and pull off exactly the right amount of insulation, leaving the wire exposed and ready to use.
We happened to have one on hand, but you can order one from Amazon here:

Once you’ve stripped about a quarter inch off the end of each wire, twist the copper wires together to join the two wires into one.
Now cut the third wire from the bulb, but do not strip the insulation from it.
Now you have two wires to repeat the process as outlined above.
You’ll need to seat them in the metal brackets inside the POD, without them touching each other.
The two wires that have been combined at the end will need to sit one on top of the other, which might make closing the pod difficult.
A pair of pliers might come in handy here to squeeze the POD together so you can close it effectively with the cap.
More Things You Should Know
If you’re fixing multiple strands of lights, you might find that you need more than two replacement PODs to fix them.
While I couldn’t find them on Amazon, I was able to order additional PODs from the Light Keeper Pro website.
Sometimes the problem with a light set is the current limiting pod, which is built into the light set and looks like this:
PIC
You’ll know that the issue is the current limiting pod if all of the lights come on when testing them with the LED Keeper tool, but doesn’t light up when plugged into an outlet.
While the LED Keeper can help you pinpoint if this is the problem, current limiting pods cannot be replaced with the LED Keeper PODs.
Unless you can locate another current limiting pod specific to your type of light set AND you have the electrical knowledge to repair the set, I wouldn’t recommend trying to fix this problem.
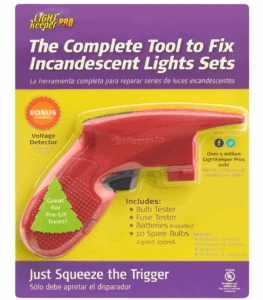
Fixing Incandescent Christmas Lights
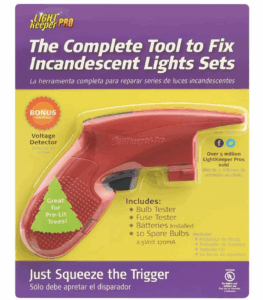
While researching how to fix Christmas lights, I did find that the same company that makes the LED Keeper tool also makes the Light Keeper Pro for incandescent lights.
While this tool has many of the same features as the LED Keeper, the process for fixing incandescent Christmas lights is different from the process I’ve just outlined.
You can find the Light Keeper Pro Incandescent tool here:
Once you get the hang of how to fix Christmas lights, the process goes really quickly.
I’d definitely purchase this tool again. It’s saved me a lot of time and money fixing broken Christmas lights instead of buying new ones.
Do you ever have the problem? Found other ways to fix it? I’d love to hear about it in the comments!
Looking for a fun Christmas craft to make for friends and family? Try my Popsicle Stick Ornament Sled project!