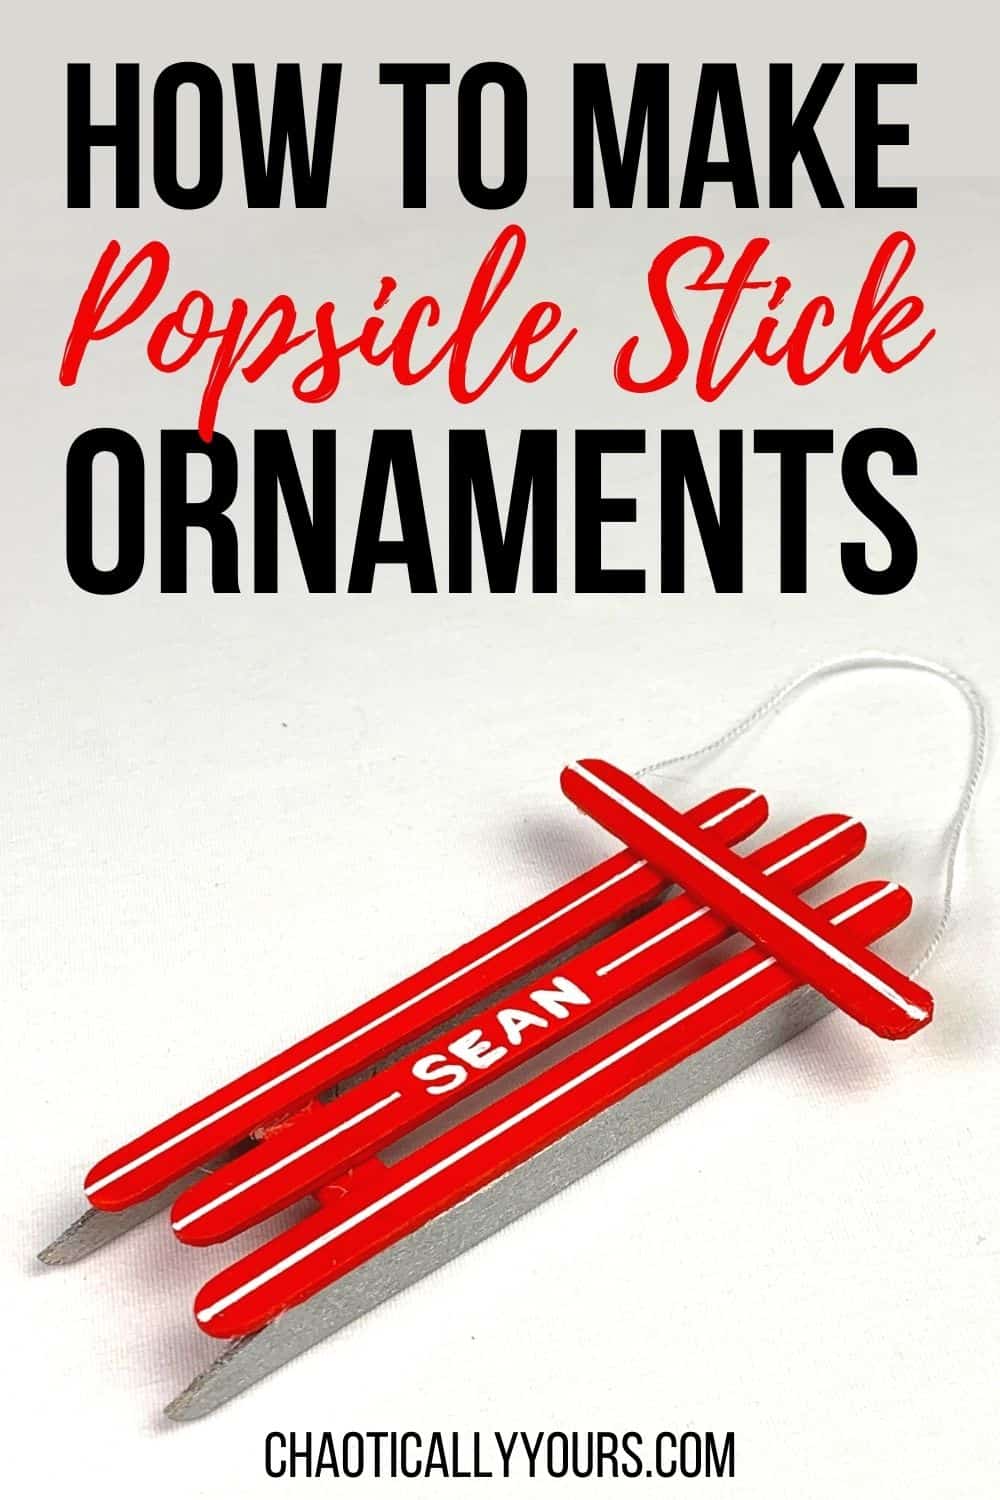
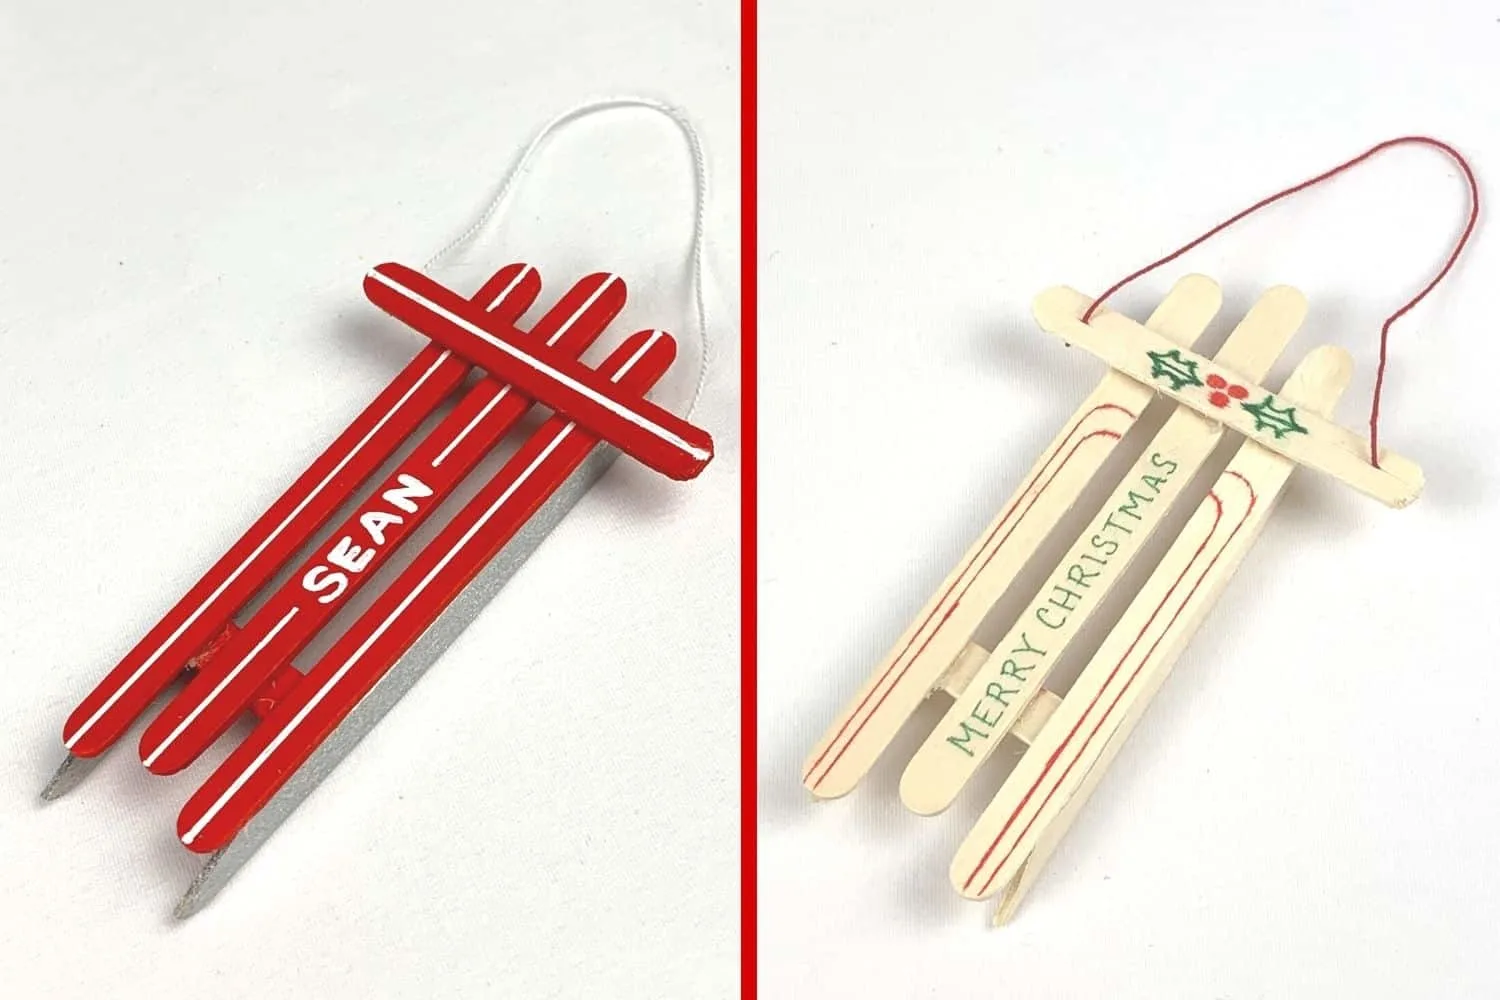
In today’s post, I’m going to show you how to create these sled popsicle stick ornaments!
I love giving homemade gifts for Christmas, especially ornaments!
My husband’s mom saved every ornament anyone ever gave him, and gifted them to us after we got married. Now they decorate our tree every year.
It’s such a joy to bring these out each year to hang on our tree. I especially love watching my husband relive all his childhood memories as we hang each special decoration.
We have so many adorable and creative ornaments that were given to him over the years. Popsicle stick ornaments are plentiful among his collection of handmade gifts.
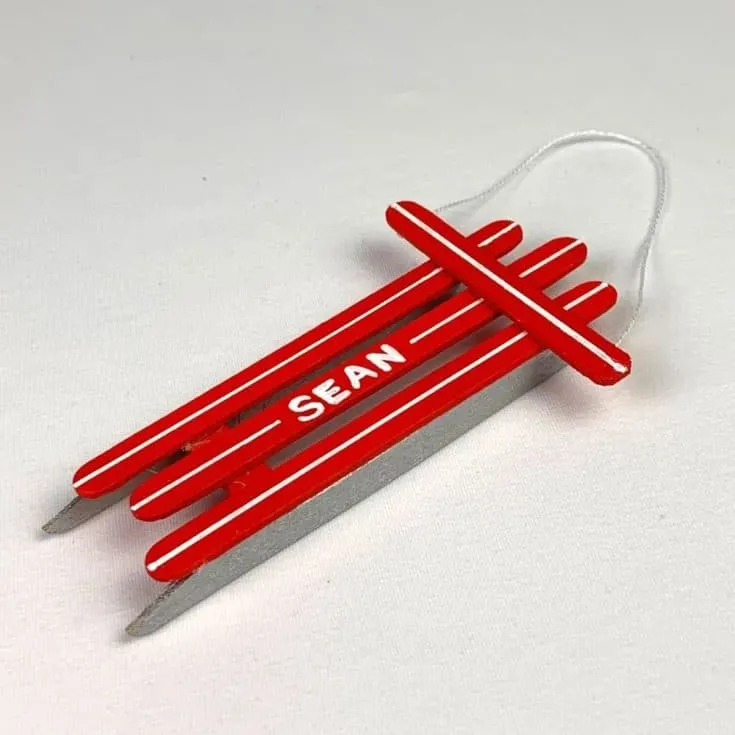
This adorable little sled that someone made for him years ago ranks among my absolute favorites.
I loved it so much that I decided to figure out how to make it.
I’ve also included a printable tutorial at the bottom of this post, but you’ll want to read through these instructions first. I offer a few tips and tricks that will make these popsicle stick ornaments easier to make!
What You’ll Need

It’s surprisingly easy and inexpensive to make these sled popsicle stick ornaments. I found just about everything I needed at my local Dollar Tree.
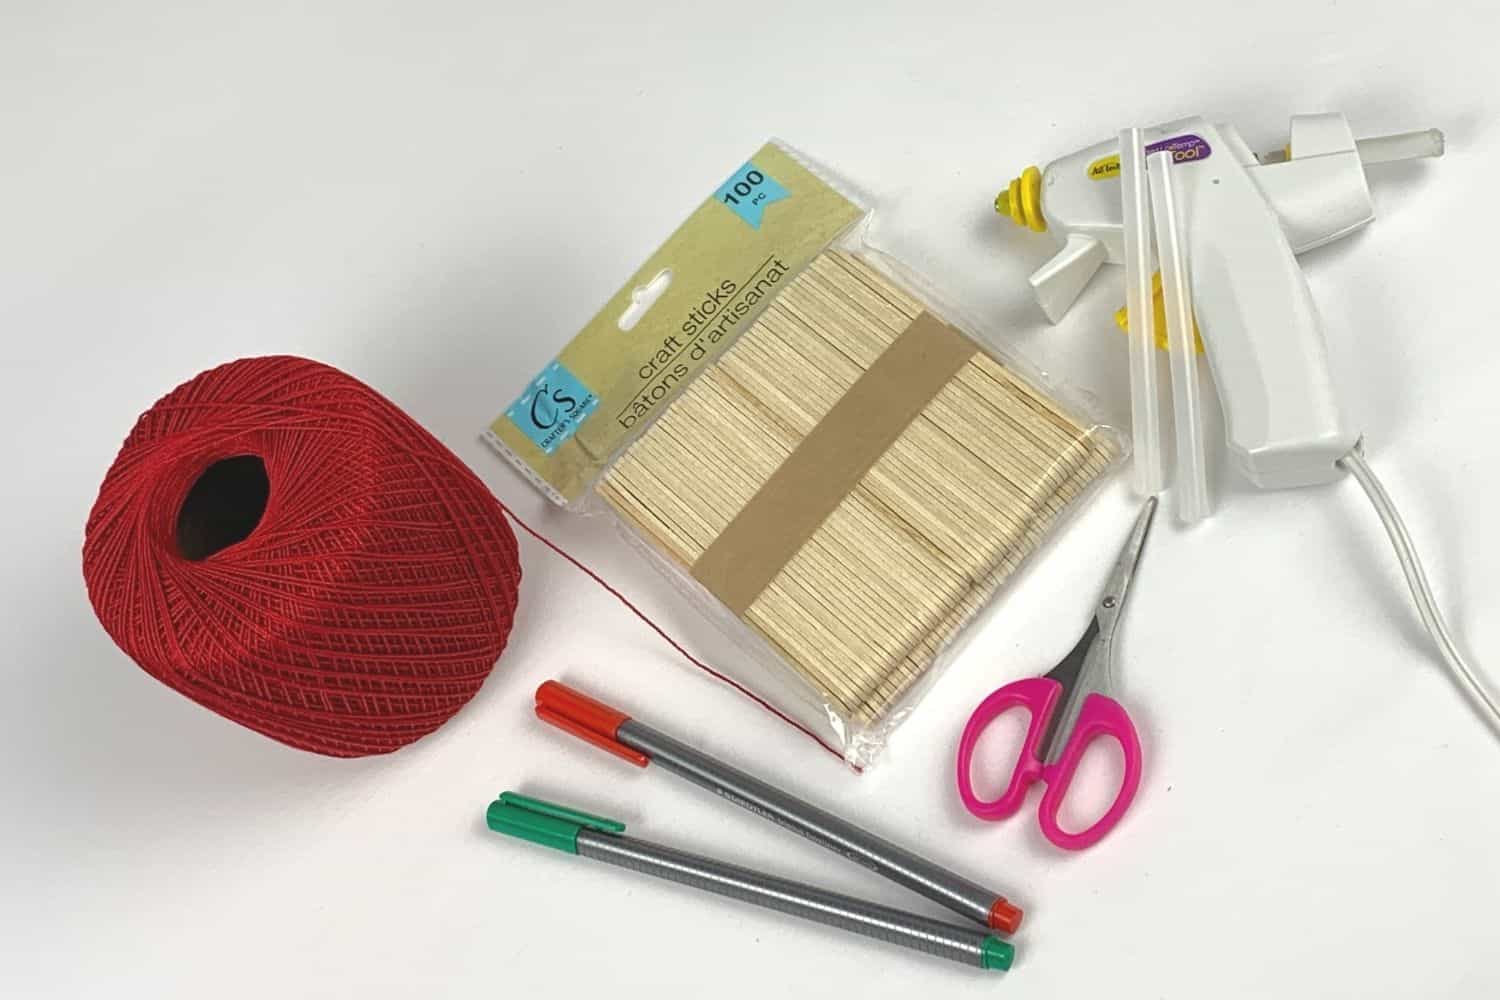
Here’s the supplies you’ll need:
- Popsicle Sticks
- Paint or Colored Pens
- Yarn
- Hot Glue Gun
- Scissors
My Dollar Tree has a couple different variations of popsicle sticks. They have the normal, skinny ones like you see in the picture.
They also had the large, tongue depressor size sticks. I wouldn’t advise using those. The smaller ones look more like the planks you’d see on a real sled.
I made a few versions of these popsicle stick ornaments. Some of them painted and some simply decorated with colored pens.If you’re using paint, just your regular old acrylic craft paint works fine.
When I decorated them with pens, I used fine tipped red and green permanent markers for these ornaments. They did tend to bleed a little bit onto the sticks, so I had to be cautious when I used them.
You could use red and green ball point pens for this project as well, and I’m betting they wouldn’t bleed like mine did. Whatever you have on hand should work.
I used red crochet yarn, but you could use any type of yarn or string you like.
Hot glue guns work well for this project, but be warned they can burn you! If you’re doing this project with children, I’d recommend using another type of glue, like Aleene’s Craft Glue or Elmers.
I also bought these sharp little craft scissors at the Dollar Tree. They worked extremely well for this project.
Making Your Popsicle Stick Ornaments
Trim Your Popsicle Sticks
To get started on this project, you’ll want to assemble all the pieces you’ll need.
You only need 6 popsicle sticks to make this ornament, but I’d gather 10 or so, just in case something goes wrong.
Three of the popsicle sticks will be used exactly as they are, so set these aside. You’ll need to trim the other three.
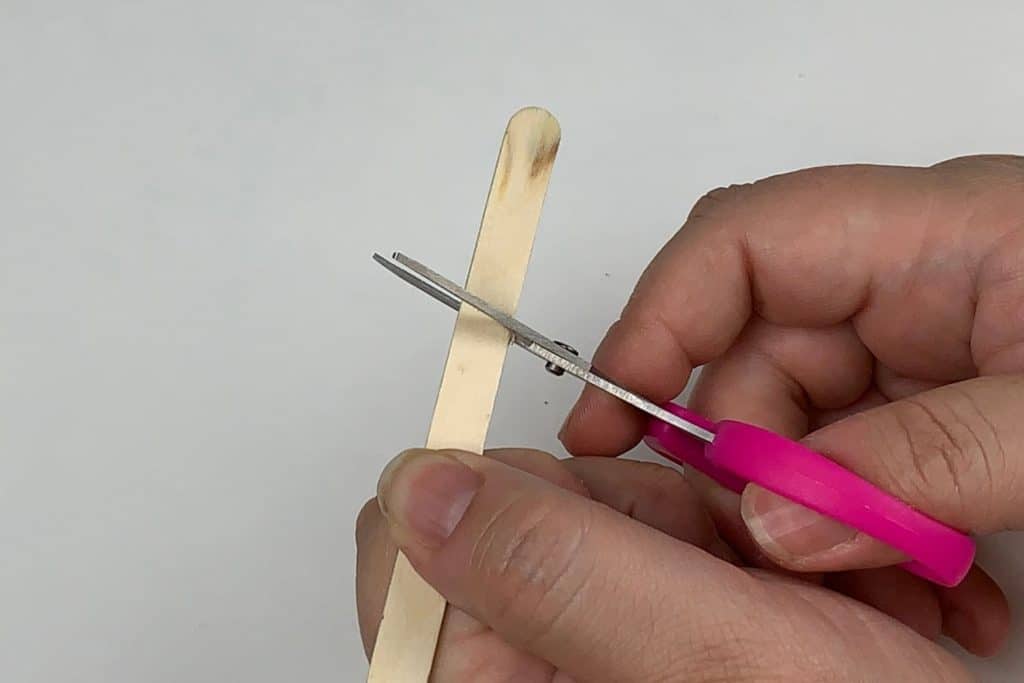
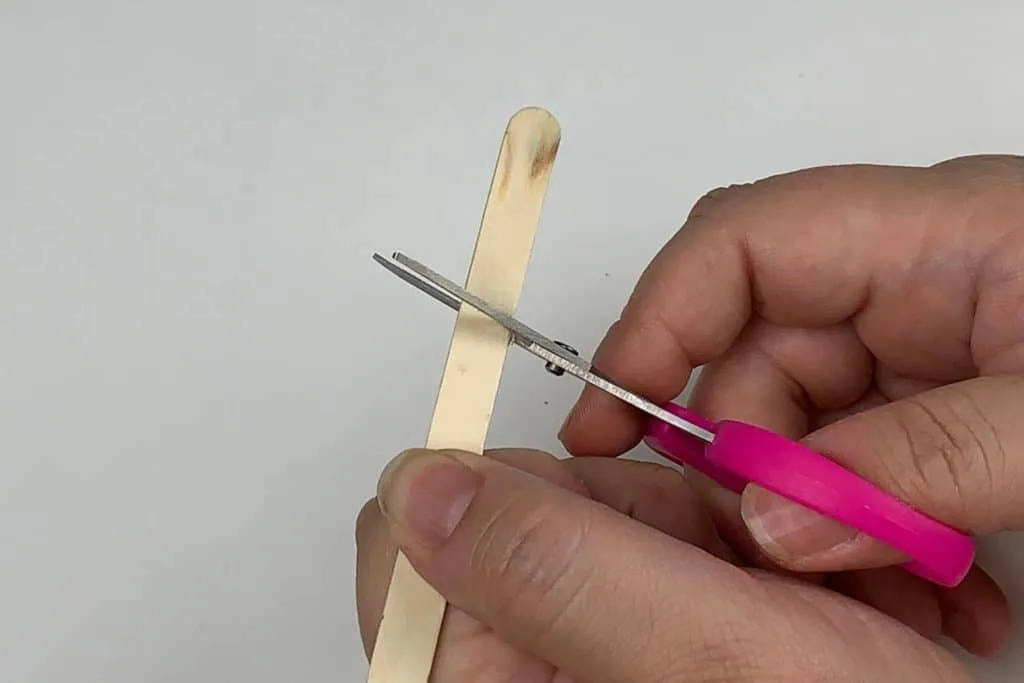
Take your sharp scissors, and cut a popsicle stick down to three inches, cutting a curve the end to match the other side.
This will be the top cross bar of your sled.
Take the remaining piece and trim it down to around one inch, leaving the ends straight. This will be your bottom connecting piece.
Next trim down two full size popsicle sticks for your running boards. You’ll want to trim off just a bit, at an angle, to create the front and back parts of the board.
After I trimmed the first one, I used it to mark where I wanted to trim on the second stick so they would match.
Decorate Your Popsicle Stick Sled
If you’re painting, you’ll want to paint all your pieces and let them dry thoroughly.
For mine, I painted all the pieces, except the running boards red. I painted the running boards silver. I let all of those dry completely.
Then I added a name to one of the full sticks, and used painters tape to add racing stripes to all the top pieces.
For my pen decorated sled, I added racing stripes to the two outside sticks of the sled and wrote Merry Christmas across the middle stick.
I created the racing stripes by tracing around the edge of another popsicle stick. This gave me a straight line, and a uniform curve.
You could write a name and a date or just draw some curlicues. Just do whatever appeals to you most. This is where your creativity can really shine.
Glueing your Popsicle Stick Ornaments
Now you get to assemble it all!
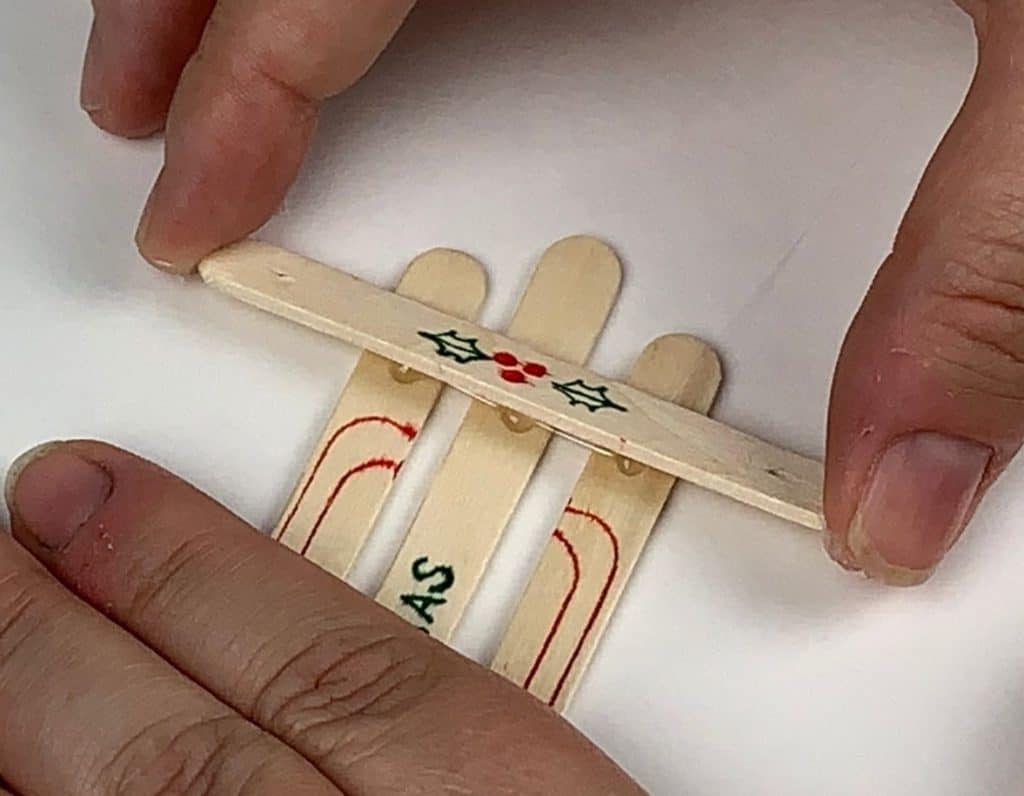
Take your three long decorated popsicle sticks, and lay them out together. You’ll want your two outside sticks to be even, and the middle one pushed just a little bit higher than the other two. Space them apart about a quarter inch.
Use your hot glue gun to attach the three inch piece you cut across the top of the other three sticks, leaving just a little bit of the three long sticks at the top.
I figured out a trick to help you get everything laid out evenly. I used some two inch wide painters tape.
I stuck the two outside pieces along the very edge of the tape, making sure they were even on the ends. Then I stuck the middle piece slightly higher on the tape, and evenly spaced between the other two sticks.
This was REALLY helpful when I went to glue the top piece on. It kept everything from shifting around.
I just removed the tape after the top piece was secure.

Now flip the whole thing over, and glue the one inch piece to the bottom of the three long pieces, making sure to leave some room on the edges.
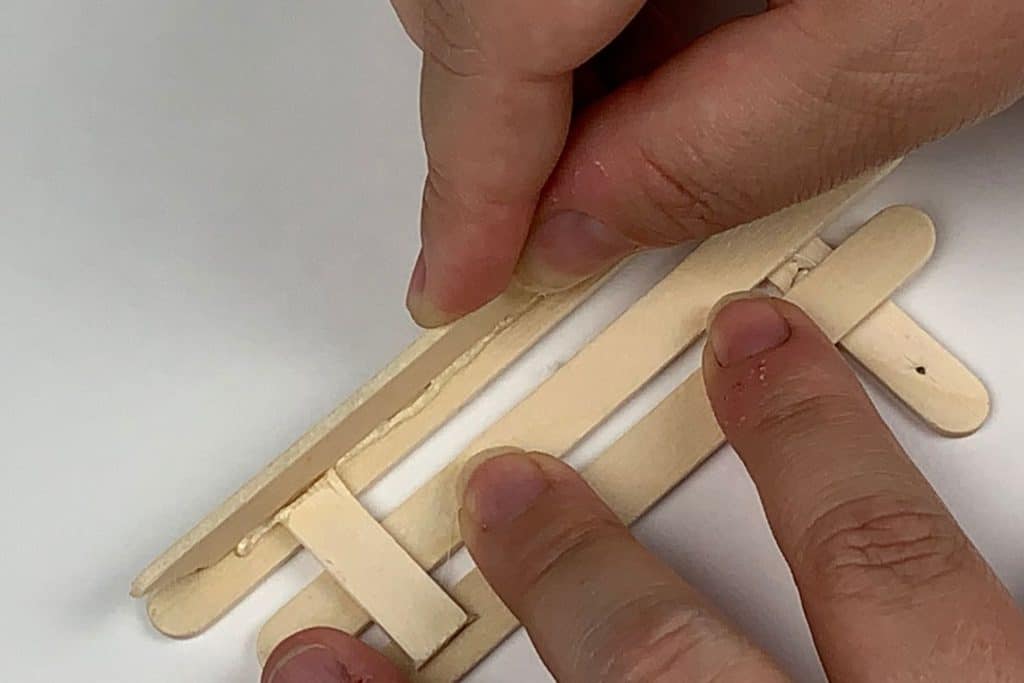
Next take your glue gun, and put a very thin bead of glue along the length of the underside of the outer running board pieces. Glue the running board piece perpendicular to the other portion of your sled.
This is where using a hot glue gun pays off. The boards attach very quickly and securely. If you’re using regular glue, you might need to hold these in position for a while to make sure they’re not going to shift.

Attach The Yarn
For the final step, attach the yarn to the top of the tiny sled popsicle stick ornament.
I did this on one of my sleds by putting holes in the popsicle stick using my scissors kinda like a drill. It worked, but it did crack the sticks a bit.
For the second version, I simply glued the ends to the back of the top cross bar.
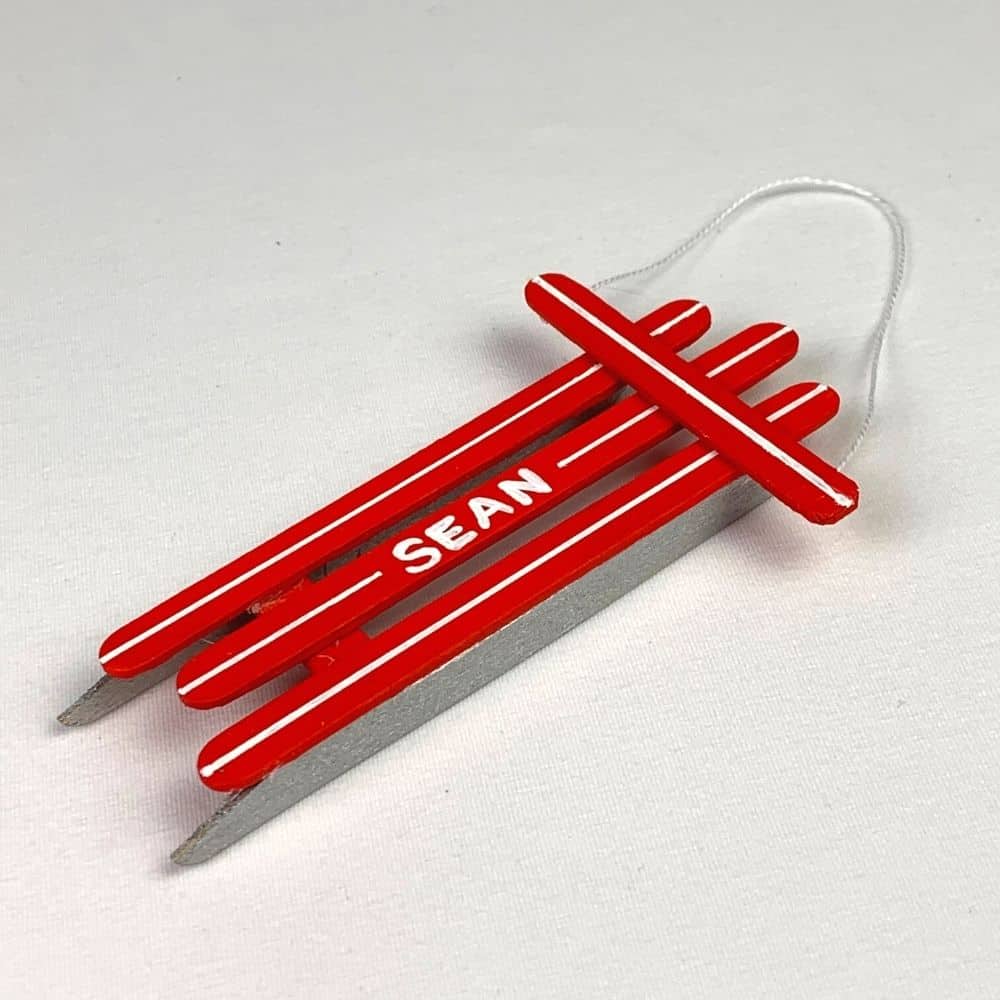
Your Finished Popsicle Stick Ornaments
That’s it. That’s your entire process! Super easy, right?
I loved the variations we came up with, and I think they make great gifts either way!

This project is really a classic. My original inspiration came from something made in the early 1980’s, and it’s still as cute today as it was when it was given to my husband.
It’s such a fun idea that’s so easy to personalize. These would make great teacher gifts or just fantastic gifts for friends. I’m sure anyone that receives them will really enjoy hanging these popsicle stick ornaments on their Christmas tree.
Looking for other great Christmas presents? Check out this awesome Explosion Box Tutorial to create a one of a kind gift for someone you love!
Or make them a personalized t-shirt with these simple to follow Bleach Stencil T-shirt Instructions.
As promised, here’s your printable instructions:
Popsicle Stick Ornaments: How To Make A Sled

Make these cute sled popsicle stick ornaments with just a few materials that you can easily find at your local dollar store.
Materials
- Popsicle Sticks
- Paint or Colored Pens
- Yarn or String
Tools
- Hot Glue Gun
- Scissors
Instructions
- Gather at least 6 popsicle sticks.
- Using the scissors, cut one of the popsicle stick down to three inches, cutting a curve the end to match the other side.
- Take the remaining piece and trim it down to around one inch, leaving the ends straight.
- Next trim down two full size popsicle sticks at an angle on both ends, to create the front and back parts of the board.
- Decorate your popsicle sticks with paint or with colored pens.
- Take your three long decorated popsicle sticks, and lay them out together with the two outside sticks to be even, and the middle one pushed just a little bit higher than the other two. Space them apart about a quarter inch.
- Use your hot glue gun to attach the three inch piece to the top of the other three sticks, leaving just a little bit of the three long sticks at the top.
- Flip it over, and glue the one inch piece to the bottom of the three long pieces, making sure to leave some room on the edges.
- Take your glue gun, and put a very thin bead of glue along the length of the underside of the outer running board pieces. Glue the running board piece perpendicular to the other portion of your sled.
- Attach the yarn to the back of the cross bar at the top, using the hot glue.
Notes
WARNING: Hot glue guns are dangerous and can easily burn you. DO NOT use hot glue if making this craft with children. Use regular craft glue.