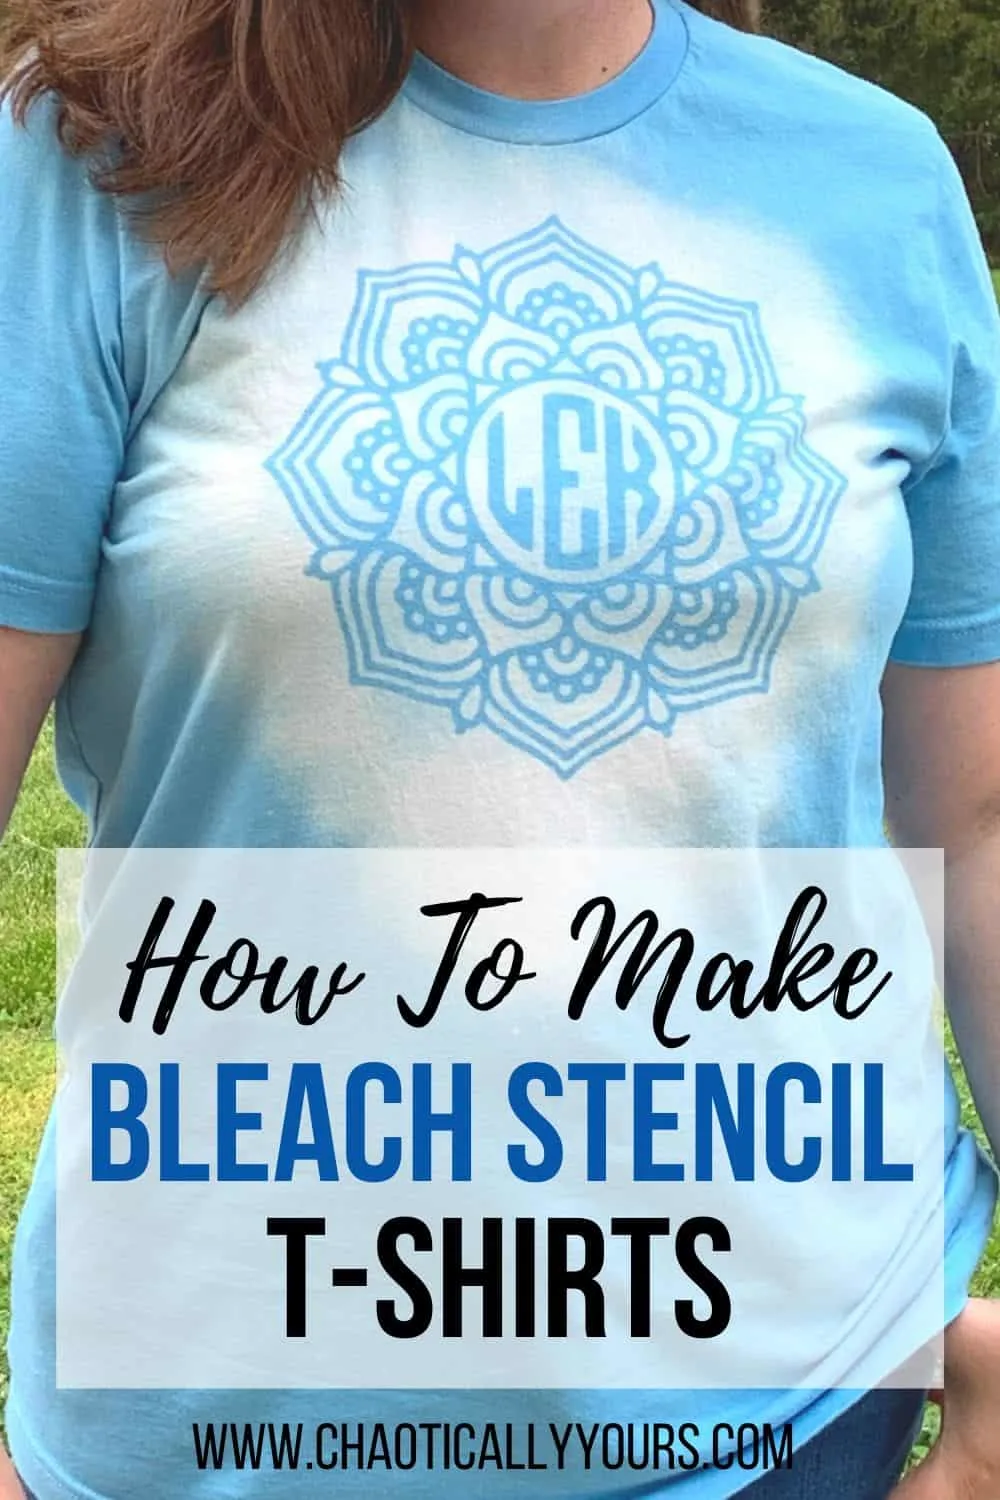
Making your own stencil bleached shirts is a fun, cheap and easy way to make a cool, one of a kind t-shirt.
In this post, I’ll teach you how to bleach a shirt so that you create patterns and designs on them.
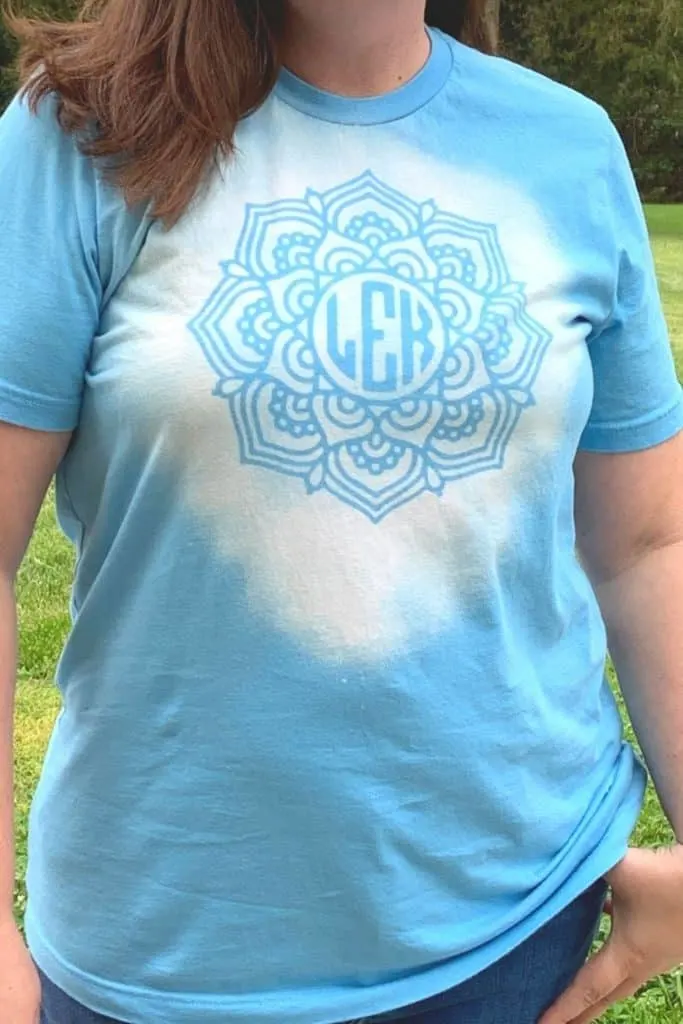
The negative/positive space concepts are really fun to play with and give you the ability to create unique, one-of-a-kind designs. If done property, you can get some really cool details to show up on bleached shirts.
The steps to create a bleach stencil shirt are super easy, and it’s a project that you can get done in a relatively short amount of time.
Links in this post may be affiliate links, which means I may earn a commission if you make a purchase from any of them. You can read my full disclaimer HERE.

What You’ll Need To Make Stencil Bleached Shirts
I got all the supplies needed to make a bleach stencil t-shirt for under $5, and most, if not all can be found at your local dollar store or already around your home.
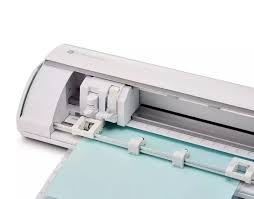
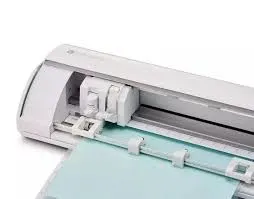
You can do this project with or without a vinyl cutter, like a Cricut or Silhouette machine. I’ve been successful with both methods, and I’ll outline how to do both of them.
I have a Silhouette machine that I absolutely LOVE! The design tool gives you lots of freedom to make whatever you want, and the machine itself is fantastic.
I’ve created so many fun projects with my Silhouette. In addition to these awesome bleached shirts, I’ve made tumblers, signs, heat transfer t-shirts, wall decals, and lots of other things.
The Silhouette has made this particular project a breeze. I’m able to do much more intricate designs with it than I would attempt if I was cutting it out myself.
It has been well worth the money I spent on it!
You can order one on Amazon.com here:
But if you don’t have the time or money to use a cutting machine, this project can still be done without one.
My first attempt at this method was to make a bleached shirt with the Hunger Games Mockingjay symbol on it.
I cut the entire thing out by hand, and used this exact process. It still turned out awesome!
Supplies
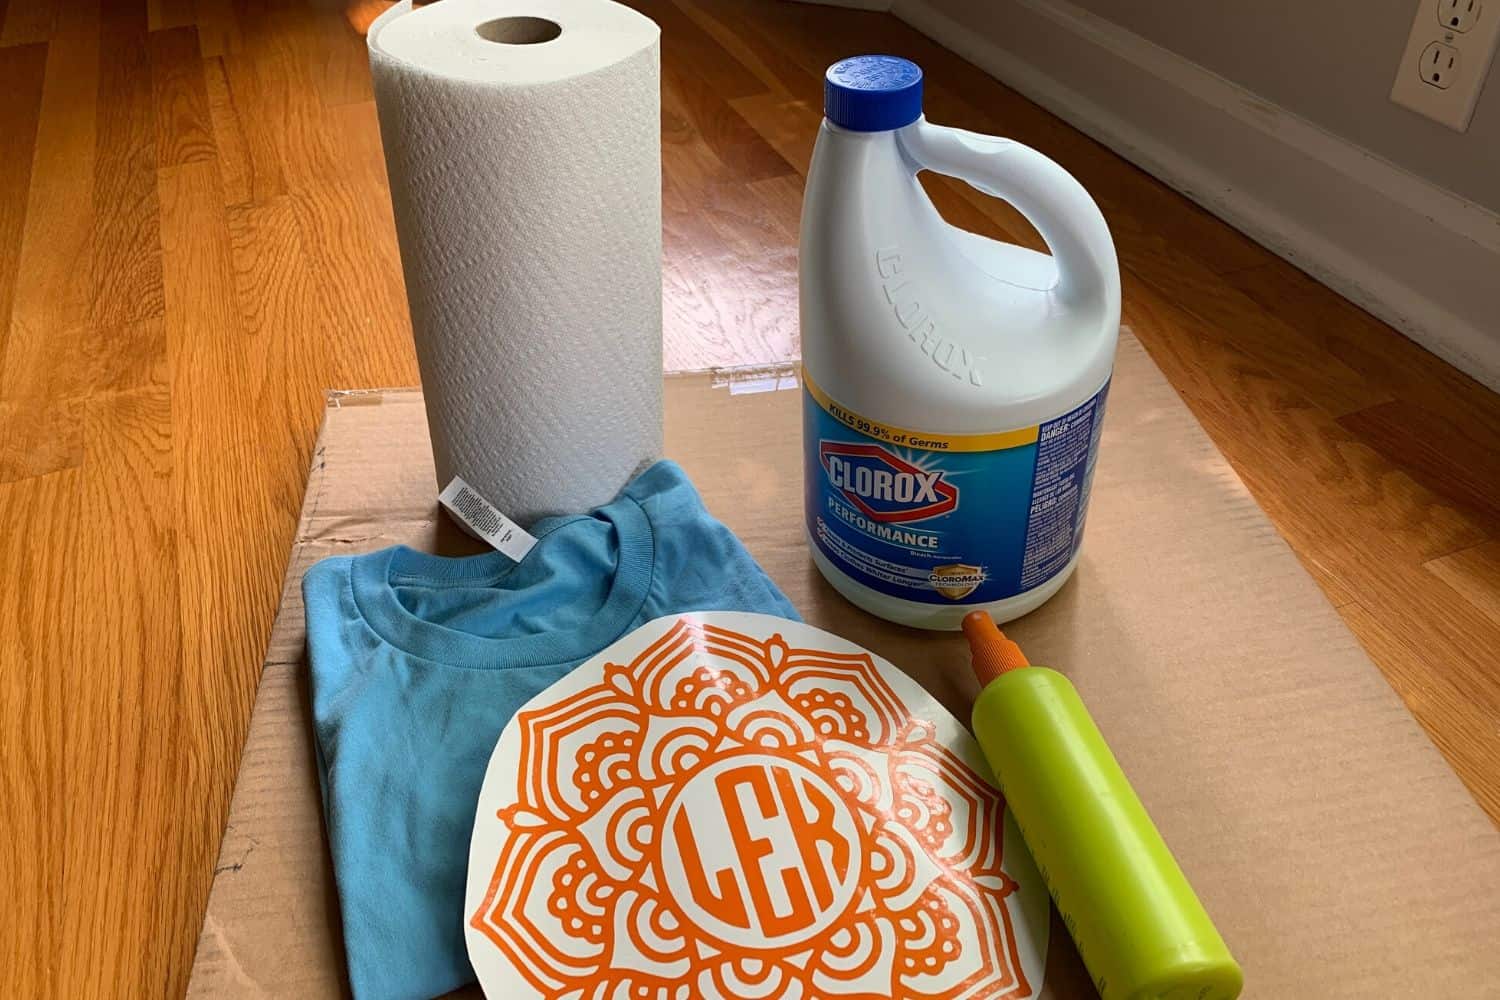

Here’s what you’ll need:
- A colored t-shirt
- A small spray bottle with a 50/50 mix of bleach and water
- A large piece of cardboard
- Paper towels
If you are using a Cricut or Silhouette Machine:
- A pre-cut shape on regular vinyl, weeded and ready to transfer
Or without a vinyl cutting machine:
- An image printed on cardstock
- An exacto knife
- A glue stick
A Warning About Bleach Stencils
Before you get started, it’s important to mention that bleach can be dangerous and destructive!
I DO NOT recommend letting children do this project alone.
Be sure you work in an appropriate, well ventilated space that won’t be ruined if you spill bleach on it! Outside is best when you get to the bleaching step.
Be sure to wear old clothes, as overspray or a gust of wind can ruin clothing!
Preparing Your Image For Your Bleached Shirts
The first step to make a bleach stencil is to select and get the image you want on the shirt ready to be transferred.
If You’re Using A Cutting Machine
Choose what image you’d like on your shirt, and cut out the vinyl shape on your Cricut or Silhouette machine.
If you’re using a cutting machine, you’ll want to be sure to use regular vinyl, the kind you’d use on a tumbler or a sign.
I like to buy vinyl in bundles from Amazon. You get lots of material to work with at a great price. Here’s one of my favorites:
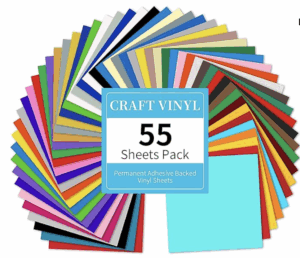
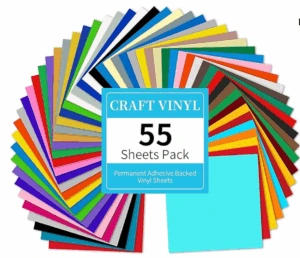
This is a great project to use all those colors you aren’t particularly fond of. Since the vinyl isn’t part of the finished product, it doesn’t matter what color you use.
If You’re Cutting Out Your Image By Hand
If you don’t have a cutting machine, don’t worry! It make take a little more work, but you can get this project done.
I recommend starting with a simpler image if you’re using the “cut it yourself” method.
Choose one with clearly defined lines that will make it easier to know where to cut. Black and white images can be helpful here.
Print your image on sturdy card stock, so that the bleach spray won’t soak through it. Regular paper WILL NOT WORK for this!
Once you’ve printed the image, take care in cutting it out.
When I did this project without a a cutting machine, I used an exacto knife to cut out my image. This enabled me to get all the little details cut precisely.
If you use an exacto knife, make sure you have a surface below it that can handle the gouges. I used an old clipboard. You wouldn’t want to ruin your kitchen table with this project!!
You could use scissors if you’re using a very simple image, but I recommend an exacto knife if you want more detail.
Placing Your Image
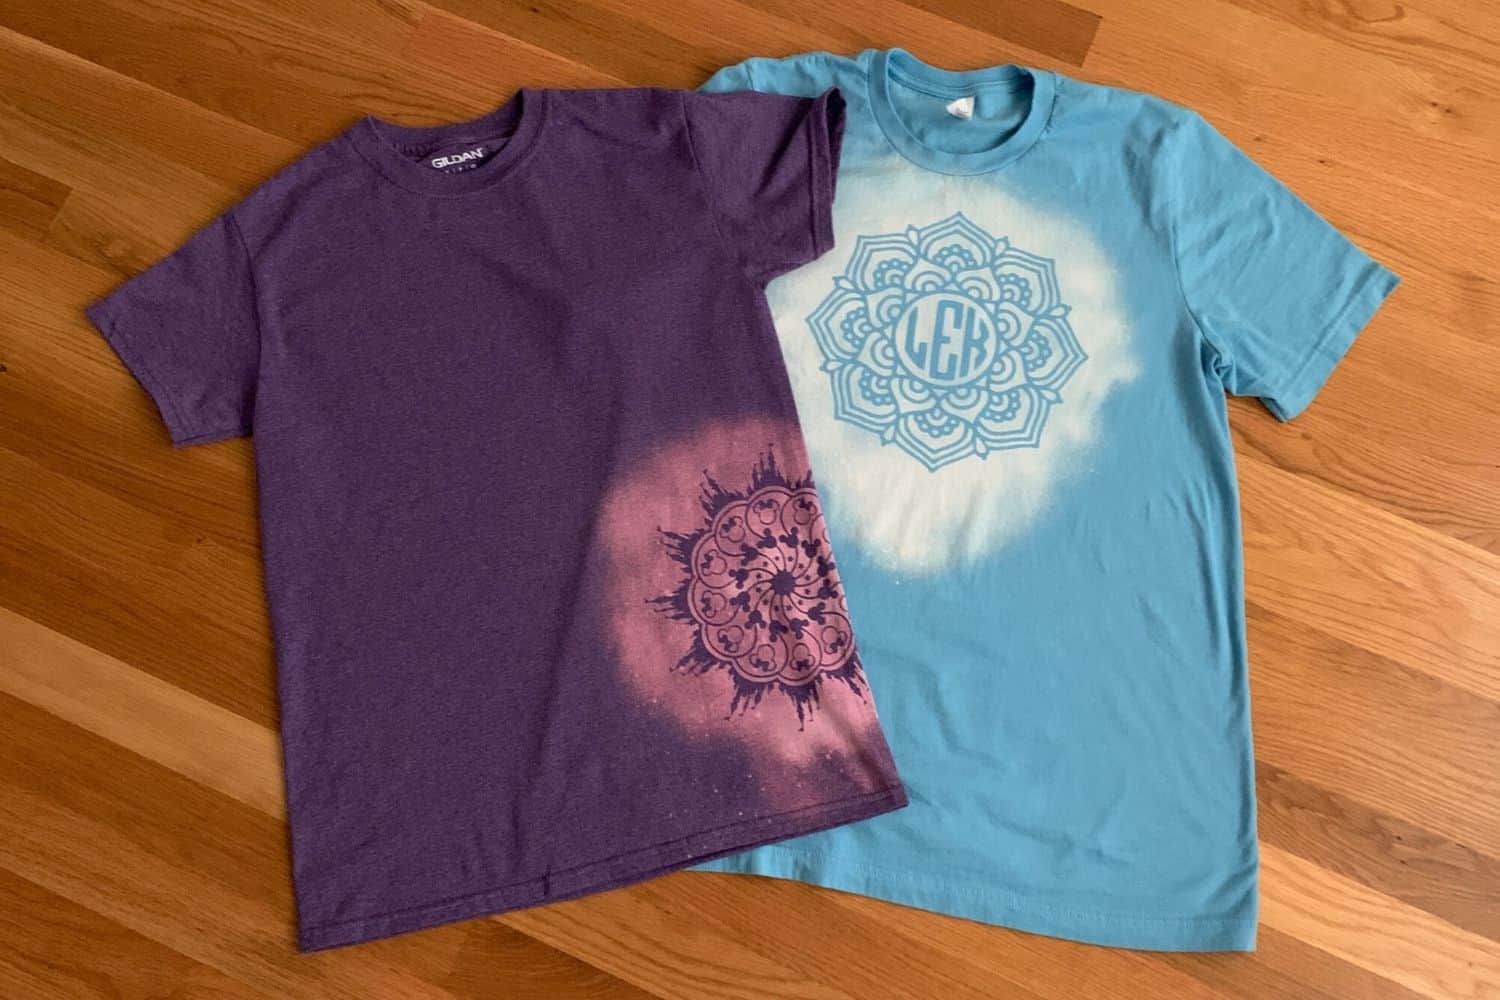
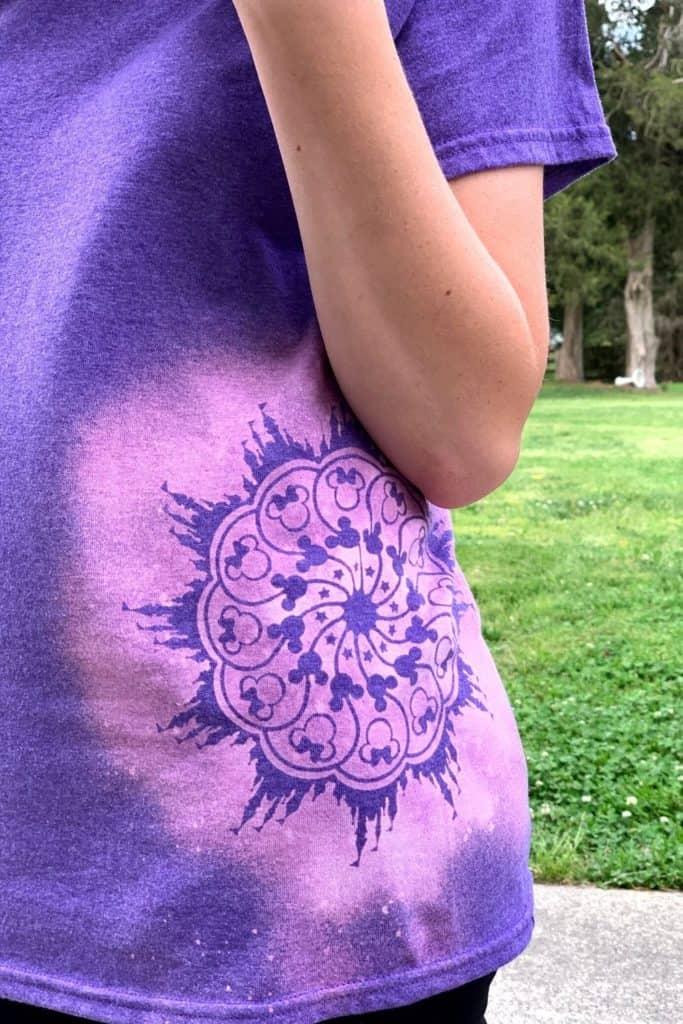
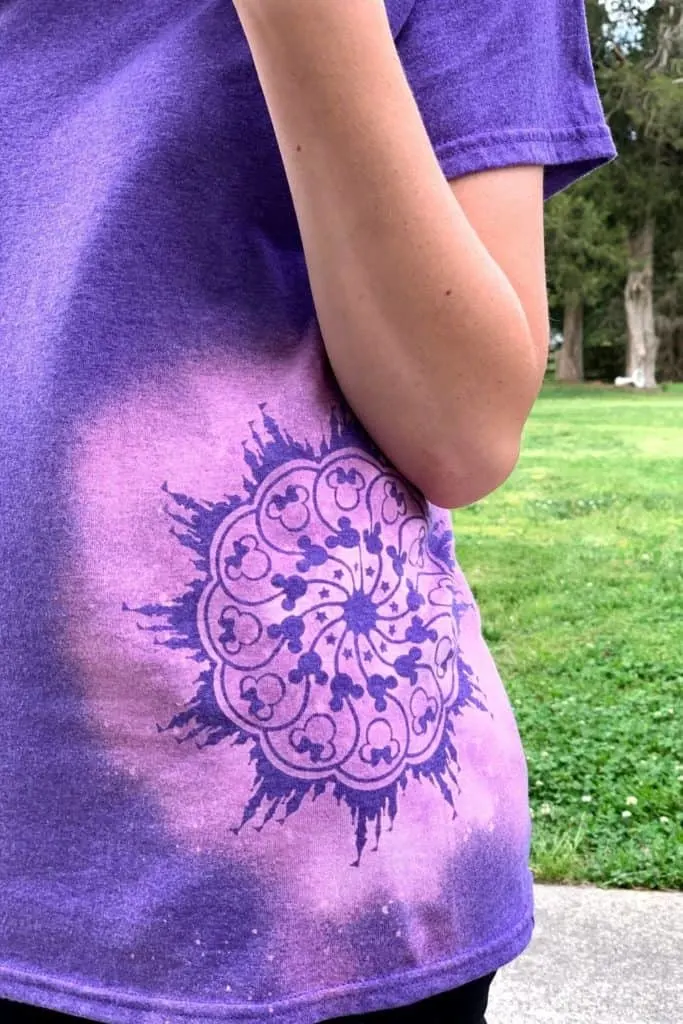
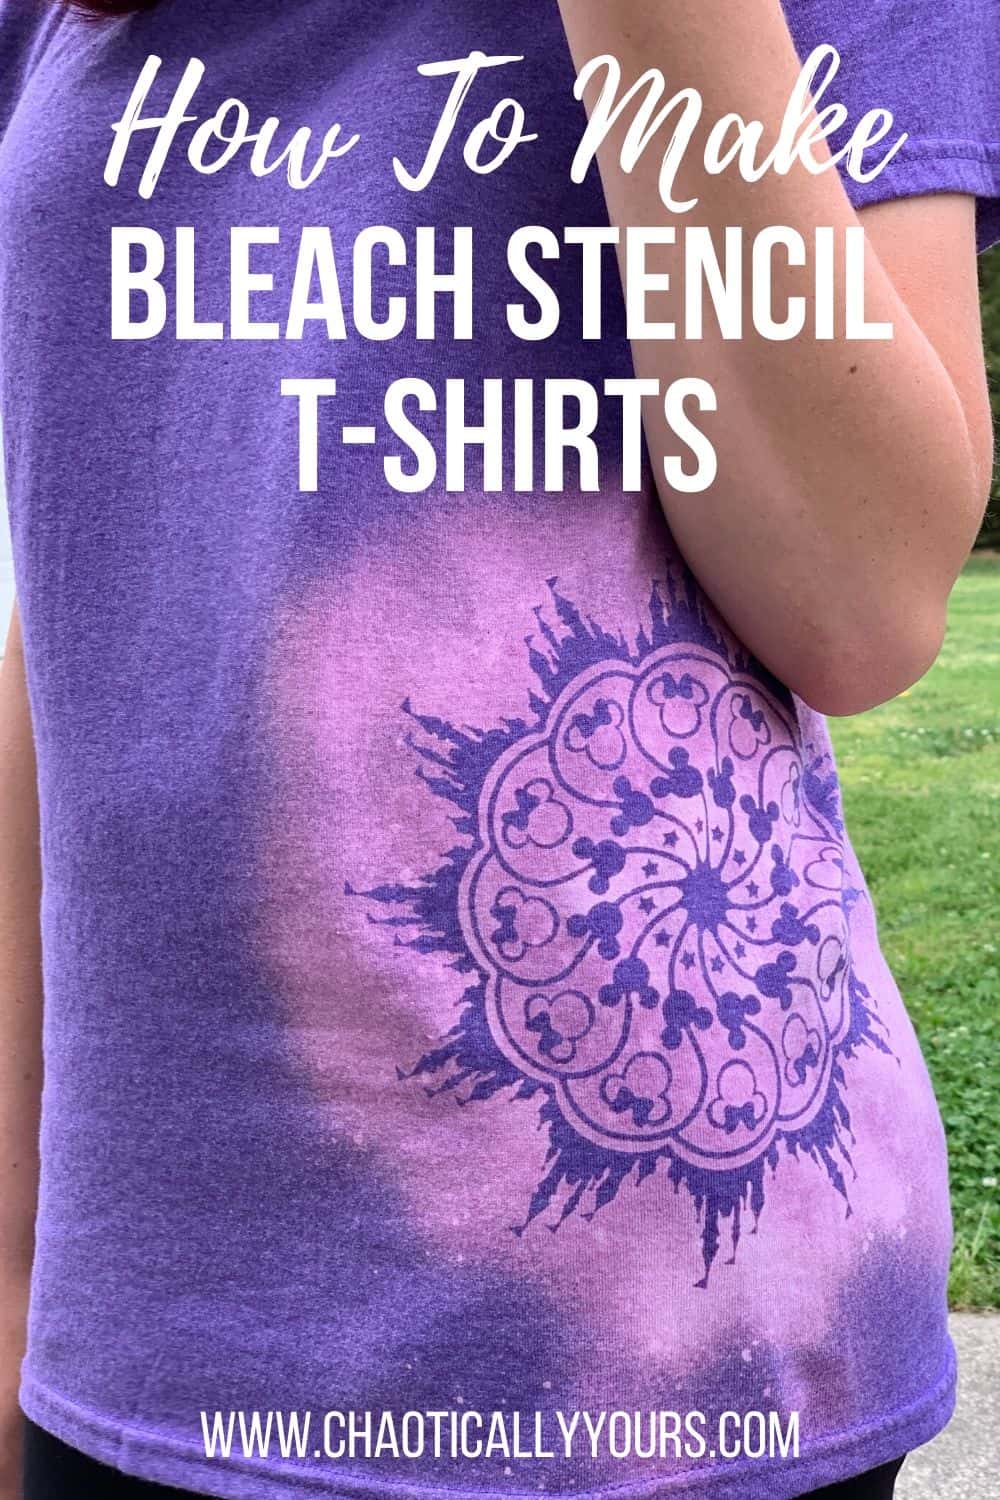
Once you have your image ready, play around with placement. While I used the front middle of the t-shirt for several versions of this project that I’ve done, my daughter really wanted hers on the side.
Anywhere you put it, make sure you leave room for the bleach area to surround the stencil.
When you’ve decided where you want your image, stick it to the shirt.
If you’re using a vinyl, transfer the image on to the shirt (remember to use just regular vinyl, NOT heat transfer).
The transfer process with a intricate vinyl cut out proved to be the most difficult part of this process.
With simple images, I was able to use a peel and stick method, kinda like a regular sticker.
With more intricate ones, we used transfer tape to keep the spacing perfect.
The adhesion to the shirt was less strong than the adhesion to the transfer tape, so it took some patience to get the entire image moved.
Just take your time, and don’t worry if you get a small rip.
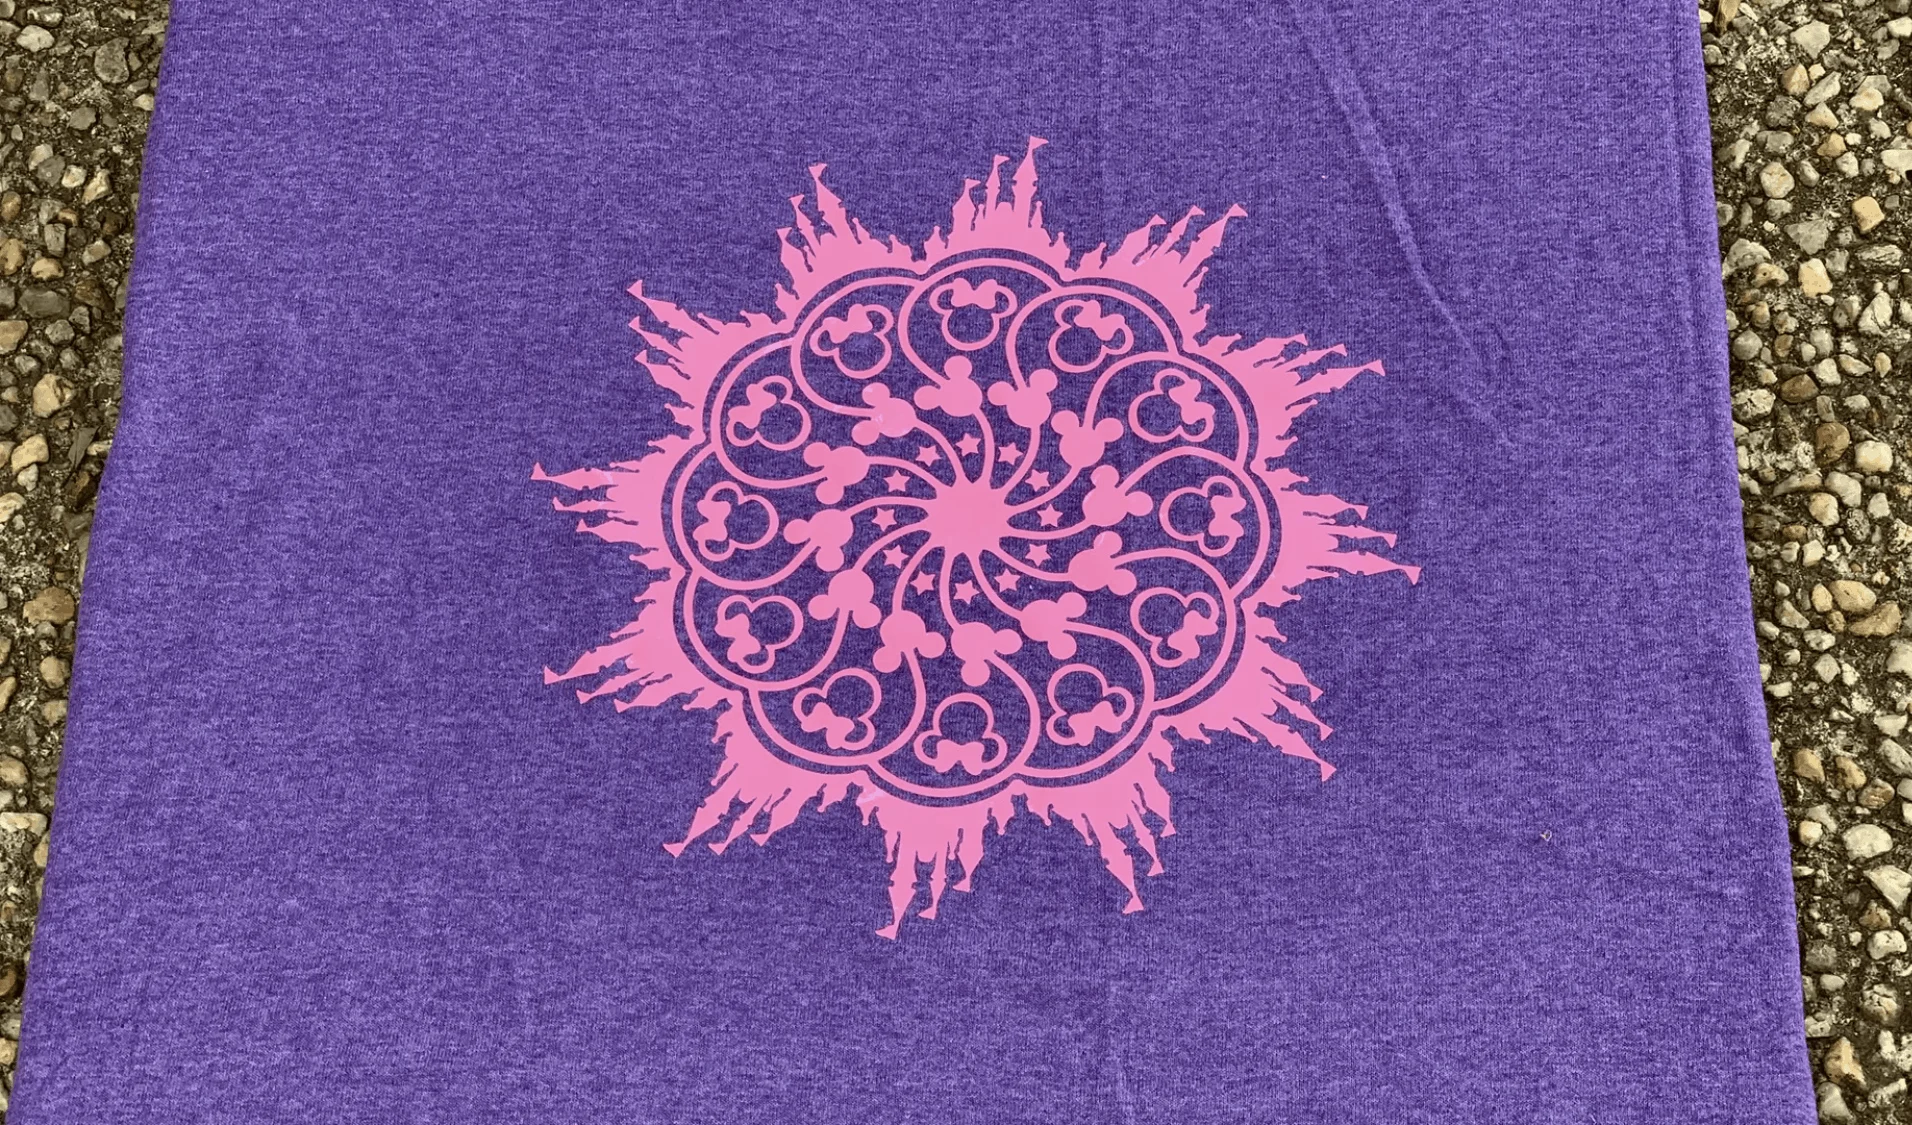
When I made this Disney themed bleached shirt, I had one of the towers in the castle image rip off completely during out transfer process. I just stuck it back on the shirt in the right place and we had zero problems with it.
Again, just take your time with intricate vinyl designs.
If you are using the card stock method, simply rub the glue stick on the back of the cut image, and place on your t-shirt.
Press firmly on your bleach stencil to make sure you don’t have gaps between the shirt and the stencil.

Once you’ve decided how you want it, place the cardboard inside of the t-shirt, being sure that every area that will be sprayed with bleach has cardboard below it. This prevents transfer to the back of the t-shirt.
Larger is better for this part of the process. You don’t want to put a piece of cardboard that is too small under the image. This would create lines that might ruin the effect.
It’s best to have a piece of cardboard that fills as much of the shirt as possible.
I used a little masking tape on the back of the shirt to keep it in place during the bleach stencil process, but this is totally optional.
Prepping Your Bleach Mixture
The bleach mixture is a super important part of this process. While you could use straight bleach to do this, I do not recommend it.
Bleach is a very harsh chemical and can damage some fabrics if applied directly to it or left on it too long.
Mixing the bleach with water can help with this. It also gives you a little more control when bleaching shirt.
I recommend mixing the bleach with an equal part of water when prepping for this bleach shirt project.
Making Your Bleached Shirt
For the next, and most exciting step, I recommended going to a VERY well ventilated area. Outdoors is best, just watch out for a windy day.
Bring your prepared shirt with the stencil attached, your paper towels, and your bleach spray with you.
A note about the bleach spray: Bottle selection is important in this process. Depending on the look you want to get, you’ll want to select one that sprays a fine mist or a more splotchy spray.
Test out your spray on some old fabric to see what kind of look you get.
For our shirts, we choose a bottle that sprays a very fine mist. This has seemed to work best for us to get the look we want on the bleach stencil.
Lay your design flat on the ground, far away from other objects that might possible catch any overspray. Again, I recommend doing this outdoors.
Now for the fun part! Start spraying your bleach stencil!
I’ve learned to begin from the middle and work outward. This helps prevent spraying too large of an area.Do this process in stages, just a little at a time. Give the bleach time to start changing the color of the shirt to see where you need more spray.
You should start seeing the colors change relatively quickly.
DO NOT SPRAY TOO MUCH!!!!
Over-saturating the shirt can have disastrous results. The bleach mixture can seep under the stencil, and ruin the entire effect.
You need to use the bleach sparingly and slowly to prevent this.
Don’t make the same mistake we did and end up with something looking like this:
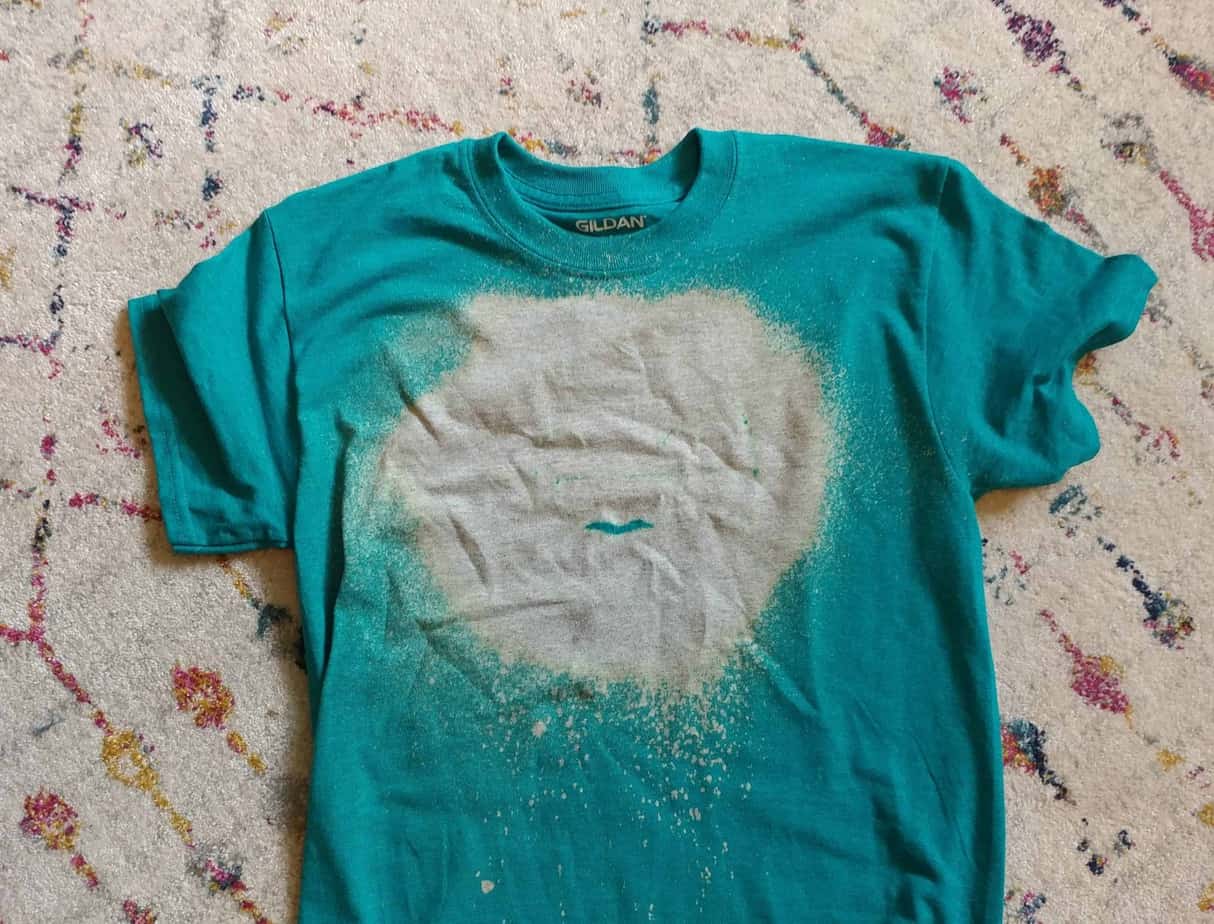
It’s supposed to be an emoji, but it went pretty wrong. Adding the bleach slowly will really pay off.
Next, you’ll want to dab the bleach mixture off the vinyl or the cardstock stencil, so it won’t create a mess when you remove it. The spray tends to collect in drops, especially on vinyl.
Removing Your Bleach Stencil
Once you’ve sprayed as much of the bleach mixture as you want (and it won’t take much), leave it to dry.
You’ll be super gratified because you’ll already be able to see your design appearing on the shirt. Be sure to leave the cardboard inside the t-shirt, as it will protect the back from bleed over.
Let it dry completely! Then remove the cardboard and wash any bleached shirts you’ve made in cold water to remove any remaining bleach.

And you’re done! You’ve got a super cool, one of a kind bleach stencil shirt to wear anytime.
My kids LOVE this bleached shirts project, and we’ve made lots of them over the years.
They make great gifts!! I even used this process to make this Harry Potter Deathly Hallows T-shirt!
I’d love to see your results! Share them on my facebook page: www.facebook.com/chaoticallyyoursblog
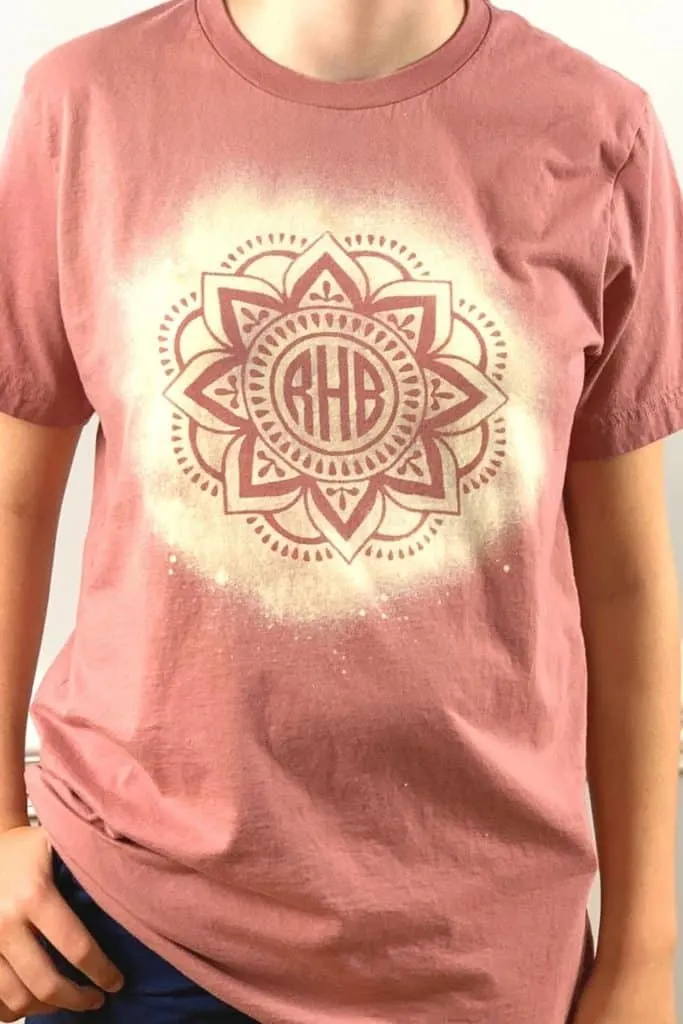
Check out these finished products:


Wanna learn how to make other cool t-shirts? Click on the picture to check out my other tutorials!


Pin Me!

How to make stencil bleached t-shirts
Vicki Krajniak
Friday 26th of July 2024
Do you think I could use a reusable stencil from Hobby Lobby? The ones you use to stencil walls and furniture?
Louise Emery
Monday 29th of July 2024
Yes, I absolutely think you could do that. I would use a water soluble glue stick or some tape to get it to stay in place. You just want it to not move when you're spraying the bleach.
Jill
Sunday 23rd of June 2024
Do you think a freezer paper stencil ironed on the shirt would work?
Louise Emery
Tuesday 25th of June 2024
Possibly. I haven't tried that method, but it would be worth doing a test run with some scrap fabric to see how it works for you.
Christi Waterman
Wednesday 5th of June 2024
Hi. I love these! Can the vinyl stencils be reused? Will they restick to multiple shirts? Tia!
Louise Emery
Wednesday 5th of June 2024
We were only able to get one use out of each of them. We always used cheap vinyl or our extra pieces, but I bet if you cut them with something more substantial, you might be able to do that.
Monica Norheim
Wednesday 21st of February 2024
Thank you for your guidance. I bought 2 shirts from the itthemovie.com store, one black and one royal blue, with prints of my favorite band. Unfortunately, I accidentally got some white paint stains on the shirts while repainting the walls. I washed them, but the stains didn't completely come off. I followed your advice and the result was that the stains were covered and the shirts looked quite nice. This article is very helpful.
Louise Emery
Thursday 22nd of February 2024
I'm so glad it saved your shirt! Thanks for the feedback!
LeeAnne
Friday 28th of October 2022
At what point do you pull off the stencil? I'm thinking right after you say to dab off the beaded bleach?
Jody
Tuesday 28th of February 2023
@Louise Emery, nice to meet you. I loved your tutorial, it looks like fun, I can't wait to try a stencil...I just started trying my hand at tie dying, it's fun and relaxes me. I'm going to give the clorox toilet bowl cleaner a try on a few black tees I just invested in...lol... I also started silversmithing a couple of years ago...mostly self taught bought a lot of books and watched hundreds of hours on Youtube, I'll be watching 100's more. I'm getting there. I've invested thousands in tools a lot more in silver and gemstones... I decided to start all these art projects at 61, I'm 63 now... I'm going to go read the rest of your tie dye information... Wish me luck...And thank you so very much for explaining all the steps very clearly...Your a great teacher...Good Luck...
Louise Emery
Friday 28th of October 2022
I usually let it dry for just a little bit, maybe 10 minutes or so, after dabbing the excess bleach off.