A hexaflexagon is one of the coolest things my kids have ever learned how to make!
These amazing geometric origami shapes fold in the same direction infinitely to make a repeating pattern that can be used for all sorts of fun things!
They’re also a really great STEM activity, helping kids learn about geometry, engineering, patterns, and art!
Links in this post may be affiliate links, which means I may earn a commission if you make a purchase from any of them. You can read my full disclaimer HERE.
We’ve made optical illusions, greeting cards, explosion boxes and even cartoons with them! The possibilities are endless with these awesome shapes!
It does takes a little bit of patience to learn when you’re getting started, but once you master the concept, a hexaflexagon can be made in a matter of a few minutes.

Hexaflexagon: What You’ll Need
Making a hexaflexagon takes the most basic supplies, and it’s all stuff you probably have around your house already.
It’s also perfect for almost any age kids, but particularly older elementary and middle school students since it really emphasizes the use of geometry and angles.
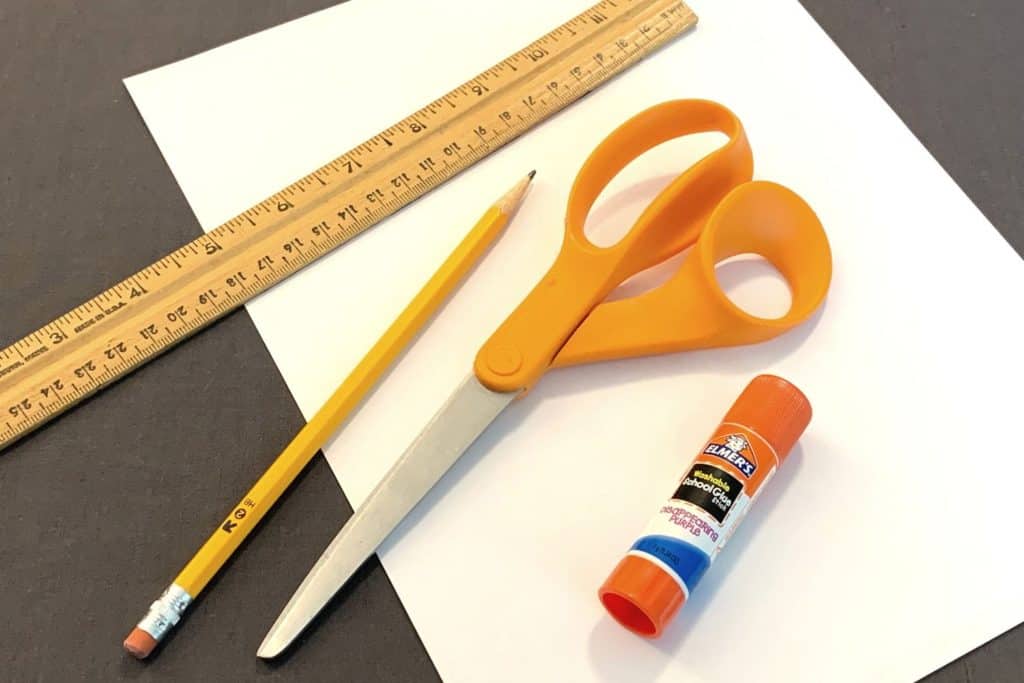
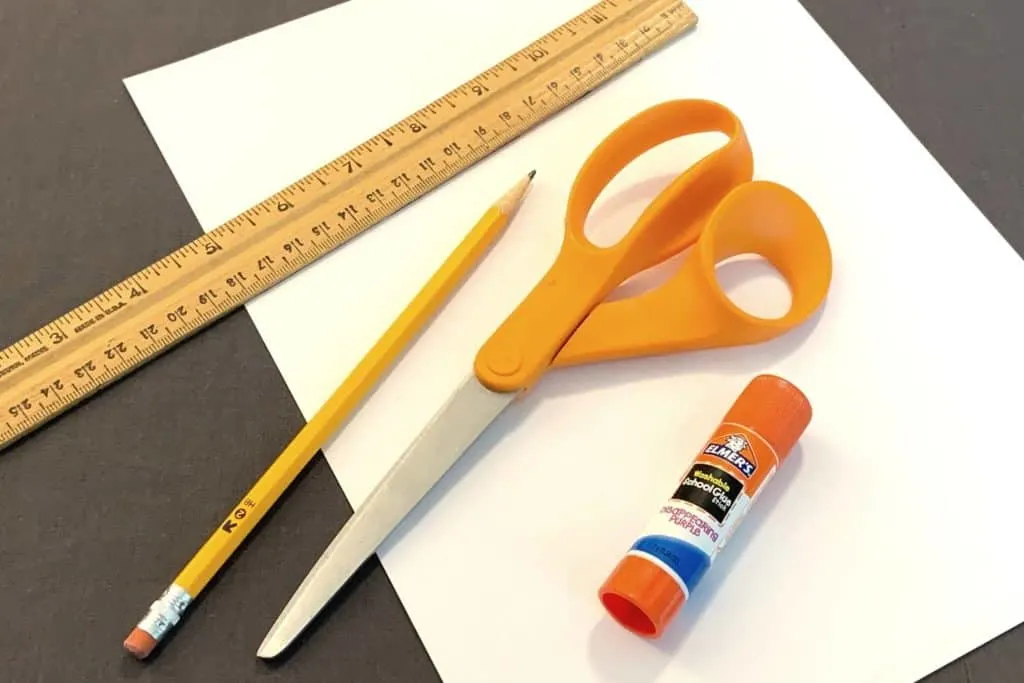
To start making a basic hexaflexagon, you’ll need the following items:
- 8.5 x 11 inch sheet of paper
- a ruler
- a pencil
- scissors
- a glue stick (tape or regular glue can be used in a pinch, but we MUCH prefer using a glue stick)
Once you’ve gathered these items up, it’s very easy to get started!
Hexaflexagons can be made in just about any size, as long as you get your measurements right.I’ve found that for a standard size piece of copy paper (8.5 x 11 inches), that the width of 1.5 inches is the perfect size.

Measuring and Cutting
You’ll want to measure and cut a strip of paper that is 1.5 inches wide and 11 inches long (the length of the longest side of the paper).
I can get five 1.5 x 11 inch strips of paper from one regular size piece of copy paper, with a small strip left over.
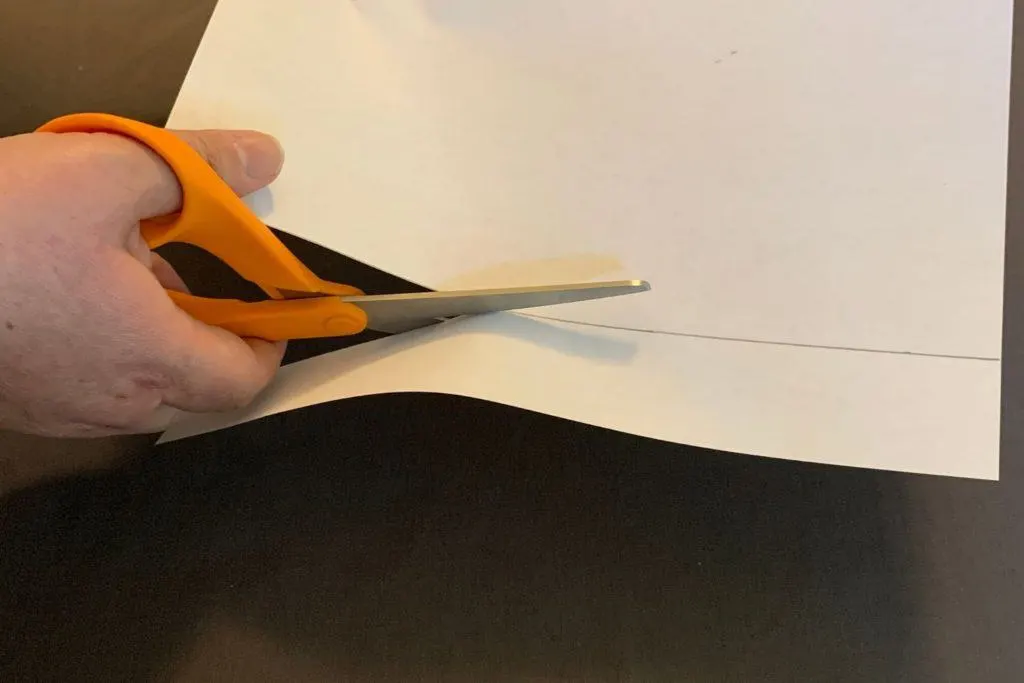
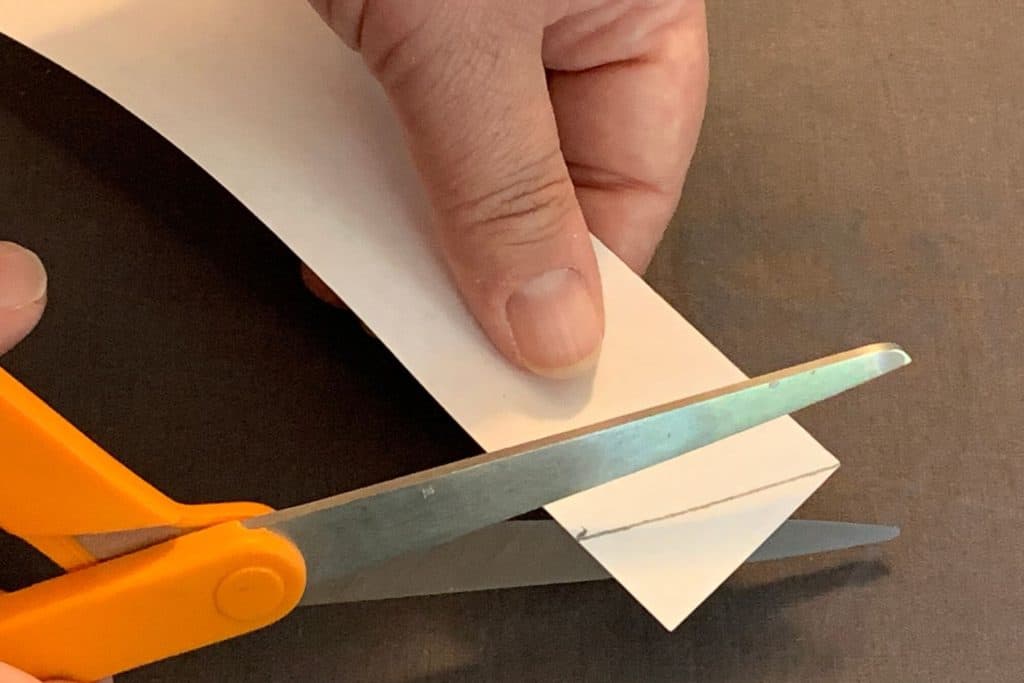
After you have your strip of paper, on the longer side of the paper, you’ll want to measure 3/4 inch from the top and make a mark. then draw a line from the opposite corner of the paper to your mark.
Once you’ve marked your strip, you need to cut along the line, trimming your strip at an angle. See the picture below to get an idea of what I’m talking about.
If you are using a different size other than a 1.5 x 11 inch strip, you’ll want to measure half the distance of the shortest side of the paper. For example, if your strips are 2 inches wide, you should measure down one inch to get your mark.

Folding the Triangles
Now comes the fun part of the hexaflexagon, the origami!
Start with the end of the strip that you just cut so that it’s angled.
Fold that side so that the angled side you just cut is even with the straight side of the strip, forming a triangle. Press down hard on your fold so it is nice and crisp.
Flip the strip over and do this again, making sure the sides line up as perfectly as you can get them. Flip the strip over and repeat the fold. The video below should help you understand what we’re going for here.
The goal of the folding is to create a “stack” of equilateral triangles. It should have kind of an accordion effect when you are finished. (see the next video if you need a reference)Once you have a nice little stack of triangles, you’ll need to trim off the excess.
This is very important: Make sure you have a chain of ten complete triangles and trim off the rest. The video below should make it clear exactly where you need to cut.
Connecting the Loop
You’ve done all the hard work now! We’re almost done. Now you just need to connect your hexaflexagon to make the infinity loop!
This part can be a little tricky, so take it slow. Once you get the hang of it, it will all come together naturally!.
Take the end of the strip and leave two triangles open. Let the third and fourth triangles lay against each other, in the direction you folded them.
Leave the fifth triangle open. Let the sixth and seventh triangles lay against each other, just like you did with the third and fourth.
Leave the eighth triangle open. The ninth triangle will tuck under the first triangle, and the tenth triangle will be hanging out of the loop.
Put a little bit of glue on the tenth triangle, and fold it over, connecting it to you first triangle. Now you’ve made your loop!
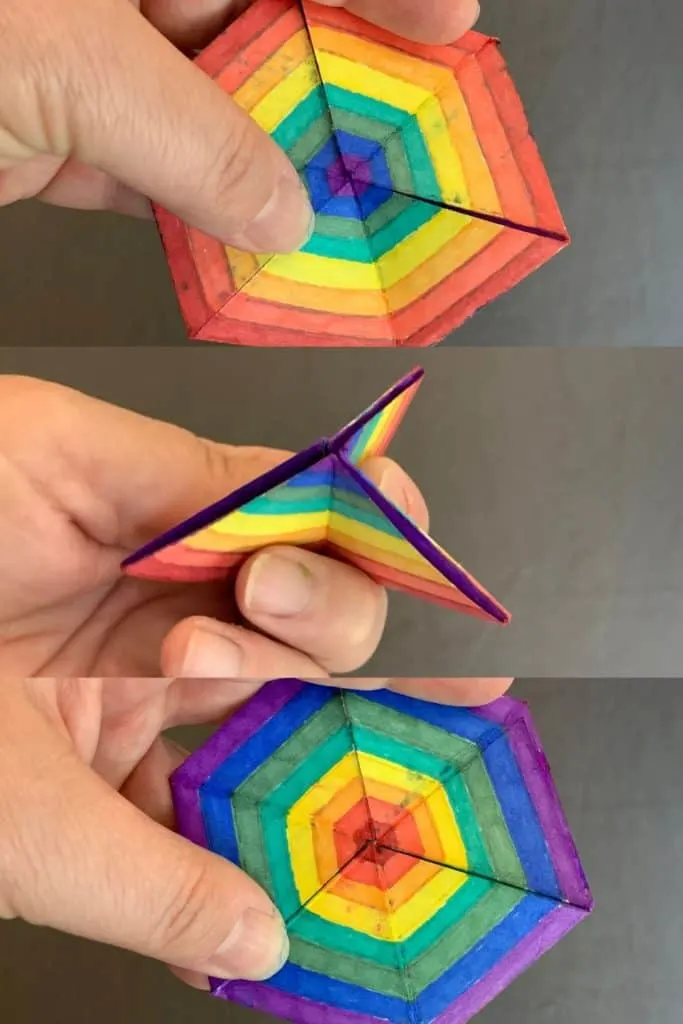
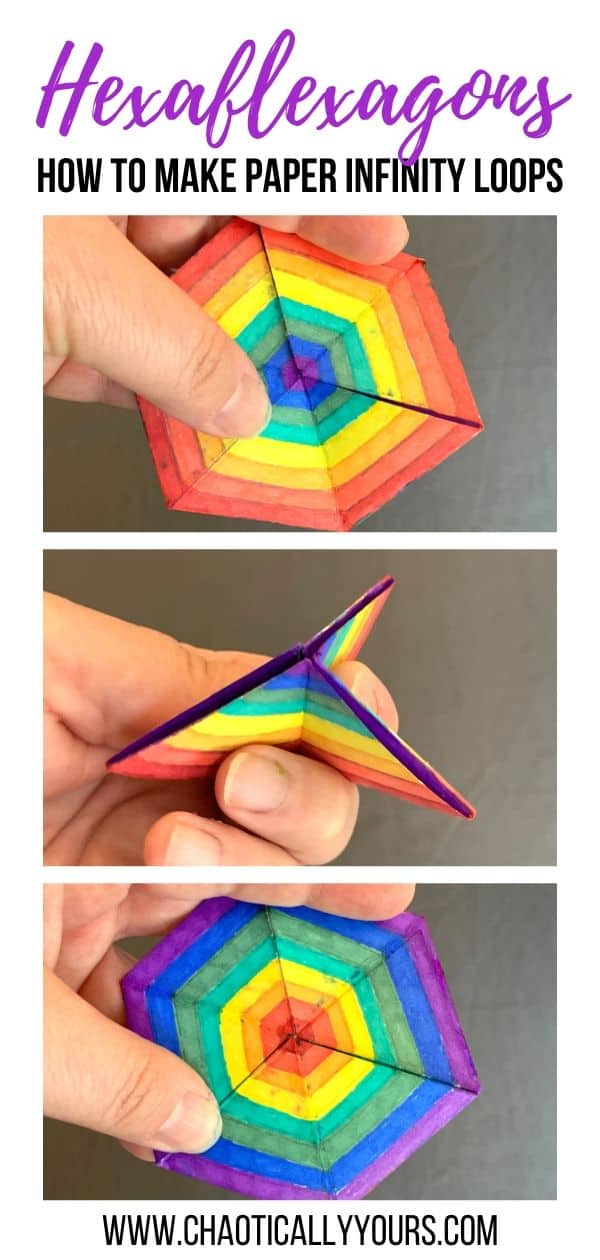
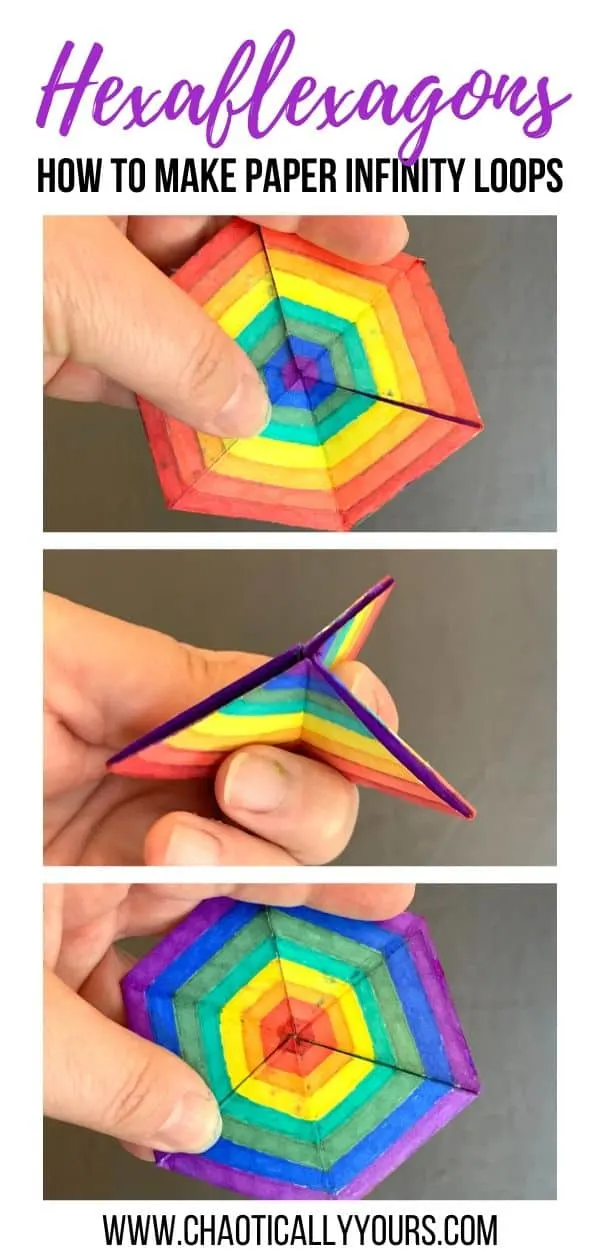
To test out if you folded your loop correctly, pinch the loop into three “wings” where the paper folds back against itself. You should be able to open the loop from the middle outward.
Once it’s open, you should be able to pinch the wings again and open from the middle, exactly like the last time you opened it.
I know all of this is confusing, but the video below should clarify it all somewhat.
Awesome! You did it! You made a hexaflexagon!Now you can decorate each side in any way you like. We love experimenting with patterns and color on ours! We even sometimes write little messages to give people on them. (You probably saw all that in the video at the top!)
You can use any type of crayons or marker on them that you like.
We really like to use these amazing Prismacolor markers. They’re a bit more expensive, but they give you such a smooth, uniform color when they’re on the paper. We used them on all the examples in the videos.
If you like to draw or color at all, and wonder how the professionals get such solid colors on their artwork, then these are the markers for you!
Once you get really experienced in making hexaflexagons, try using card stock for a more sturdy version. Or try other types of paper, like scrapbooking pages that have beautiful prints on them. They can be glued together, back to back to create really beautiful pieces!
Now you’ll want to make a million of them!
Wanna learn how to make really cool 3D photo cards? Check out the tutorial HERE!
Make your own bleach stencil t-shirts with these easy instructions by clicking HERE!
Have you made any hexaflexagons? Tell us about your experience in the comments!
E. H.
Sunday 18th of January 2026
This was really fun to make. I was looking for something to do and when this popped up it was great. The tutorial was easy and fun to follow. Thank you so much. 😊
Isa
Wednesday 8th of November 2023
I made these back in middle school and recently remembered them and wanted to make one... your tutorial was straightforward and detailed, and my hexaflexagon turned out perfectly! This was a great blast from the past for me and I thank you for putting this up here! :)
Louise Emery
Saturday 11th of November 2023
Yay! I'm SO glad it was helpful. These are so fun to make!
Tuesday 14th of December 2021
When I try to flip where the tenth flap I can’t flip it because it is glued to the first flap. Why is that
Louise Emery
Tuesday 14th of December 2021
I'm not sure I understand your question. Can you explain your problem a little more?
Anonymous
Wednesday 11th of August 2021
Hi there! I know I'm the THIRD PERSON to report this, and I apologize for the hassle, but... I DON'T SEE THE VIDEO EITHER!!! (I think it has to do with the ads...maybe?
Louise Emery
Thursday 12th of August 2021
Sorry about that. Thanks for letting me know. Working on fixing it again.
person
Sunday 10th of January 2021
it was amazing! it went out perfect!