

Today, I’m going to teach y’all how to dry orange slices three ways: in an oven, a microwave, or an air fryer! And I’m going to let you know which one works best!
Dried oranges have a lot of uses. You can eat them, use them to flavor drinks, and even use them as garnish!
But by far, my favorite use for dried orange slices is for decoration, especially at Christmastime.
Adding dry orange slices to a garland or an ornaments on a Christmas tree brings such a great pop of color to your decor.
While they are quite easy to make, they can be quite time consuming.
We tried three ways to dry orange slices: in the oven, in the microwave, and in an air fryer.
I’m excited to share with you how to use each method and which one worked best!


Why Dried Oranges?
Dried oranges are actually a very traditional Christmas decoration.
Most of what we think of as traditional Christmas decor dates back to the mid 1800s during time of Queen Victoria. In 1848, the Queen’s husband Prince Albert helped popularize the decorating of trees in Great Britain by bringing them to Windsor Castle.
Dried fruit was a common Christmas decoration in the Victorian era, so adding dried oranges to our Christmas decor just feels very classic.
Since we really like to make homemade Christmas decor around here, learning how to dry orange slices just made sense. Plus they smell heavenly!
How to Prep Your Orange Slices for Drying
For every method we tried, the prep work beforehand was exactly the same.
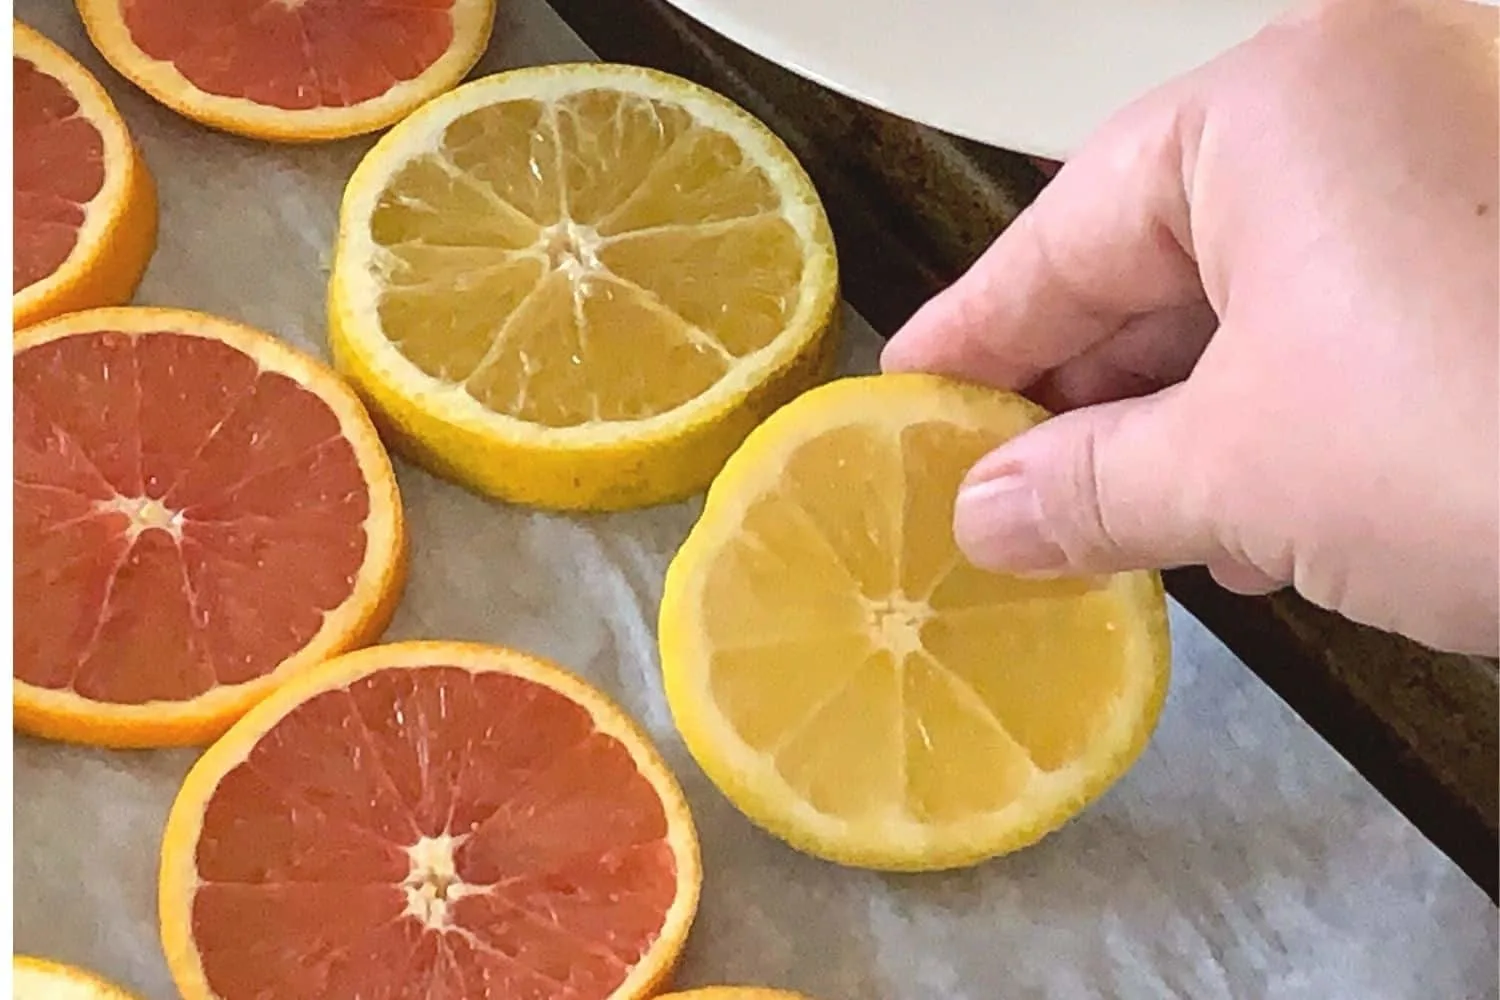
You can actually use any type of citrus fruit you want for this project. We actually used both oranges and grapefruit, but lemons and limes would be pretty as well.

You’ll need a few decent sized oranges to get started. How many you need all depends on what you plan to do with them afterwards.
For a tightly packed garland, I’d say four or five oranges. For ornaments, one or two would probably suffice.
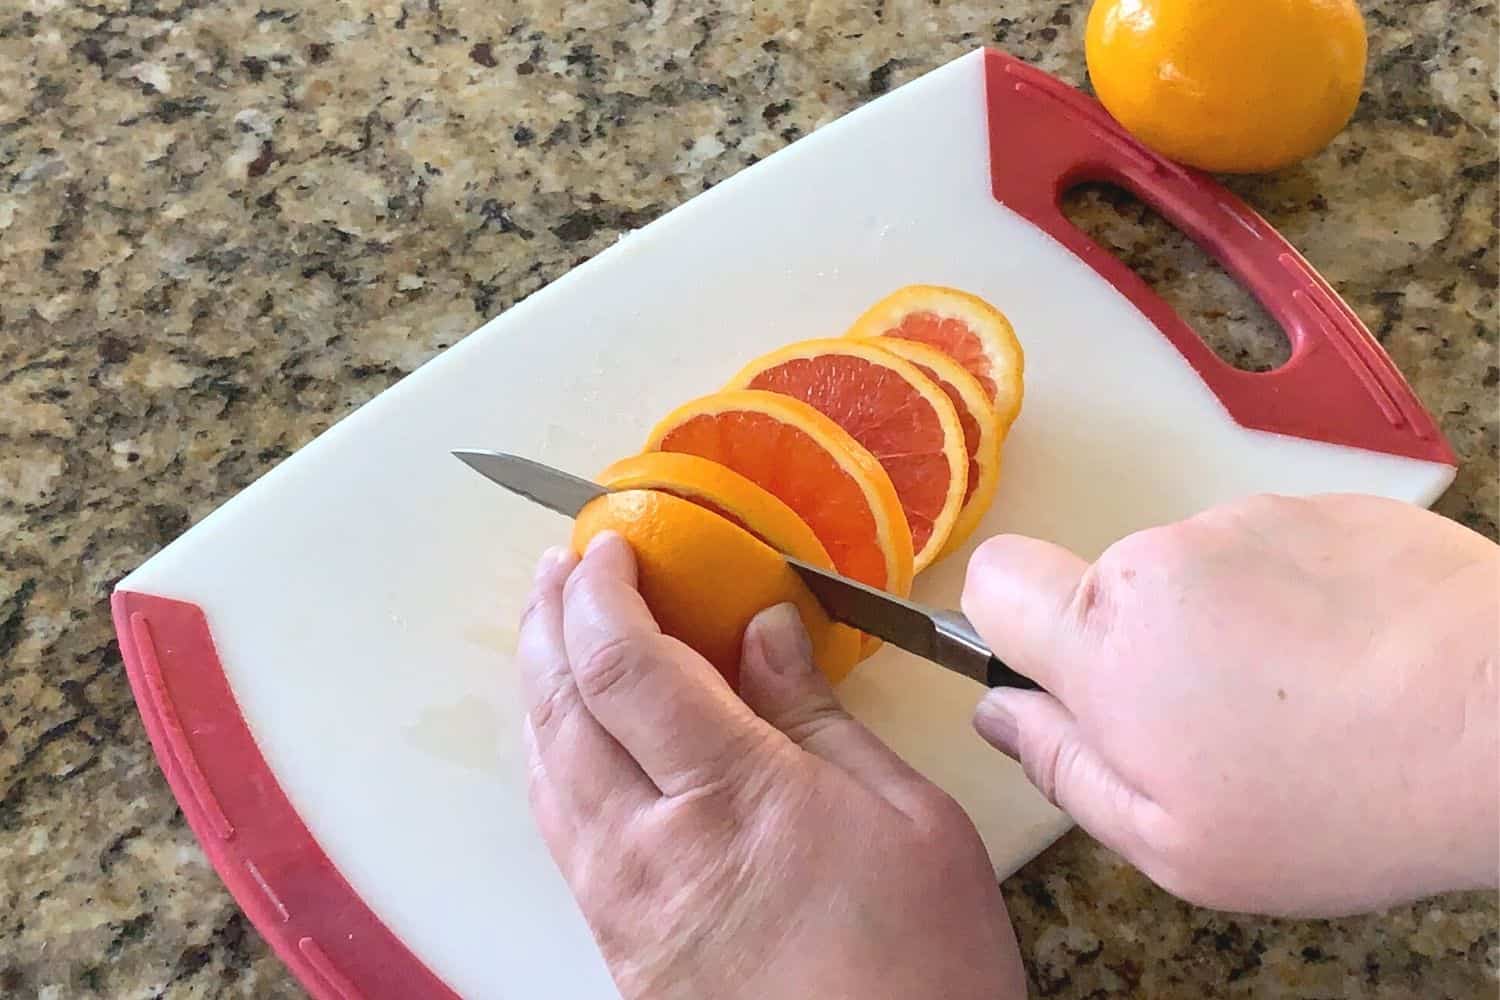
Wash your oranges, especially if you plan to eat them or use them with food in anyway.
Then slice your oranges with a sharp knife to around one centimeter or less thick, discarding the ends.
Thin slices work best for this process in every scenario, you just want to make sure they’re thick enough to hold together when they’re dryed.
Once you’ve done all this, you can move onto whatever method you’ve chosen to use for drying oranges.
How To Dry Orange Slices In The Oven
The most common way to dry orange slices is to use your oven.
This method is actually quite easy to do, it just takes a lot of time. Four to six hours to be exact.
To dry oranges in the oven, you’ll want to preheat your oven to 200 degrees and prep a cookie sheet with a layer of parchment paper.
Without the parchment or some sort of lining, the fruit will definitely stick to the surface, so just make sure you don’t skip this step.

Once your cookie sheet is prepped, lay your orange slices out across the pan, making sure not to overlap them.
It’s ok to crowd them just a little bit because they’ll shrink up while cooking, just don’t put more than one layer on the cookie sheet.
Bake the oranges for 4 hours, taking them out to flip the slices every hour or so.
I checked ours hourly, and it was easy to see that they were drying out slowly but surely.
Once they’re done, let them cool on a wire rack, and then you’re ready to use them any way you like.
How To Dry Oranges Slices In The Microwave
Drying orange slices in the microwave has a faster cook time, but this method is definitely not without its pitfalls.
Microwaving the slices requires A LOT of paper towels, and gives you a result that’s less rigid than the other two methods.
To get started with microwaving the oranges, prep them as described above, just making sure you really stick to thin slices.
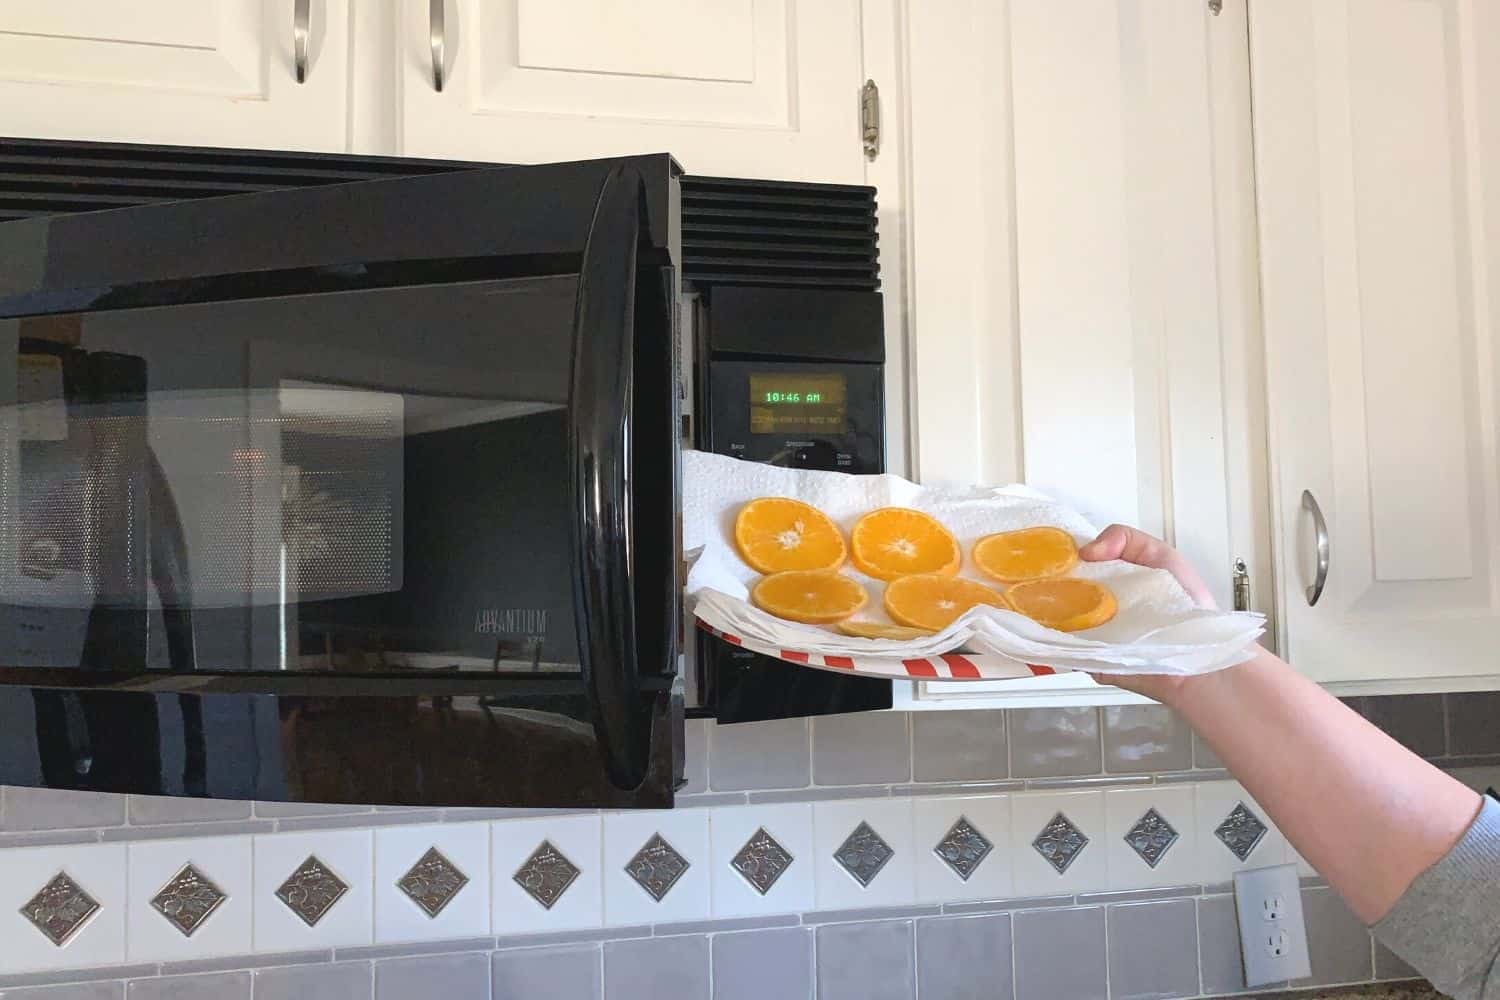
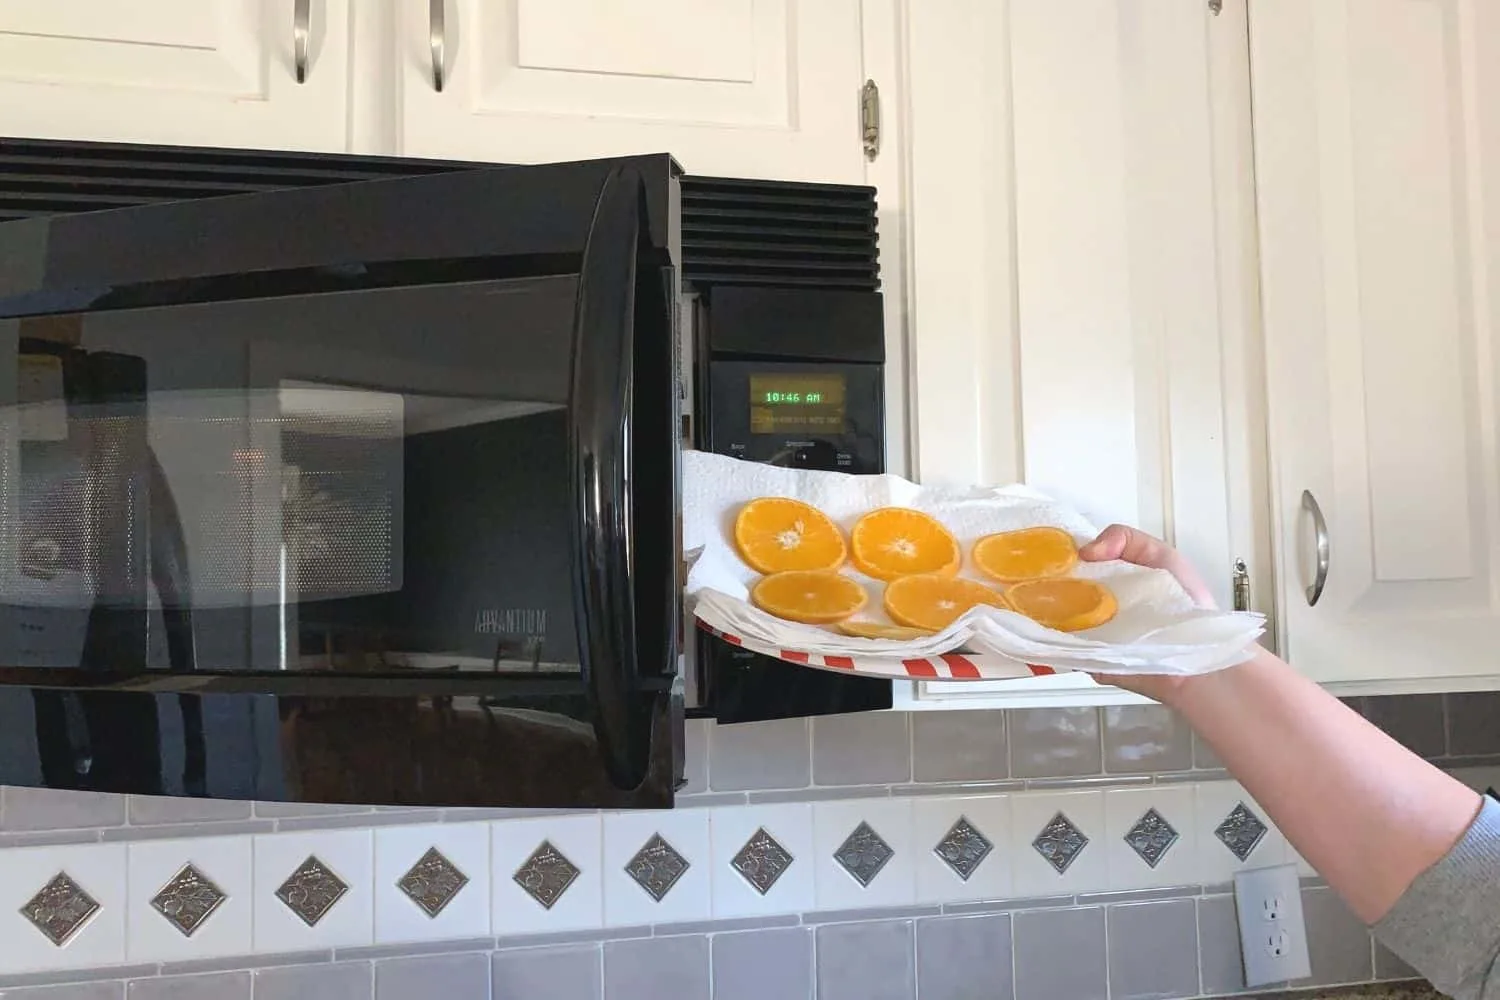
On a microwave safe plate, place five layers of paper towels.
That’s right, I said five.
The goal is to soak up the juices and keep them away from the fruit as much as possible, so you need a lot of paper towels.
Lay out the oranges slices on the paper towels, again taking care not to overlap them.
Now top the orange slices with ANOTHER layer of paper towels, five thick.
I know it’s a lot of paper, but at least we can reuse the ones on top.
Now put your plate into the microwave, and cook it on the DEFROST setting for seven minutes.
After seven minutes, take the oranges out of the microwave.
Flip them over, and replace the bottom layer of paper towels with a fresh ones. Place the old top paper towels back onto the oranges.
Place your microwave on the DEFROST setting again for another five minutes.
At this point you’ll want to check them and see how they are coming along.
You’re looking for a jelly-like consistency. If you can touch them and your finger does not come back damp, they’re done. If you’re still getting moisture from them, they need to go back into the microwave for two minutes at a time until they’re not moist anymore.
Once you’ve gotten all the moisture you can out of them, lay them on a wire rack to cool and harden, which take several hours.
How to Dry Oranges In The Air Fryer
Drying oranges in an air fryer is easy as well, and seems to take the least amount of time of any method we tried.
Since the air fryer functions by circulating the heated air around the cooking chamber, it makes a lot of sense that this would work quickly.
Some air fryers actually have a dehydrate setting. Ours does not have that option, so we used the regular settings.
To dry orange slices in your air fryer, again start by prepping the oranges as described earlier in the post.
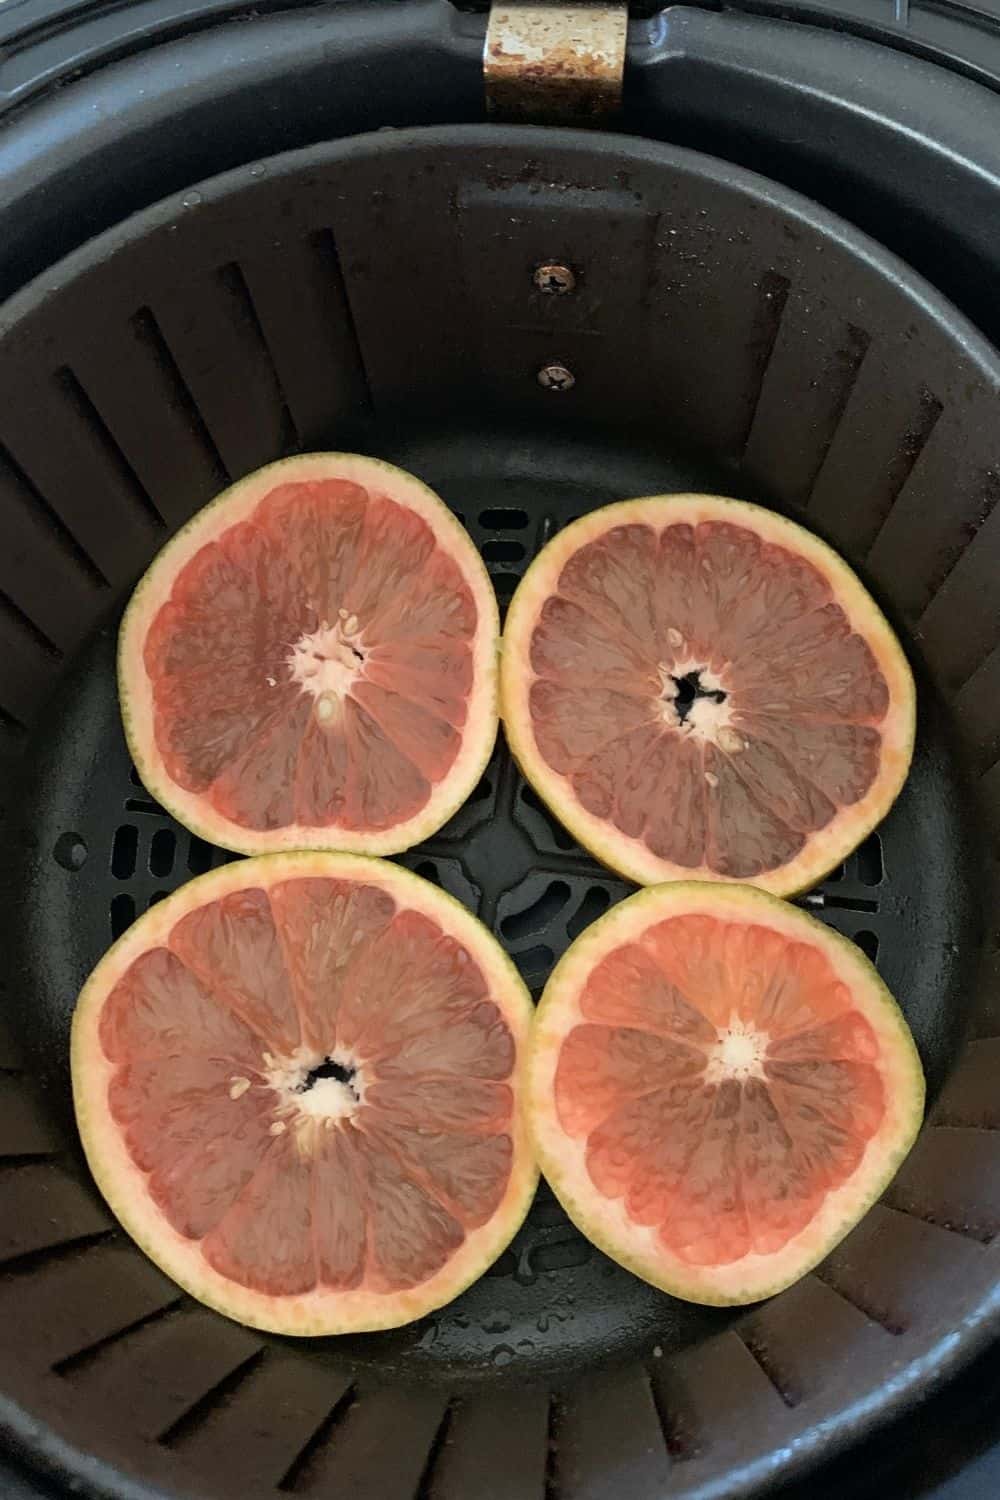
You’ll want to make sure and use your air fryer’s basket or some sort of rack to keep the orange slice off the bottom of the pan. You want that warm air to be able to circulate on all sides of the orange.
Arrange the oranges in your air fryer basket or rack in one layer, without overlapping them.
Set your air fryer to its lowest temperature. We started at 200 degrees, but later lowered it to 175.
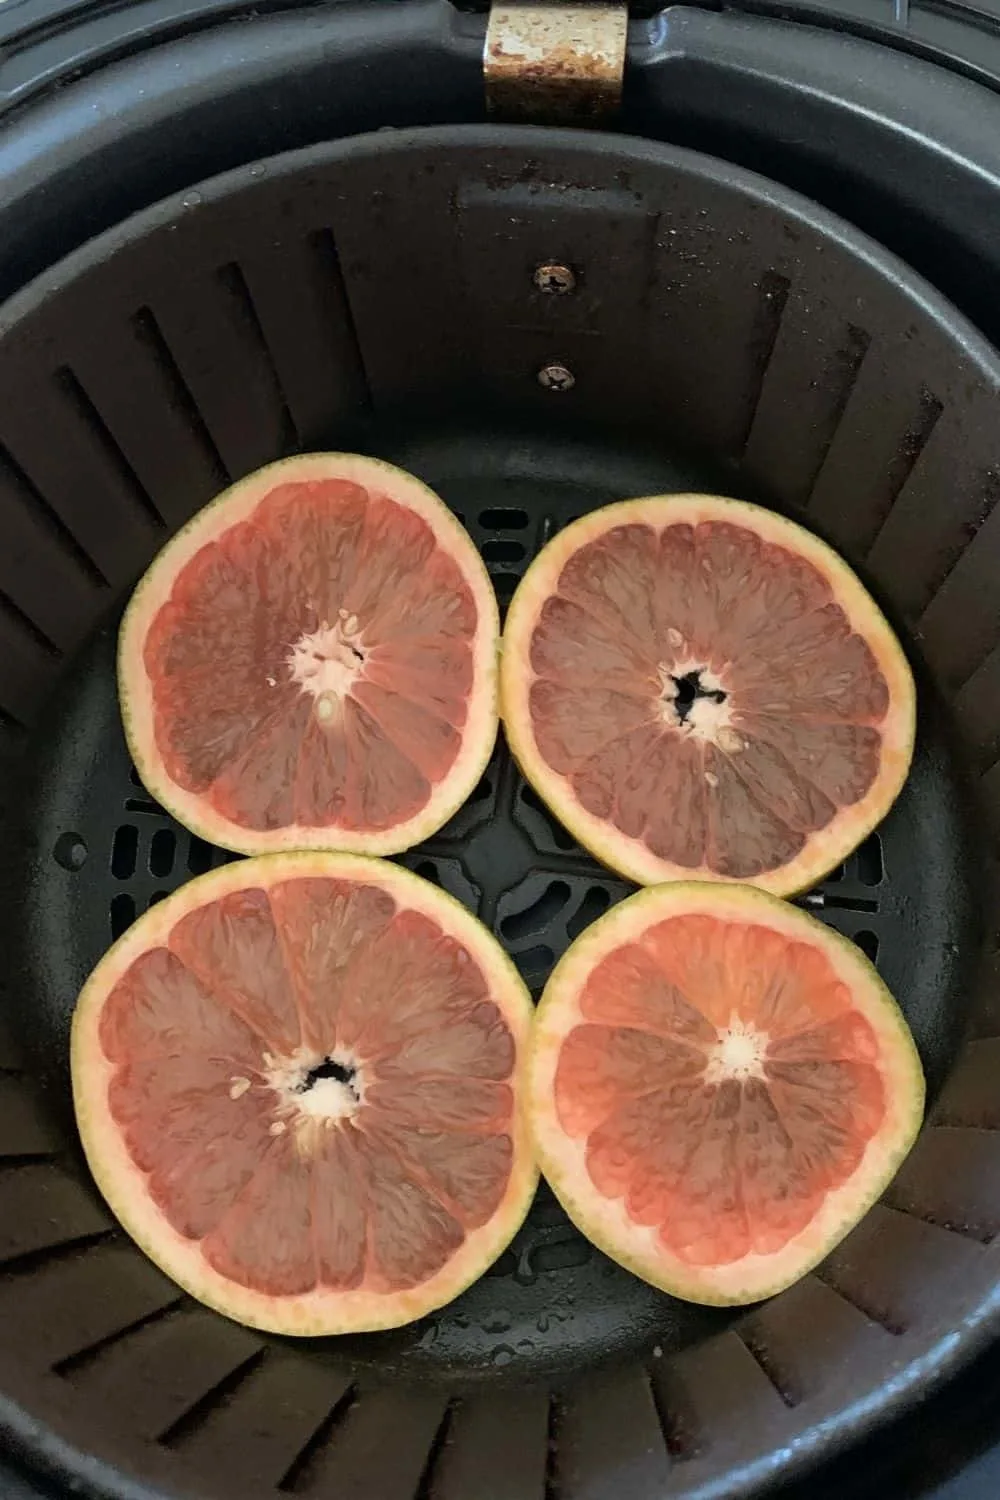
Cook them for 30 minutes, and pull them out to flip them over.
When I checked mine, the peels were already quite stiff on our oranges and the middle was already pretty jelly like. They seemed to still have some moisture left in them.
Place the oranges back in the air fryer for another 20 minutes.
At this point we started hearing them rattling around in the air fryer, so I checked them again. They peels were very hard and the centers seemed to have zero moisture left in them, so I pronounced them done.
Now take the oranges out of the air fryer and and lay them on a wire rack to cool.
Which Method We Recommend
While all the methods were easy to accomplish, it was very easy to see which one gave us the desired result in the least amount of time. But I’m going to break them all down for you.

Drying Orange Slices In The Oven: Good But Time Consuming
The first method we tried was drying the slices in the oven at low temperatures.
While this method was easy to accomplish and gave us the desired results, it took a VERY long time.
This batch had the thickest slices of orange of any of them, so it took about six hours for all of them to dry out properly. The thinner slices I cut turned out really nicely, and were done in about 4 hours.
With that being said, four hours is a LONG time, and they need to be flipped about once an hour. So if you use this orange drying method, make sure you have a long stretch of time to work with.
Drying Orange Slices In The Microwave: Fast But Odd Results
The second method we tried was drying them in the microwave on the defrost setting.
While this was by far the fastest method for removing the moisture from the orange slices, the final results were less than thrilling.
The orange slices turned out dry, but they were soft and floppy. They would hold their shape for an ornament or a garland, but were more difficult to work with.
They did continue to dry out over several days time, but who wants to wait that long?


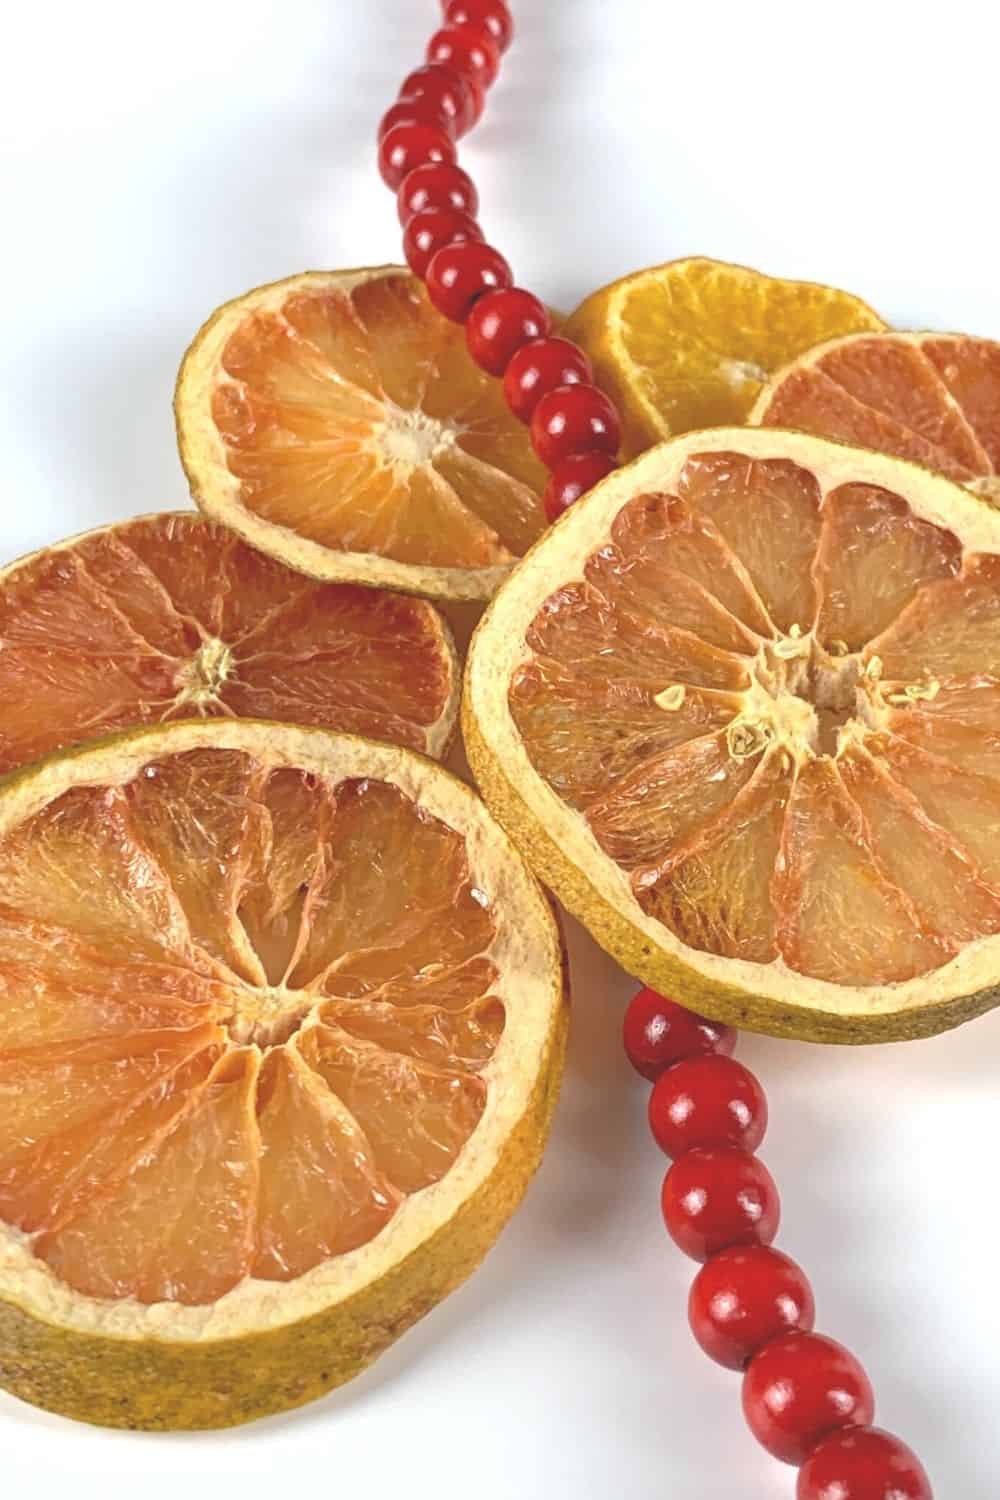
Drying Orange Slices In The Air Fryer: Pretty Slices and Short Times, but Small Batches
The last method we tried was drying them in the air fryer.
I had read that air fryers can be used to dehydrate food. Since air fryers are basically tiny convection ovens, I was sure it would work.
The results were very satisfying.
The oranges slices dried very quickly in the air fryer, with the batch being completely done in around 45 minutes, leaving the orange slices with stiff peels and dehydrated centers.
The only issue was that the air fryer only made a very small batch of dried orange slices.
Since I only have a single basket for my air fryer, I was unable to make large numbers of them at once.
Overall Recommendation
Overall, I would recommend the three processes in this order:
- Air Fryer – The air fryer was by far the fastest method, but I’d try to figure out a way to get more slices in each batch.
- Oven – The oven worked very well and made large batches of dried oranges all at once, it was just very time consuming.
- Microwave – The speed of the microwave wasn’t enough to overcome floppy results.
Storage
Storing dried oranges is relatively easy, and you can use them to decorate from year to year if you store them properly.
Dried oranges slices must be stored in an airtight container. Glass jars work great for this.
You need to make sure there is zero moisture inside the jar. If you’re able to do this, they’ll be good to go next year (I wouldn’t recommend eating them after that long, but for decorating, they’re fine).
What To Make With Dry Orange Slices


Dried orange slices are great for lots of crafts.
This gorgeous Dried Orange Slice Garland from Homemade Heather is a great way to use them. It really adds that natural touch to your holiday decor.
These DIY Mulling Spice Bags from Craft Invaders are a delicious way to share your dried oranges with friends.
Soaps are another great way to use the oranges slices that you’ve dried. This recipe for Orange Peel Soap with Dried Orange Slices from Confession of an Overworked Mom smells heavenly.
Looking for other fun projects to DIY your holidays? Check out my DIY Gnomes Tutorial or my Giant 3D Paper Snowflakes!