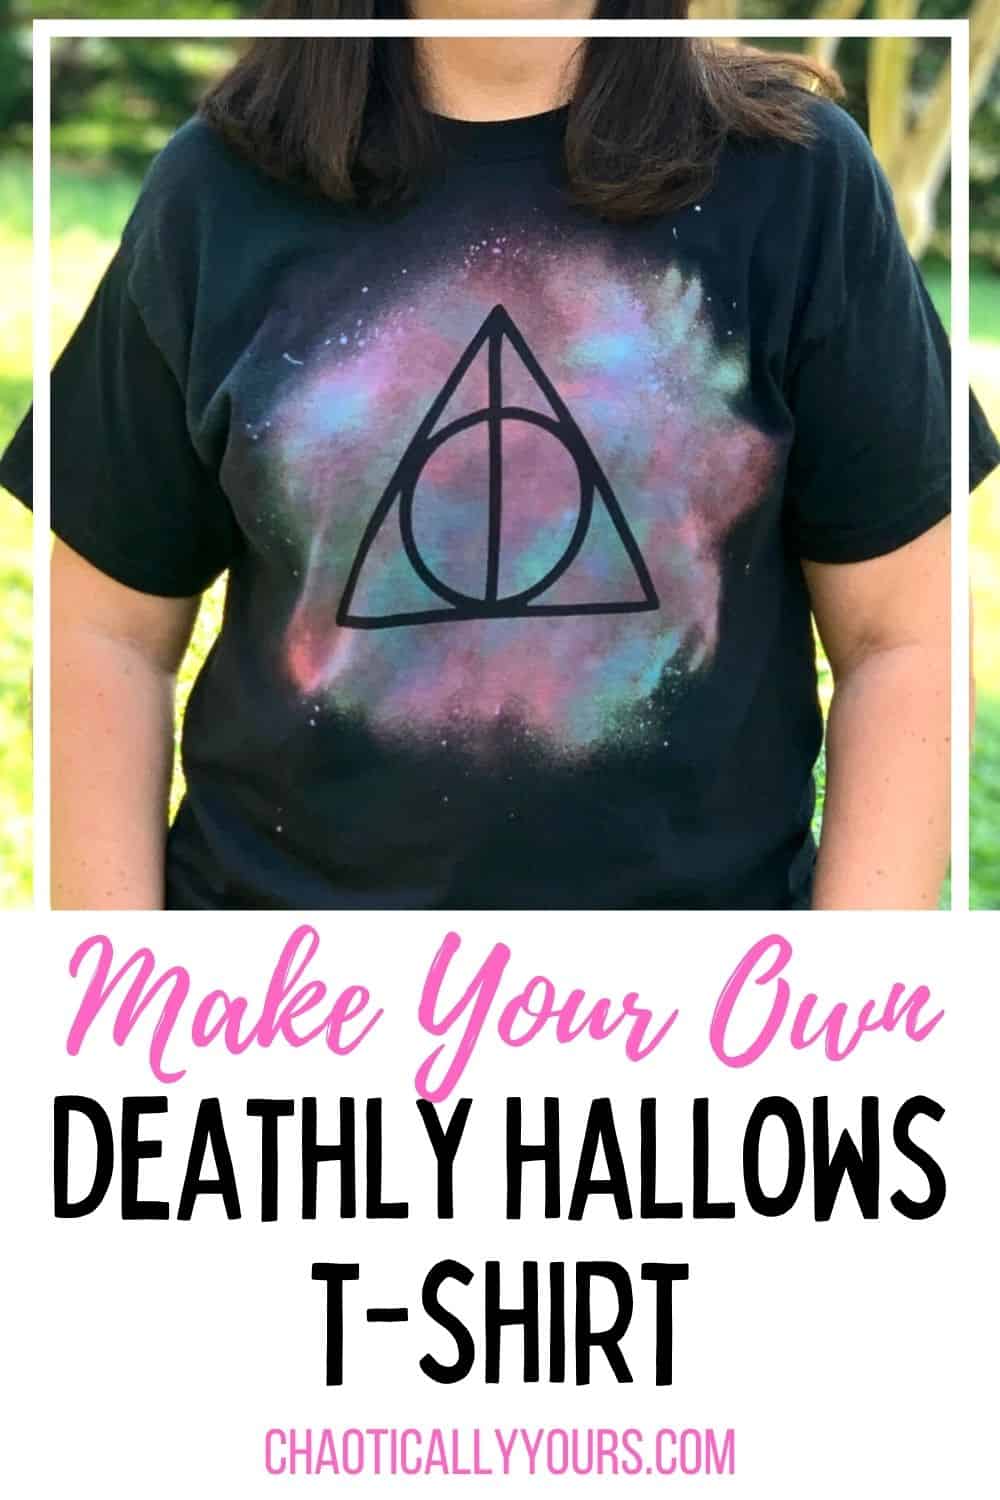
Making this Deathly Hallows t-shirt is easier than you’d think!
We have a lot of Harry Potter fans in our house! I read the series when it came out and went to the theater for every movie.
Now my kids have read them and love the “boy who lived” as much as I do!
Naturally, we all want some unique items to wear to show off our love of all things Hogwarts!
I wanted to come up with some way to have a cool shirt without being all “I Love HP” everywhere! I figured using the Deathly Hallows symbol as a subtle nod to the Three Brothers was the perfect way to show off my fandom.
I decided to combine two of my previous projects, Bleach Stencil T-shirts and Bleach Tie Dye Shirts (you can check out pics of these projects at the bottom of this post!), and make this one-of-a-kind Deathly Hallows t-shirt!
I’m happy to share with you just how I did it!

Links in this post may be affiliate links, which means I may earn a commission if you make a purchase from any of them. You can read my full disclaimer HERE. I do not recommend this project be completed by children.
Deathly Hallows T-shirt: What You’ll Need
The supplies needed to make a Deathly Hallows T-shirt are pretty easy to find. You probably have at least half the supplies floating around your house already, and the rest you can easily find on Amazon.com or at your local craft store.
First I’ll give you the short list, then I’ll break down the items for you so you fully understand what you’re looking for in this project.
You’ll need:
- A black t-shirt
- Bleach mixed 50/50 with water
- A spray bottle
- A tie dye kit in the colors of your choice
- A large piece of cardboard
- Some paper towels
- The Deathly Hallows symbol cut in cardstock or on a vinyl cutting machine like a Silhouette or a Cricut (more on this later)
- A glue stick (if you use the cardstock method)
- A ziploc bag
A Black T-Shirt
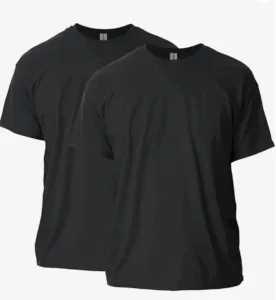
You’ll want to buy a black t-shirt specifically for this project. Using another color would cause problems when you go to apply the background colors to the image.
By using a black shirt, all the additional colors you add to the shirt will blend into the black background. I wouldn’t recommend doing this exact project with any other color shirt.
A 100% cotton t-shirt is the best pick for this project. Materials like polyester and other blends don’t take as well to the dye colors unless you buy specific dyes for those materials.
Trust me, using a 100% cotton shirt will make this project go so much more smoothly.
I really like these Gildan shirts from Amazon. I used this type for our project and it turned out great.
You can order them pretty inexpensively here:

Bleach & A Spray Bottle
You likely already have bleach in your laundry room. You won’t need a ton of it for this project, but any old brand will do.
You’ll want to mix your bleach in a 50:50 ratio with water and put it in a spray bottle. I recycled an old tangle spray bottle for this one.
Make sure you pay attention to how the bottle sprays before you decided which one to use. If it kinda just spits liquid out all willy-nilly, you may want to skip it.
I’ve found that bottles that give you a light mist are best to use for this bleaching project. It gives you more control with where you place your bleach on the t-shirt.
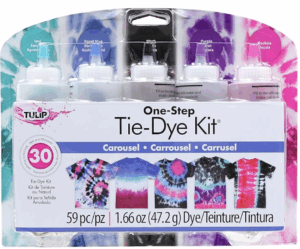
A Tie Dye Kit
Having a good dye kit is essential for this project.
I love Tulip products. They make easy-to-use kits that don’t require a lot of detailed steps to use.
They have tons of colors available, and you can even custom mix whatever colors you want.
How could would this shirt look in your Hogwarts House colors?
Imagine Gryffindor Gold and Red behind that Deathly Hallows symbol! Makes me want to do the whole project over again.
I actually used some remnants from other tie dye projects to make this shirt, just blending together colors I liked.
I’m still really happy with the results.
You can get similar colors to what I used here:
Cardboard, Paper Towels & Ziploc Bag
You’ll need a large-ish piece of cardboard to put the shirt on to make sure your design doesn’t bleed through to the other side of the shirt.
The paper towels will be needed during your bleaching steps and the ziploc bag will be needed after you apply the dye.
Deathly Hallows Symbol
This project can be made with or without a vinyl cutting machine.
I have one, so that’s what I used. But I’ve made an extremely similar project very successfully without one in the past. In the instructions I’ll explain both methods.
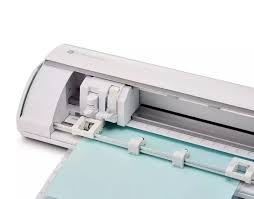
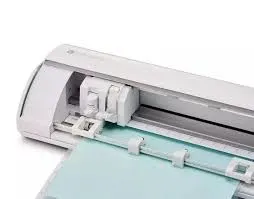
I have a Silhouette machine. I like it because the design tools are super easy to use and give the maker a little more wiggle room creatively.
They aren’t cheap, but I’ve used mine over and over again. It’s a purchase I definitely recommend to any crafter!
You can find one on Amazon here:
If you don’t use a vinyl cutting machine, you’ll need to print your Deathly Hallows symbol out on a piece of cardstock. Regular paper is too thin for this project.
If you use the cardstock method, you’ll need a washable glue stick as well.
Deathly Hallows T-shirt: Applying the Design
If you’re using a design from a vinyl cutting machine, make sure it’s cleanly weeded. You’ll want to use just plain vinyl for this. Not heat transfer or anything special.
This project is actually a great way to get rid of those ugly colors in your vinyl collection that you’re never gonna use!
If you’re using a cardstock design, make sure to cut it out cleanly. Leaving only the shape of the Deathly Hallows.
Stick your Deathly Hallows symbol to the shirt in your desired location.
If you’re using the cardstock method, apply a generous amount of the glue stick to the back of the symbol and stick it to the shirt.
I like to use chalk to measure out exact placement of my designs, so I don’t end up with anything crooked.
Once your design is applied to the shirt, place your large piece of cardboard inside the shirt.
This will stabilize your shirt and protect the bleach design from bleeding through.
Bleaching Your T-Shirt
Remember that 50/50 bleach mix I advised you to mix up? This is where you get to use it!
Bleach is a toxic substance and can be very destructive, so use with care. Do NOT allow children to complete this step.
Find a space with good ventilation, preferably outdoors, that won’t be damaged by the use of bleach. Doing this part inside doesn’t strike me as a very good plan.
If you are working outdoors, you also want to make sure you aren’t working on a windy day. Wind can cause a LOT more overspray and can mess up your design completely.
Also, WEAR OLD CLOTHES during this step. You wouldn’t want to ruin your favorite t-shirt all while trying to create a new one.
Once you’ve met all those parameters, you’ll want to lay your shirt out and carefully spray the bleach over the symbol. You should be able to get an idea of what to do from the video above.
Work slowly, starting from the middle and working outward. The bleach should start to change the color of the shirt fairly quickly.
DO NOT OVER-APPLY THE BLEACH!! Using too much can make the bleach bleed under your design and ruin your whole shirt.
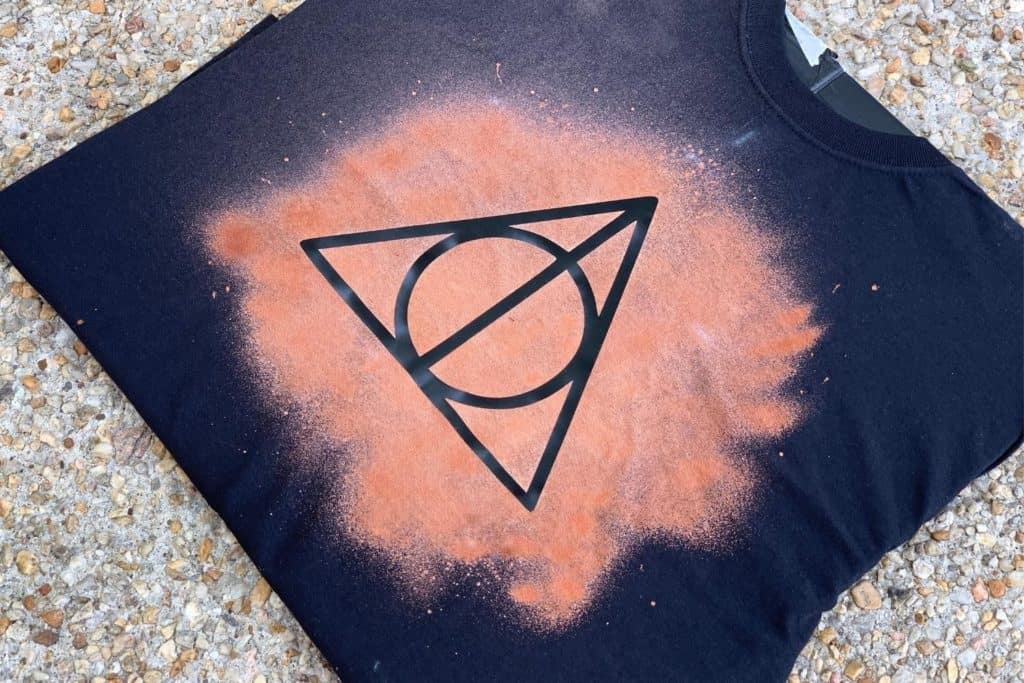
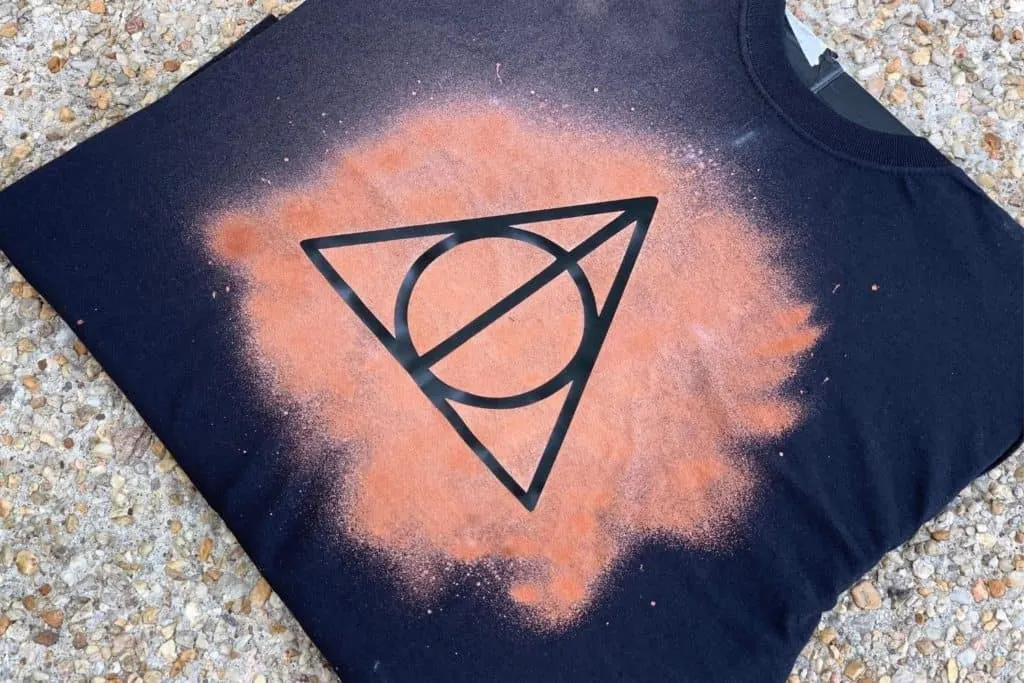
You’re looking to create kind of a cloud effect around your design. Keep that in mind while you spray the bleach.
The key to this process is a “less is more” philosophy, only applying extra bleach after the shirt has already changed color, giving you an idea of where you actually need it.
The bleach will leave an orange-ish tint to the areas it touches, not a fully white area. Don’t worry about this at all!
You’re Deathly Hallows t-shirt should really start to take shape here.
You’ll want to use your paper towels between squirts of your spray bottle to dab up any bleach that collects on your design or around the shirt. This is especially important if you’re using the cardstock method.
Once you’ve applied the bleach to your satisfaction, let it dry for a bit before you remove your design. I usually wait about fifteen minutes before I remove mine.
Before you pull your design off, make sure you’ve dabbed away any drops of bleach that may have collected on it.
Pull the design off slowly and carefully, doing your best not to touch the bleached areas to avoid transferring any to where you don’t want it.
You should have a clear image of the Deathly Hallows within your bleach cloud.
After you’ve removed your design, let the t-shirt dry completely. Probably another 15 to 30 minutes. It really doesn’t take long.
Once the shirt is basically dry, remove the cardboard from inside it. Then wash it in cold water by itself with detergent in your washing machine to remove the bleach.
Don’t worry about transfer at this point. Now that the bleached area is dry, it won’t really bleed over onto anything else.
Deathly Hallows T-Shirt: Applying the Color
Once you’ve washed you’re Deathly Hallows t-shirt, you’ll want to leave it damp for this next step. Having a damp shirt helps spread the dye easily.

Find an area to work that won’t be damaged by the dye. I’ve worked outside in the past for projects like this, but on the day I did this project, there was a torrential downpour outside when I got to this step.
I ended up applying the dye for my deathly hallows t-shirt in the shower of our guest bathroom. It was easily cleaned up afterwards with water and a bleach cleaner immediately after I was finished.
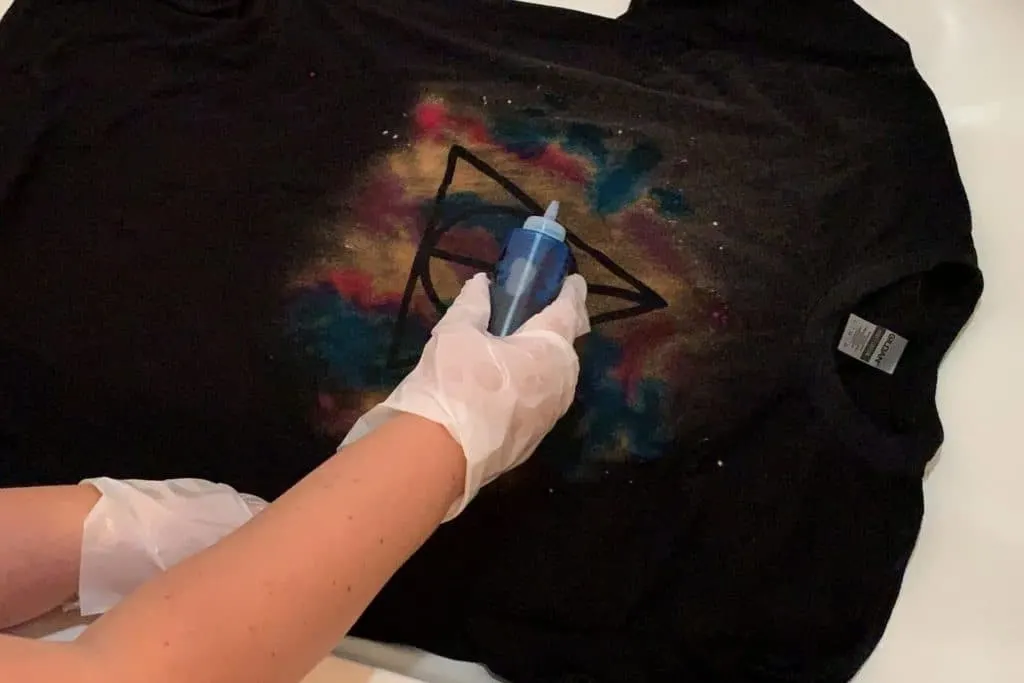
You’ll want to mix up your dye according the the instructions in your kit. It’s a good idea to wear gloves for this portion of the process, unless you want tie dyed hands as well as t-shirts. Again, wear your old clothes for this!
Begin applying the dye to the bleached areas of the shirt. You should be able to see how easy this is in the video.
Don’t worry if they bleed into each other. Unless you’re placing colors from VASTLY different color families next to each other, this shouldn’t be the problem.
I used a fuschia, a turquoise, and a violet shade for this project. I loved how they blended together and complemented each other.
Make sure you cover all the areas, even any overspray you might have accidentally put on the shirt.
Don’t worry about putting to much on the black areas. It won’t show up there at all.
Once you’ve finished applying the dye, carefully place your t-shirt in a ziploc bag.
Let it sit according to the times required in your manufacturers instructions.
The longer the dye stays on the shirt, the darker and more vibrant the colors will be.
My kit recommended letting your dye stay in the clothes for 6 to 8 hours. But I actually wanted more pastel shades on my shirt, so I moved on to the next step after only 3 hours.
Deathly Hallows T-Shirt: Finishing the Process
Once you’ve let your Deathly Hallows t-shirt sit in the dye for as long as you’d like, you’ll want to begin the rinsing process.
Again, make sure you work in a place that won’t be damaged by the dye. I used my stainless steel kitchen sink for this part of the process.
Rinse the dyed areas of the shirt until the water runs clear.
Then you’ll want to wash the shirt again by itself with a very small amount of detergent. Once it’s done washing, dry as usual.
Now you’re Deathly Hallows t-shirt is ready to wear!

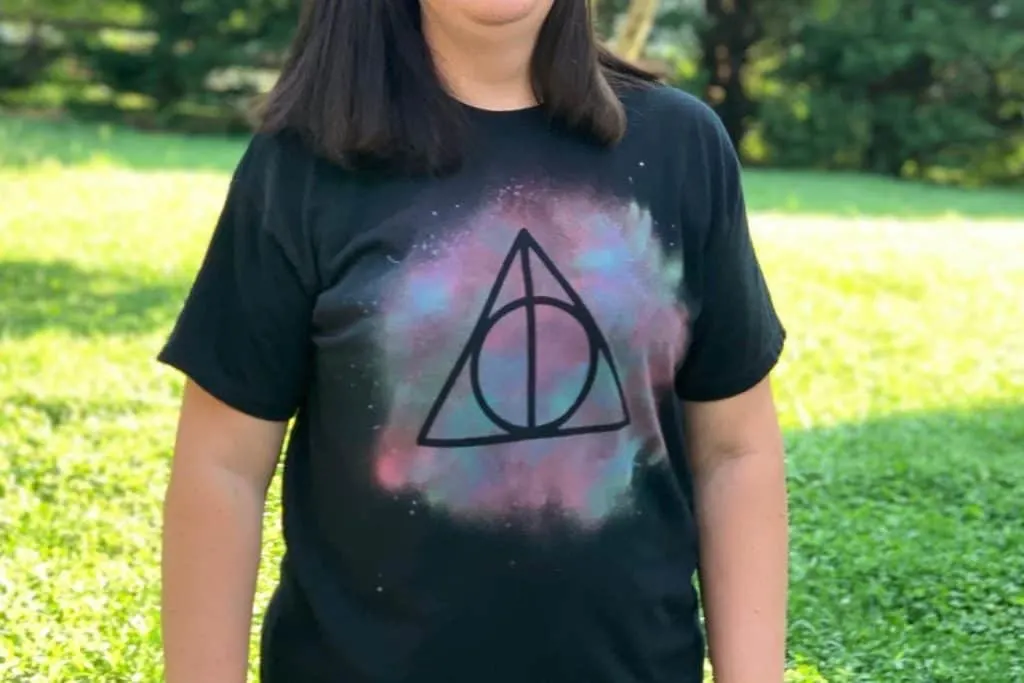
This shirt design would be perfect to wear on a trip to The Wizarding World of Harry Potter at Universal Studios Florida!
We loved making this shirt, and you could totally use the same process for any other design you want!
Looking for other projects? Check out these other apparel project on my site by clicking on the pictures below: