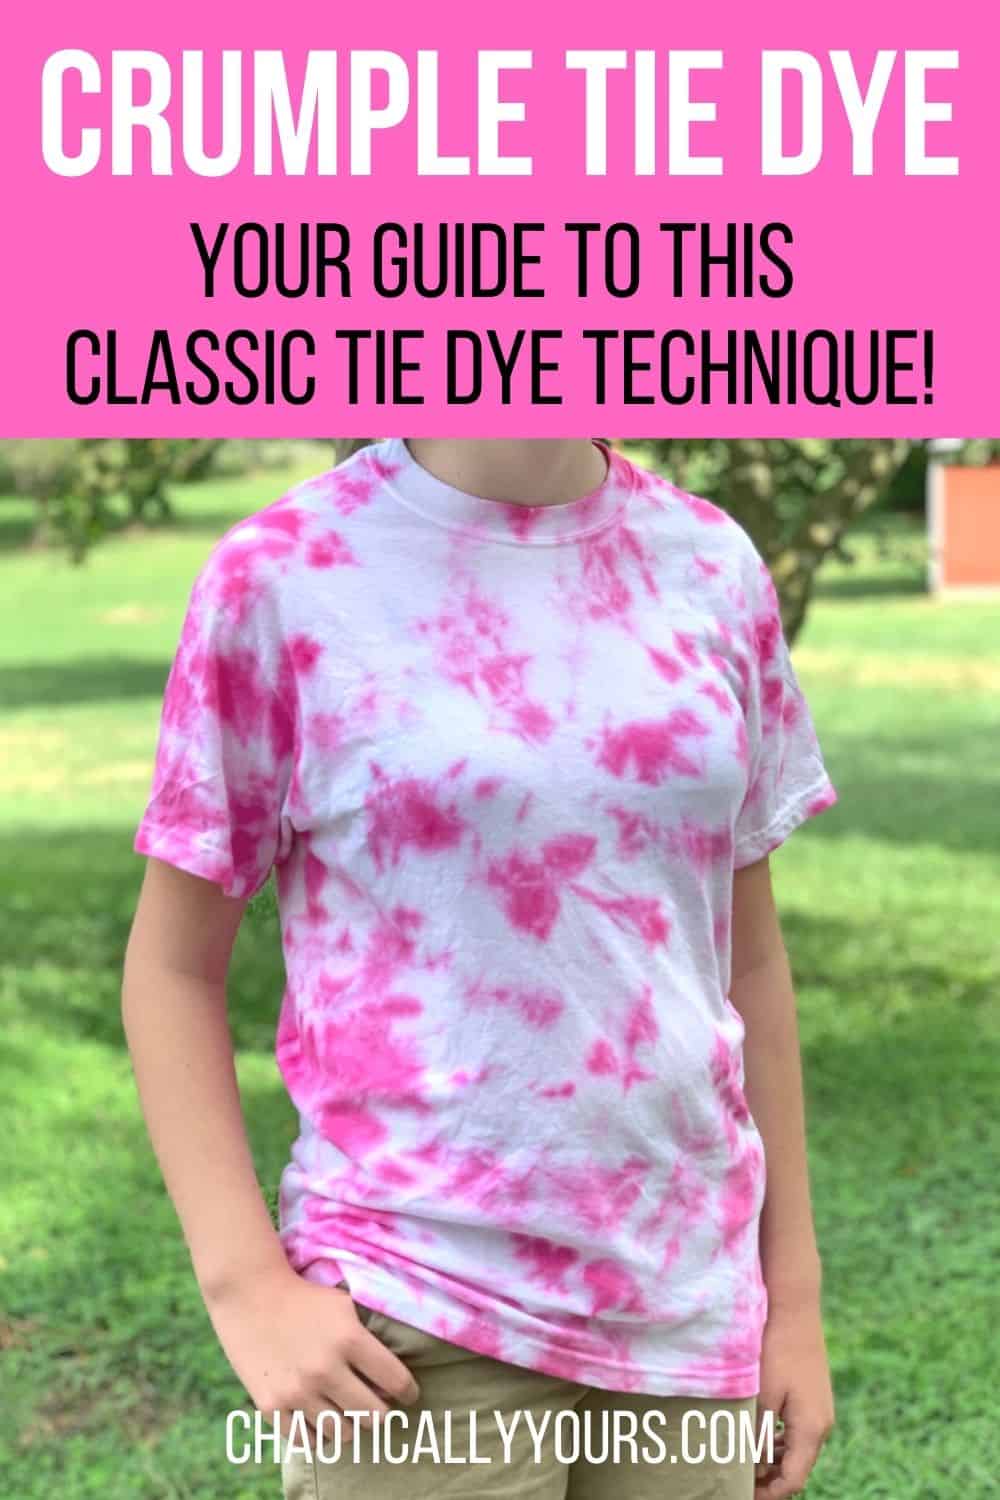
Crumple tie dye is probably one of the easiest tie dye methods out there!
Y’all tie dye is hot right now. Everyone seems to be trying their hand at making one-of-a-kind clothing with this fun, easy, classic craft.
If you’re looking to get started making your own creations, the crumple tie dye technique is the perfect place to start. It’s fun, easy, and you don’t need much in the way of supplies to get it done.
Links in this post may be affiliate links, which means I may earn a commission if you make a purchase from any of them. You can read my full disclaimer HERE. I do not recommend this project be done unsupervised by children.

Crumple Tie Dye: What You’ll Need
The crumple tie dye method doesn’t need a lot of supplies. It’s actually one of my favorite ways to use up extra supplies when I’ve finished other tie dye projects.
You see, once you’ve mixed up a your dye, you can’t store it indefinitely. It starts to lose effectiveness over time.
So anytime I have extra dye that I don’t know what to do with, I’ll just quickly go through this method and make a crumple tie dye creation!
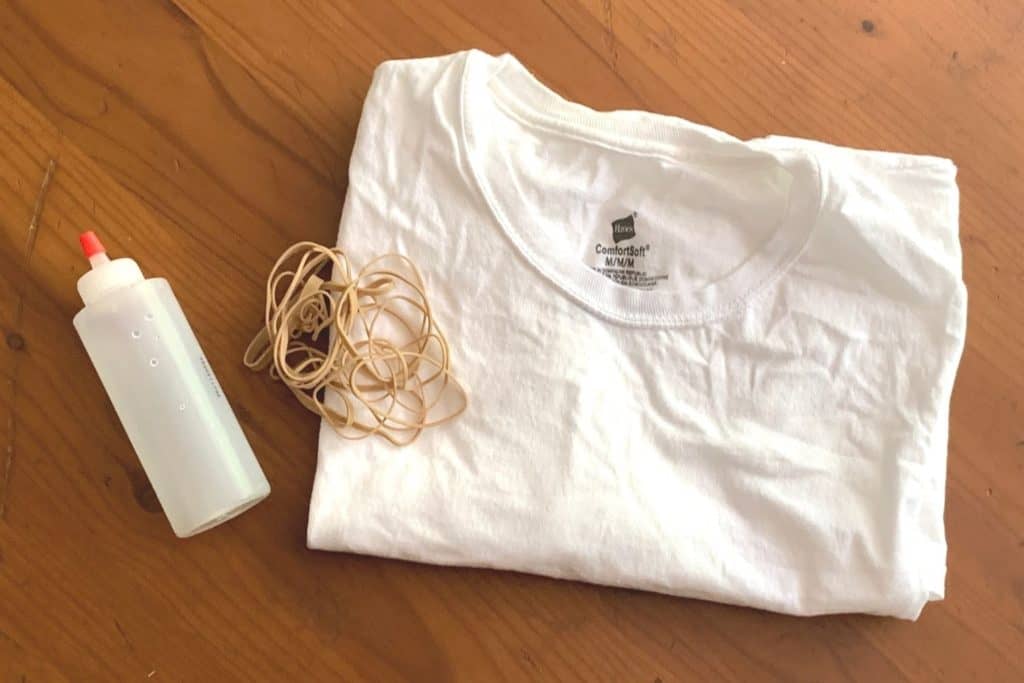
Supplies:
- A white t-shirt
- Rubber bands
- Dye
- Disposable gloves
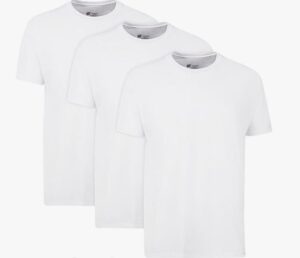
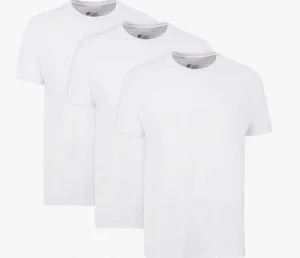
Shirts
I recommend using items made of 100% cotton for this project.
Cotton is a great fabric to tie dye because it holds pigment really well. Other fabrics, like polyester don’t tend to let the color soak in as well. There are some dye blends specifically formulated for polyester and other fabrics, but they tend to be expensive and harder to find.
We bought these Hanes 100% Cotton T-shirts from Amazon. They’re inexpensive and worked great. You can order them here:
Bands
I found a great selection of rubber bands of all sizes at my local Dollar Tree. They often have great office supplies for REALLY cheap!
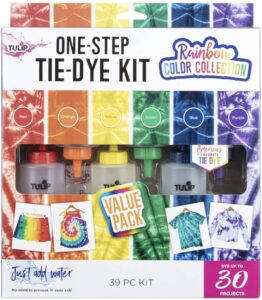
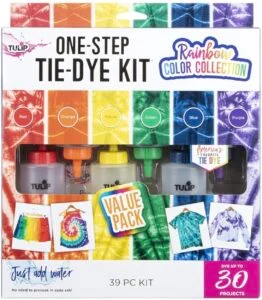
Dye
The dye is the most important part of this crumple tie dye equation. I really like Tulip brand products. They’re readily available, easy to use, and very affordable.
Don’t let the price scare you of each kit. You can make several creations from each bottle of dye you mix up.
Tulip tie dye products only require that you mix them with tap water, making the process VERY easy to accomplish. The kits usually come with everything you’d need to dye with, like squeeze bottles, rubber bands, and gloves.
The only thing they don’t seem to come with is the item you intend to tie dye. Tulip really does make a great product.
I like this specific kit because it comes with several vivid primary colors, along with extra dye packets. So with this kit you’re actually quite a bit more dye than you see in the picture! You can find it on Amazon here:
Gloves
I always recommend wearing gloves when tie dying. Unless you want multi-colored hands for a week, you’ll want to protect them in some way.
I also recommend wearing old clothes for this project, “just in case.”
Crumple Tie Dye: Prepping Your Shirt
If the shirt you’re using is new, you’ll want to wash it before you get started. This will remove any chemicals or residue on the shirt and make the dying process go smoother.
Once you’ve washed the shirt, don’t bother to put it in the dryer. You’ll want to work with a slightly damp shirt for the dying process.
Having a damp shirt makes the dye adhere to the shirt a little easier and allows you to use less dye to penetrate the fabric.
“Crumpling” The Shirt
Crumple tie dye may seems as easy as just wadding up the shirt and throwing some rubber bands on it. But for a nice even effect, it takes a little more finesse than that.
To get that random crumple tie dye effect that’s so classic, you’ll want to start by laying out the shirt on a flat surface.
Starting from the middle, begin intentionally bunching the shirt together. The goal is to get a disk-like finished product, and leave enough of the shirt exposed to really spread the dye evenly over the surface.
Don’t move to0 quickly, just keep adding more to your bunched portion.
Once you’ve bunched up across the width of the shirt, you can add your first rubber band.
Keep bunching any remaining areas that aren’t part of the “wad” and adding more rubber bands.
You should be able to see what I mean in the video.
Crumple Tie Dye: Adding the Color
Once you’ve “crumpled” your shirt, you start adding your color.
Take your still-damp shirt to an area that won’t be damaged by the dye. Some people use plastic bins. Some people do this outside. I like to use my stainless steel kitchen sink.
Just make sure you’re using an area that’s easy to clean up and won’t be stained when you’re done.
Mix your dye according to the package directions. As I said before, the Tulip tie dye kit I recommended just requires that you add water. Super easy!
I like to use a single color for this project, but it’s totally acceptable to use as many colors as you want. Just be mindful of how colors can bleed together. Putting a red next to a green might end up giving you a rather gross brownish shade where they meet. Just use care when using multiple colors.
Apply the dye according to the package directions. The Tulip kit has these great squeeze bottles that make application easy. Just squeeze it in any area you want colored.
When you’ve finished applying the color, let the shirt sit for a few minutes and let any excess dye drip off.
Crumple Tie Dye: Making The Dye Stick
Once you’ve applied the amount of color you want to use, you need to wrap your shirt in plastic.
Do not remove the rubber bands from your shirt yet!!
Take your dyed, banded shirt, and place it in a plastic bag.
I usually use ziploc bags for this project, but you can also use a garbage bag or just plastic cling wrap. The goal is to keep the shirt damp while it sits. Anything that accomplishes this goal will work.
Leave your crumple tie dye shirt in the plastic for 6 to 8 hours, or even overnight. The longer you leave it, the more vibrant the colors will be.
Crumple Tie Dye: The Final Steps
Once your shirt has been sitting for the appropriate amount of time, you’ll want to carefully remove it from the plastic, remove the rubber bands, and begin the rinsing process.
As I said before, be careful where you do this. Dye can be destructive and can stain areas easily (that’s kind of the point of dye, isn’t it?)
You’ll want to rinse the shirt multiple time, until the water coming out of the shirt runs clear, with no trace of the dye.
Once you’ve thoroughly rinsed the shirt, wash it by itself with just a small amount of detergent. Then dry it as you usually would.
The Finished Product
That’s it! That’s all you need to do for your crumple tie dye t-shirt!

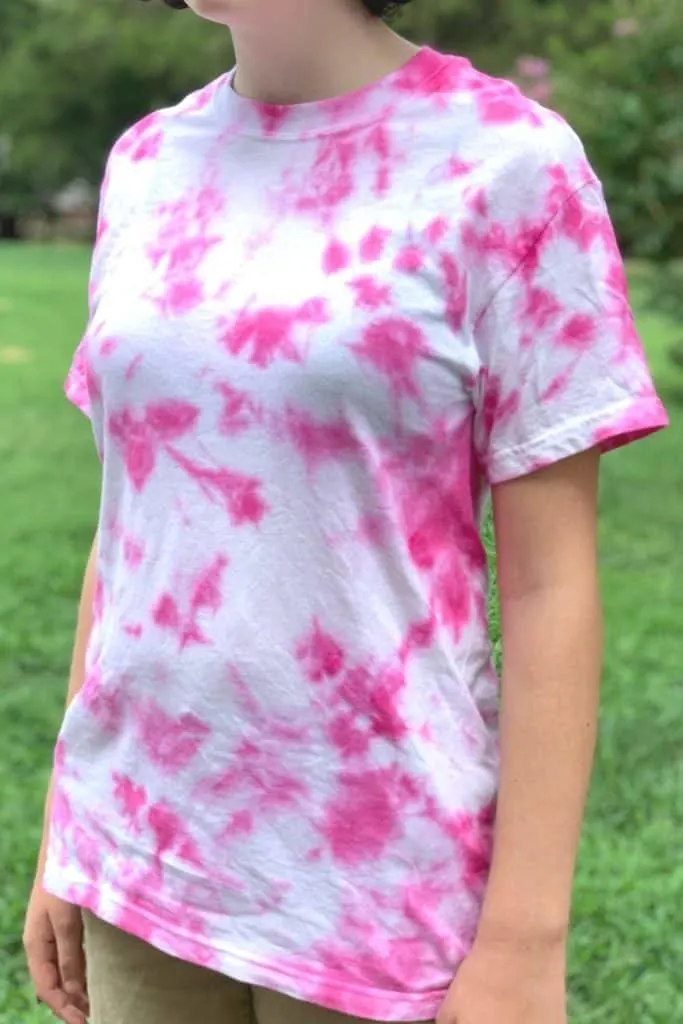
Don’t you just adore the final result? This project is so quick and easy, and really doesn’t take a whole lot of artistic talent to pull off!
Have you used the crumple tie dye method to make shirts? I’d love to see your end results!
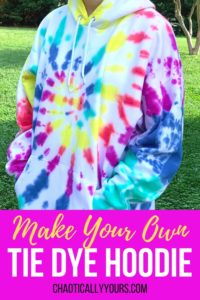
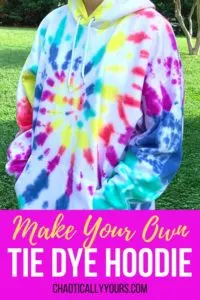
Want more tie dye projects? Click on the image to check out my other posts for full tutorials on how to achieve these looks:

Crumple Tie Dye: A DIY Project
Use this simple, classic crumple tie dye technique to create a one-of-a-kind look!
Materials
- White t-shirt
- Tie Dye Kit
- Rubber Bands
- Disposable Gloves
Instructions
- Wash your shirt, but do not dry it. Leave it damp.
- Lay your damp shirt out flat. Starting from the middle, bunch the shirt together.
- Once you've bunched up across the width of the shirt, you can add your first rubber band.
- Keep bunching any remaining areas that aren't part of the "wad" and adding more rubber bands.
- Take your still-damp shirt to an area that won't be damaged by the dye.
- Mix your dye according to the package directions.
- Apply the dye according to the package directions.
- Let the shirt sit for a few minutes and let any excess dye drip off.
- Once you've applied the amount of color you want to use, you need to wrap your shirt in plastic. Do not remove the rubber bands from your shirt yet!!
- Take your dyed, banded shirt, and place it in a plastic bag.
- Leave your crumple tie dye shirt in the plastic for 6 to 8 hours, or even overnight. The longer you leave it, the more vibrant the colors will be.
- Once your shirt has been sitting for the appropriate amount of time, you'll want to carefully remove it from the plastic, and remove the rubber bands.
- RInse the shirt until the water coming out of the shirt runs clear, with no trace of the dye.
- Once you've thoroughly rinsed the shirt, wash it by itself with just a small amount of detergent. Then dry it as you usually would.
Notes
WARNING: Dye can be destructive. Please do this process somewhere that won't be damaged.
I do not recommend allowing children or teens to do this project unsupervised.