
Carpenter Bee Traps have been a lifesaver around our house!
Carpenter bees have wreaked havoc around here.
These big, fuzzy bees look exactly like the insects you see depicted in stories and art. But while they’re pleasant to watch fly around, they can cause a lot of damage.
Recently we decided to construct some carpenter bee traps to help combat our carpenter bee problem, and I decided to share the process with you guys so you could do the same for your home.


Links in this post may be affiliate links, which means I may earn a commission if you make a purchase from any of them, at no additional cost to you. You can find out more information by reading my full disclaimer.
Carpenter Bee Damage
They’re called carpenter bees because they use their jaws to bore holes in wood to create places to lay their eggs. Flat wooden surfaces, like decks, eaves, overhangs, and shingles make perfect targets for carpenter bees.
While these holes cause cosmetic damage, it’s not as common for the holes created by carpenter bees to cause structural damage.
The real issue is the way these carpenter bee holes leave structures vulnerable to moisture, which opens up the opportunity for rot and decay which can be devastating.
The previous owners of our home did nothing to combat these pests, and we’ve found carpenter bee damage all over our deck and all around the two sheds at the back of our property.
Are Carpenter Bees Endangered?
Over the last few years we’ve all heard about dwindling bee populations and how bees are essential to a healthy ecosystem.
While this is absolutely true for several species of bees, the at-risk bee populations do not include carpenter bees.
Carpenter bees are thriving, while other types of bees like honey bees are experiencing a population crisis with several species being added to the endangered list.
Working to eliminate carpenter bees from your property so they won’t cause damage will not affect the endangered types of bees, so you can rest assured you aren’t contributing to the bee population problems.
How Carpenter Bee Traps Work
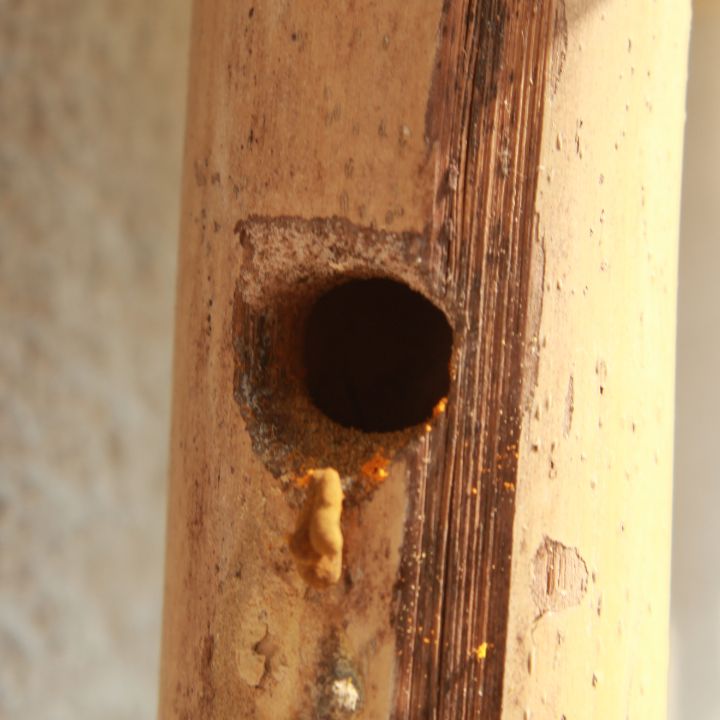
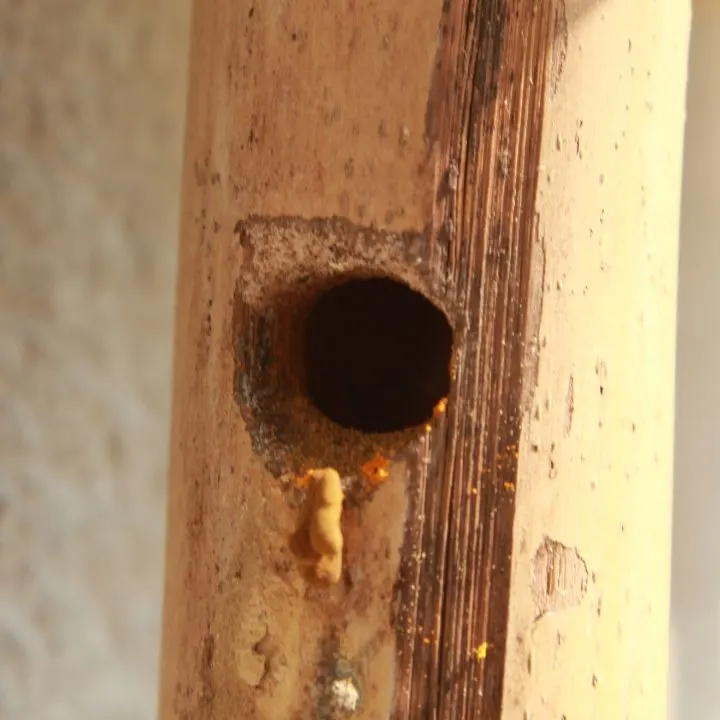
Carpenter bees build their nests by creating holes in wood surfaces.
These holes are usually about half an inch in diameter and are always perfectly round. The almost appear to have been created with a power tool. You’ll usually see small piles of sawdust right below an opening.
After boring for a few inches, carpenter bees will make a right angle turn, and continue their tunnels parallel to the wood surface for a short distance. This is where they usually lay their eggs.
Carpenter bees will return to previously carved holes before carving new ones. This fact about carpenter bees is what makes these traps effective.
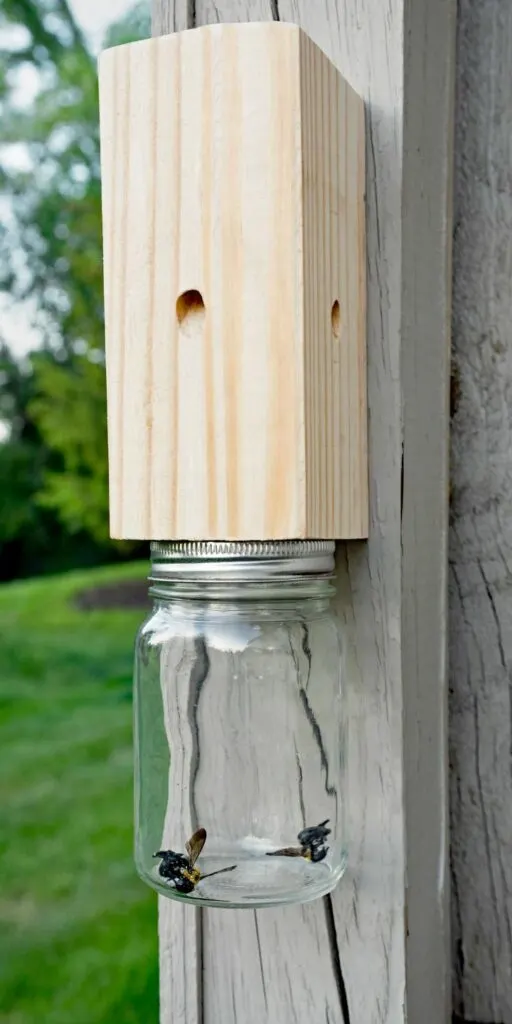
Our carpenter bee traps work by recreating the environment that the bees like to lay their eggs in. Bees discover the perfectly shaped hole and crawl inside. Once inside, they make a right angle turn, which blocks the light from their entrance.
Carpenter bees then get confused, and see the light coming from the other hole in the trap, and head towards the light. When the bees exit through this hole into a jar, and are unable to find they way out again. After a short amount of time, bees die in the trap.
You’d think they’d go back out the way they came in, but for some reason they just don’t seem to do that, and these traps work very well to get rid of the carpenter bees simply and easily.

What You’ll Need
It takes a surprisingly small amount of materials and just a few common tools to make these carpenter bee traps. Here’s what you’ll need to make one carpenter bee trap:
Supplies:
- A 4×4 inch piece of untreated lumber
- A mason jar
- Two wood screws
- A screw eye
- Rope or chain
We found most of our supplies at our local hardware store, but some of these items are available on Amazon as well. We were able to make each one for under $5.00 each.
This project is perfect for a piece of scrap lumber from another project. While carpenter bees are most attracted to untreated lumber, you can use treated if that’s all you have.
You can use pint or half pint mason jars for this. You could even recycle an old jar, as long as it has a lid with a good screw top on it.
Screw eyes come in all sorts of sizes. Just make sure yours can support the weight of your carpenter bee traps, and that it can be used with whatever mechanism you use to hang your traps.
Tools:
As with any DIY project, it is important to use extreme caution when using power tools and always follow manufacturer’s instructions. Do not allow children to operate them.
How To Make Carpenter Bee Traps
Assembling the traps is relatively easy, and can be done in just a few minutes.
The first step is to trim your 4×4 down to the correct size.
For our design, we cut our 4×4 to five inches long. So the resulting piece is a rectangle that measures 4 x 4 x 5 inches.
Once they are cut to size, use the 3/4 inch drill bit to create a hole in the center of one of the small sides (one of the 4×4 sides).
Drill this hole four inches deep, making sure not to drill all the way through and to leave one inch of solid wood at the end.
The next step is the most important. To create the illusion that keeps the bees in your trap, you need to drill the next three holes at an angle.
The illustration below is what a cross section of the bee trap should look like.

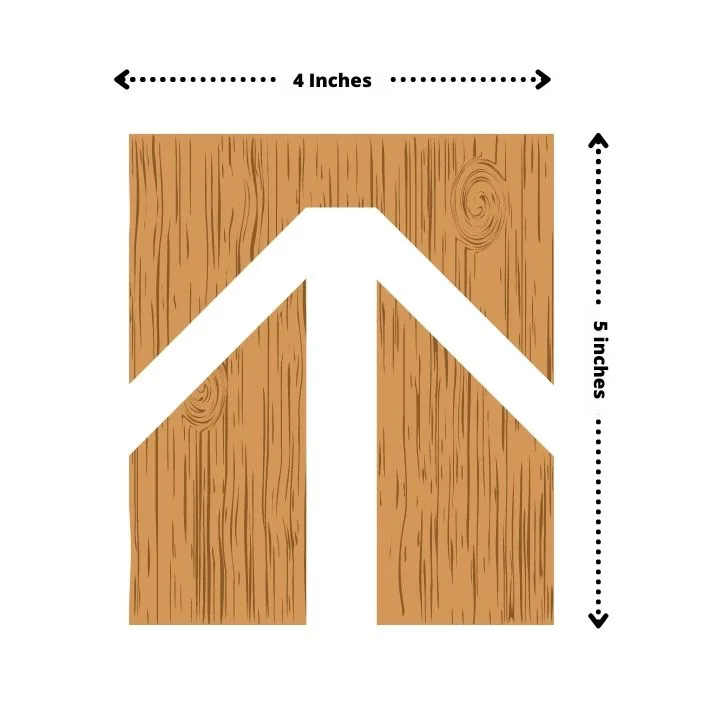
Change your drill bit to the 1/2 inch size so that the holes will be the same size as the ones created by the bees themselves.
Starting on one side of your block of wood, you’ll want to drill upwards at approximately a 45 degree angle to create a channel that connects to the center hole.
Repeat this on two more sides so that three out of the four long sides of your block have holes. All holes should connect to that center channel. Be sure to leave one side solid.
Make sure you clean out any sawdust or wood shavings from the holes you’ve just drilled.
Attach your eye screw to the top of your wood block.
Once you’ve drilled the holes in the wood, you’ll need to drill a hole in the lid of your jar.
If you’re using a regular canning jar, remove sealable lid portion from the screw on ring and drill the hole in this portion.
Place the lid down on top of a scrap piece of wood, and drill a 3/4 inch wide hole in the center of the lid.
Make sure you’re drilling from the top side of the lid through to the bottom side so that any rough edges will point into the jar and making the exit point even harder for the carpenter bees to access.
Once you’ve drilled the hole in the lid, reassemble it with the screw on ring if necessary.
Align the hole in the lid with the bottom hole in the wood block.
Now secure the lid to the wood block with two wood screws.
Once the lid is securely attached to the wood block, screw the jar into place at the bottom of the wood block.
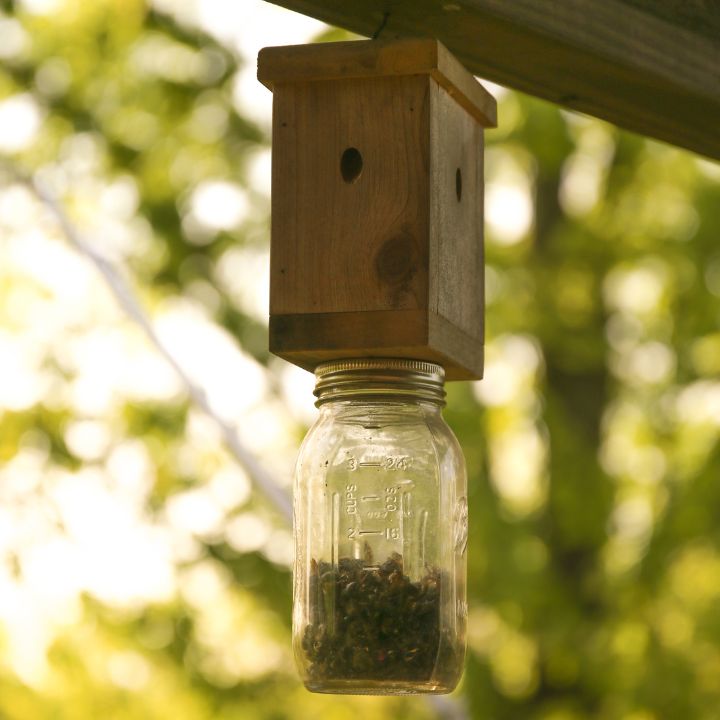
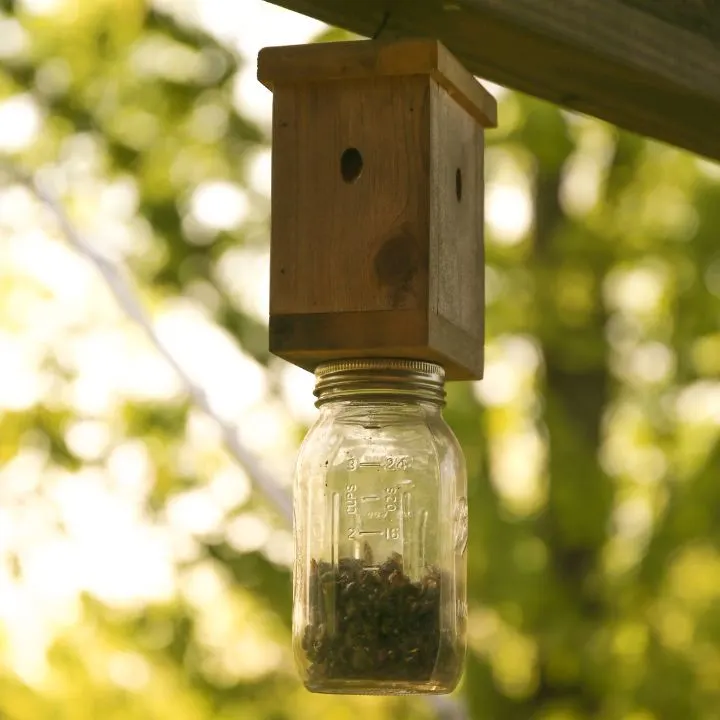
Your carpenter bee trap is now complete!
We do not recommend painting or staining the wood traps, since carpenter bees are most attracted to unfinished wood.
It’s highly likely you have several carpenter bees on your property, so you’ll probably need to make several carpenter bee traps to handle the problem.
Installing Your Carpenter Bee Traps
Once you’ve finished your carpenter bee traps, you’ll want to install them properly.
Find the areas where the carpenter bees are boring holes in your structures.
The carpenter bee traps need to be placed in close proximity to the holes they’ve already bored.
Once you’ve hung your traps, it’s vital that you treat and seal up the existing holes in your wood structures.
Use a pesticide to kill any carpenter bees and eggs within the holes. Once they’ve been treated, fill the holes with caulk or wooden dowels to prevent the bees from having access to the holes again.
By treating and sealing the holes, carpenter bees will begin looking for old holes before putting in the work to create new ones.
The traps you’ve just made will trick the bees into entering the holes of the carpenter bee traps and getting stuck inside so they cannot do more damage to your wood surfaces.
Be sure to use extreme caution while using any pesticide, avoiding breathing it in or getting any on your clothes.
Why Make Carpenter Bee Traps And Not Other Treatments
While it seems like pesticide alone would do the trick to get rid of carpenter bees, it can actually be pretty ineffective since they don’t actually eat the wood and may not be exposed long enough to the chemical to be eliminated.
Also, plugging the holes alone isn’t a good solution since bees can simply chew another hole to create an exit for themselves.
The best remedy for carpenter bees is to use a combined strategy of treatment, plugging and traps.
Other Posts You Might Enjoy
We love DIY around here and have seen lots of great results with our other projects, like DIY Upholstery Cleaner and How To Fix Christmas Lights.
Carpenter Bee Traps: How To DIY Your Own
Materials
- A 4x4 inch piece of untreated lumber
- A mason jar
- Two wood screws
- A screw eye
- Rope or chain
Tools
- A power drill
- A 3/4 inch wood drill bit
- A 1/2 inch wood drill bit
- A 3/4 inch metal drill bit
- A saw
Instructions
- Cut the 4x4 inch lumber into a 5 inch long piece.
- On one square end of the wooden block you've just created, drill a 3/4 inch wide hole that is four inches deep. Do not drill through the end of the block.
- On one side of the block, drill a 1/2 inch wide hole at a 45 degree angle until it reaches the center channel you drilled into the middle. Repeat this process two more times until you have holes on three sides of the block. See image in post for clarification on the angles.
- Clean out any sawdust or shavings from the holes.
- Attach the eye screw to the top of the wood block, on the opposite from where you drilled the straight hole.
- Drill a 3/4 inch wide hole in the center of the lid of your jar.
- Align the hole in the jar lid to the hole in the bottom of the wooden block.
- Secure the lid to the block with wood screws.
- Screw the jar onto the lid tightly.
- Hang your carpenter bee trap close to active carpenter bee holes.
- Treat existing carpenter bee holes with pesticide and seal them with caulk or dowels.
Notes
As with any DIY project, it is important to use extreme caution when using power tools and always follow manufacturer's instructions. Do not allow children to operate them.
Be sure to use extreme caution while using any pesticide, avoiding breathing it in or getting any on your clothes.
Wait for bees to expire before attempting to remove them from the traps.