I’m seeing bleach flannel everywhere these days!
From high end boutiques to instagram influencers, it seems everyone is wearing those cute ombre plaid shirts!
My daughter and I just love them, but my budget does NOT love that price tag. Some of these stores were asking $45 to $55 per shirt!
So I decided to figure out how to make my own version of these cute bleach flannel shirts on the cheap!
I was able to backwards engineer the process and I just LOVE how they turned out!
I’d even love to try my Bleach Stencil process on these flannel shirts, too! I bet those would look AMAZING!!
I’m super excited to share the process with you so you can make your own bleached flannel shirt for just pennies on the dollar of the price you’ll find them for at boutique shops or on Etsy!
Plus, I’m giving your free printable instructions at the bottom of this post! (***But remember, those are just the basics for when you’re working on your own project! Read my entire instructions to really understand the process)


What You’ll Need To Make Bleach Flannel
The supply list for making bleach flannel shirts is pretty short, and you probably already have the majority of the items in your home!
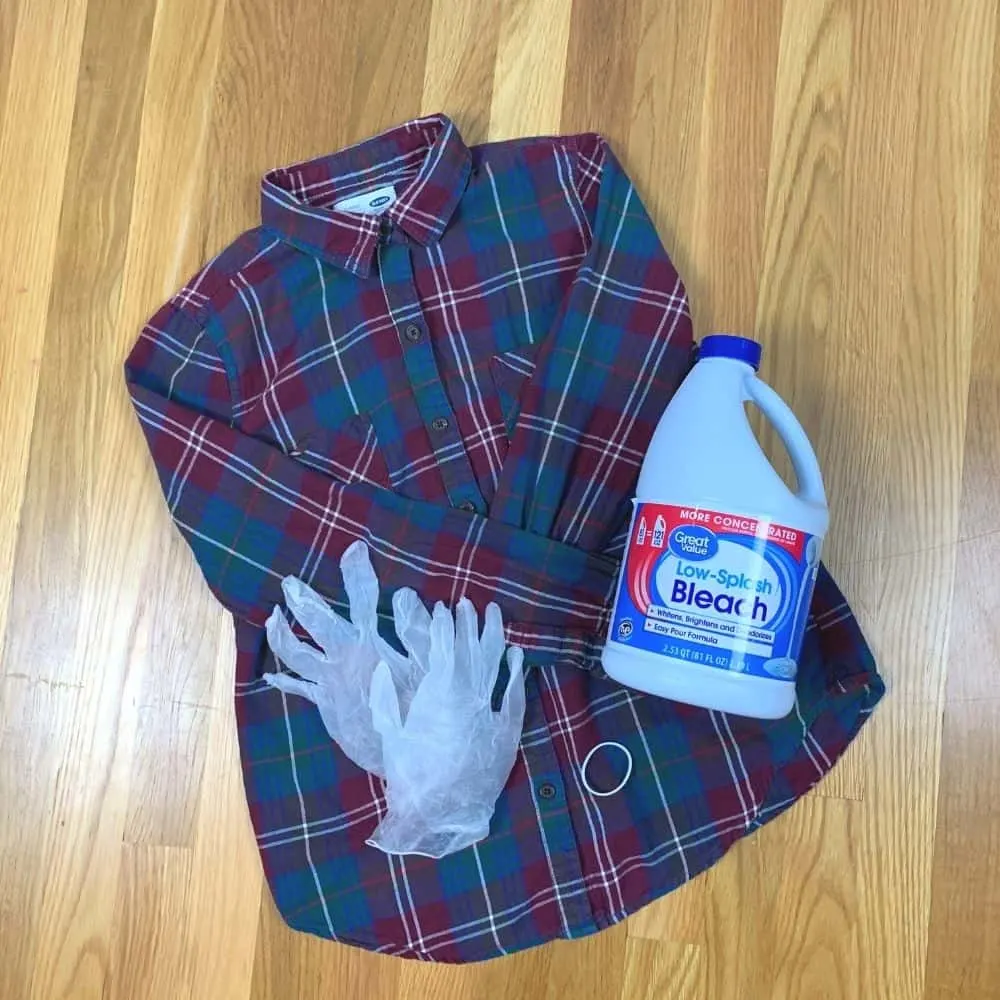
Here’s what you need to gather up:
- A plaid flannel
- bleach
- a rubber band
- plastic gloves
- grocery store bags

Flannel shirts can be costly if you shop at high end stores.
My penny-pinching self loves a deal, so I hit up my local thrift store for some good looking flannel shirts.
I found three great ones on their racks for just $3.00 each, which is a SUPER bargain in my opinion.
Two of them were actual flannel, and one was more of a cotton shirt, but all of them turned out cool after the bleach flannel process.
Here’s a pro-tip about looking for women’s shirts to make bleached flannel with at a thrift store: Always check the men’s section!
Employees who are sorting donations don’t always pay close attention to which department things belong in, and often put anything plaid in the men’s department.
The cutest shirt I found for this process was handing smack in the middle of the men’s clothing rack.
It’s labeled a “boyfriend” style shirt, so I can easily see how someone got confused when putting it out for sale.
As far as the glove go, as is normal for the times, we had some latex gloves at my house, but you could also use dishwashing gloves for this.
You just basically want something to protect your hands from the bleach.
I had basically everything else already laying around the house, so I just gathered it together.
How To Prep Your Shirt For Bleaching Flannel
When I’m working on a project like this I ALWAYS wash the clothing first, even if it’s brand new.
Since I’m using thrifted shirts, I especially wanted them cleaned to removed any fabric softener or other products that might make bleaching flannel more difficult to accomplish.
After washing the shirts, I thoroughly dried them. Unlike my Bleach Tie Dye shirts, the flannel shirts SHOULD NOT be damp when you’re working on them.
Once the shirts were thoroughly washed and dried, I buttoned them up and laid them out flat.
In order to get an even amount of bleach on the shirt, it’s important to prep it properly.
I know this sounds like an insignificant step, but it’s actually a rather important one in the bleach flannel process.
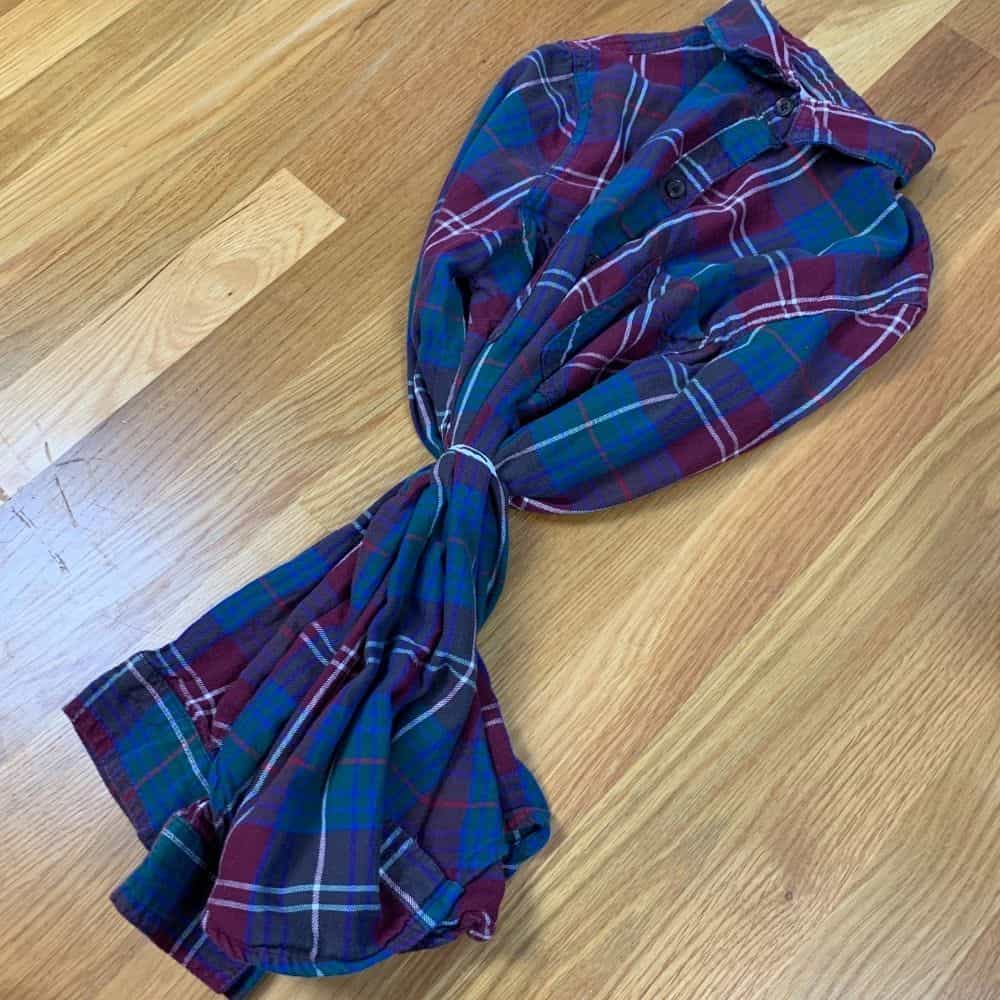
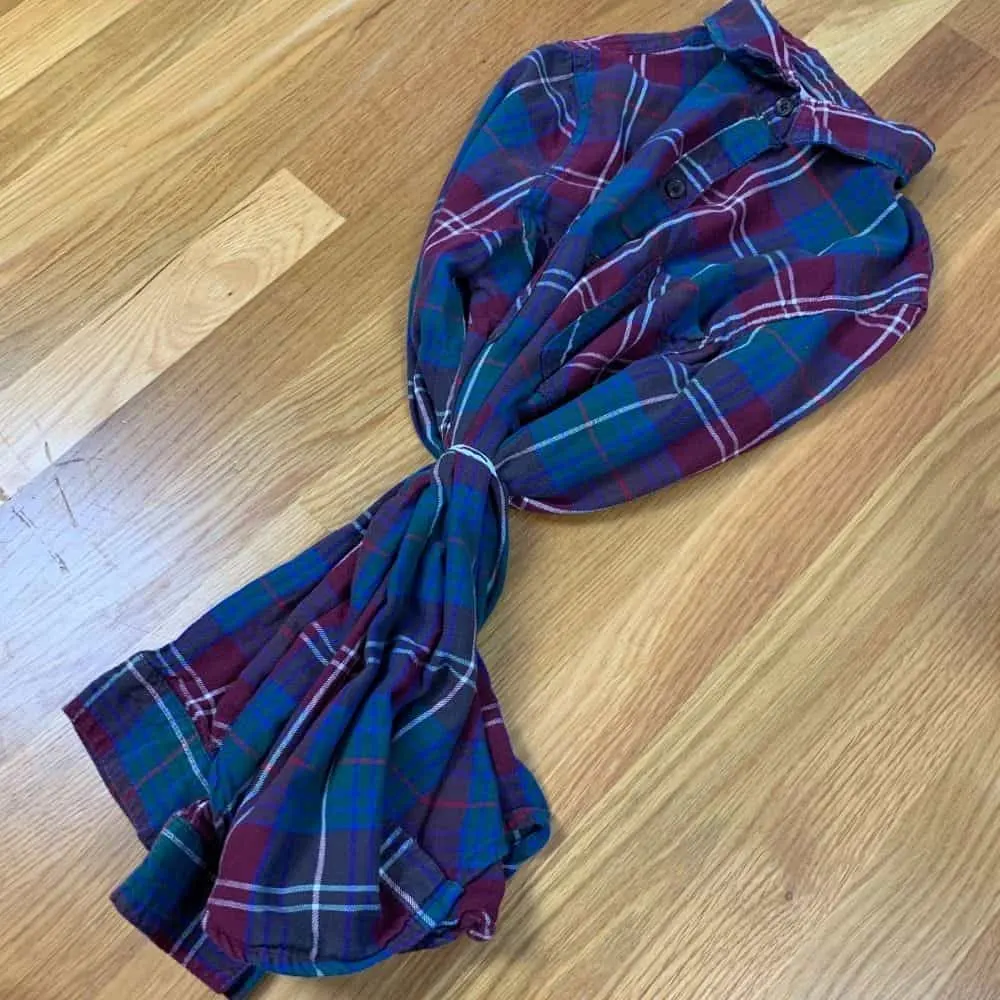
Unless you want very straight lines where the bleaching starts on the flannel, you’ll want to bundle your shirt.
I had to figure out where I wanted to start bleaching area to start on the flannel, and then carefully bundle the shirt evenly.
I then placed a rubber band just above that area to hold the shirt together.
By doing this, the shirt ends up having an even, yet natural looking start point for the bleached area.
Don’t Forget Your Protective Gear
Like I said earlier, I grabbed a pair of latex gloves for this project, but you can use whatever you want.
I just don’t recommend exposing your hands to bleach directly if you can avoid it. Bleach is a harsh chemical and can do some damage to your skin if you aren’t careful.
In addition to the gloves, I wore old clothes while I worked on this project.
I did NOT want to accidentally splash some bleach and ruin any of my good clothes!
I also grabbed a few Target bags to help me when I finished the bleach flannel process and needed to transfer the shirts to the washing machine.
This was super helpful in protecting my rugs and carpets from any accidental drips from the bleached flannel shirts.
The Bleached Flannel Process
After I got my protective gear together, I set up my bleaching station.
I did this bleach flannel project inside my kitchen with the windows open for proper ventilation, but you might want to do this project outside, because the fumes got pretty strong.
If working outside, you could accomplish the same things with a couple of containers and a garden hose instead of a sink.
It’s just important to remember that bleach is a toxic chemical, and you always want to work in a well ventilated area when using it.
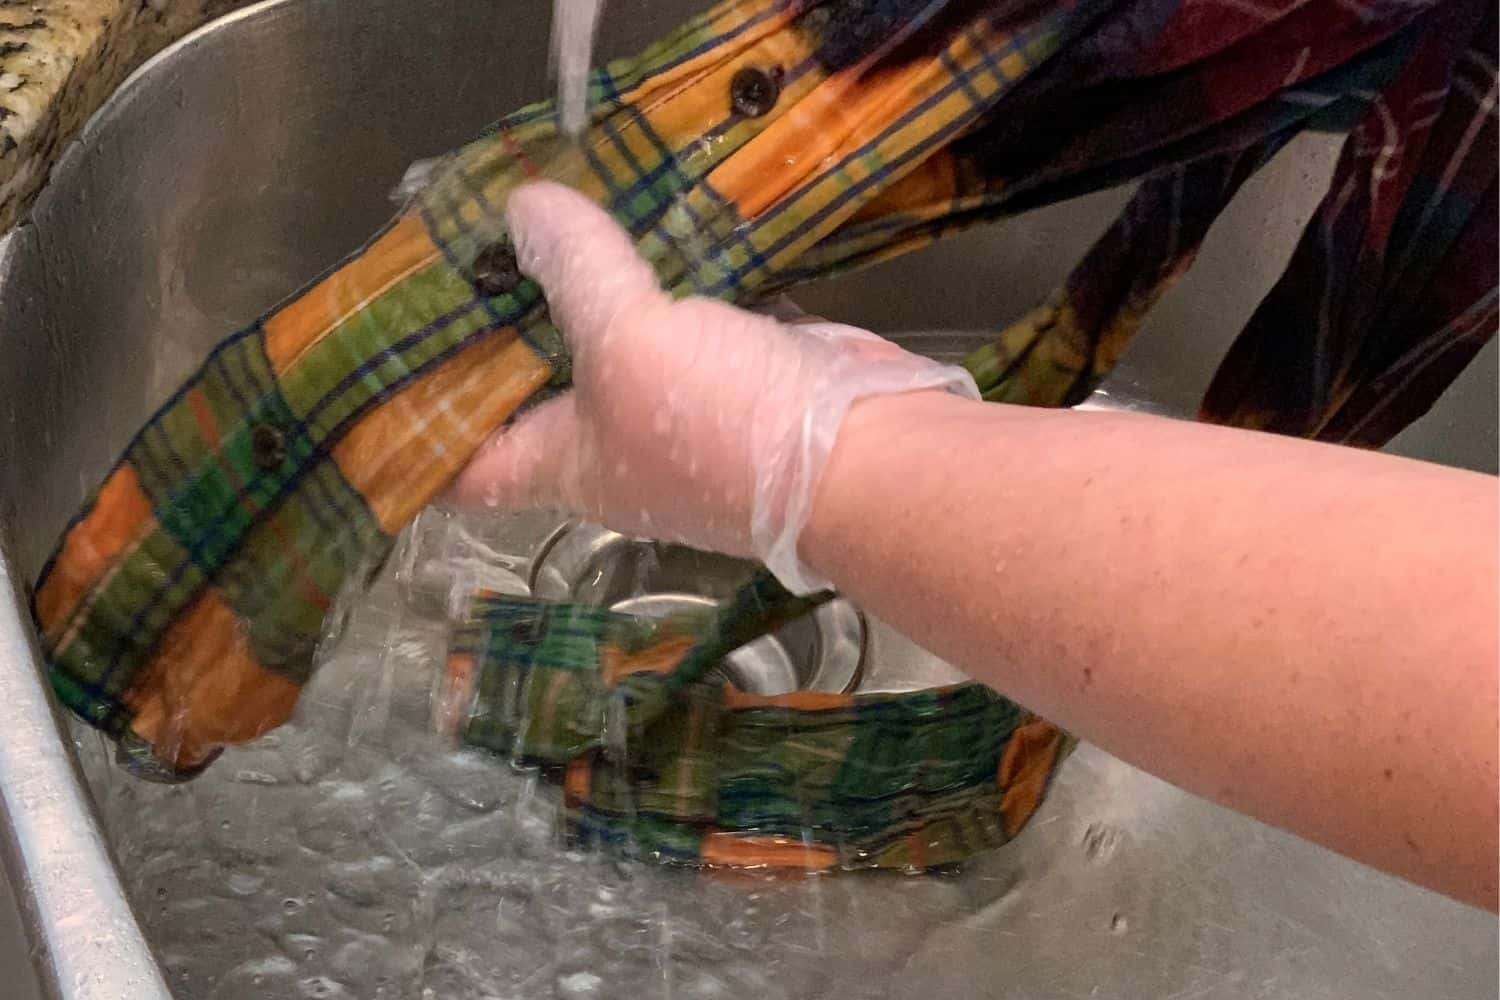
I plugged one side of my kitchen sink, and filled it with a 50/50 mix of bleach and water. I used 2 cups of bleach and 2 cups of warm water.
I left the other side of my sink open and ready for rinsing the shirt when I was done bleaching flannel.
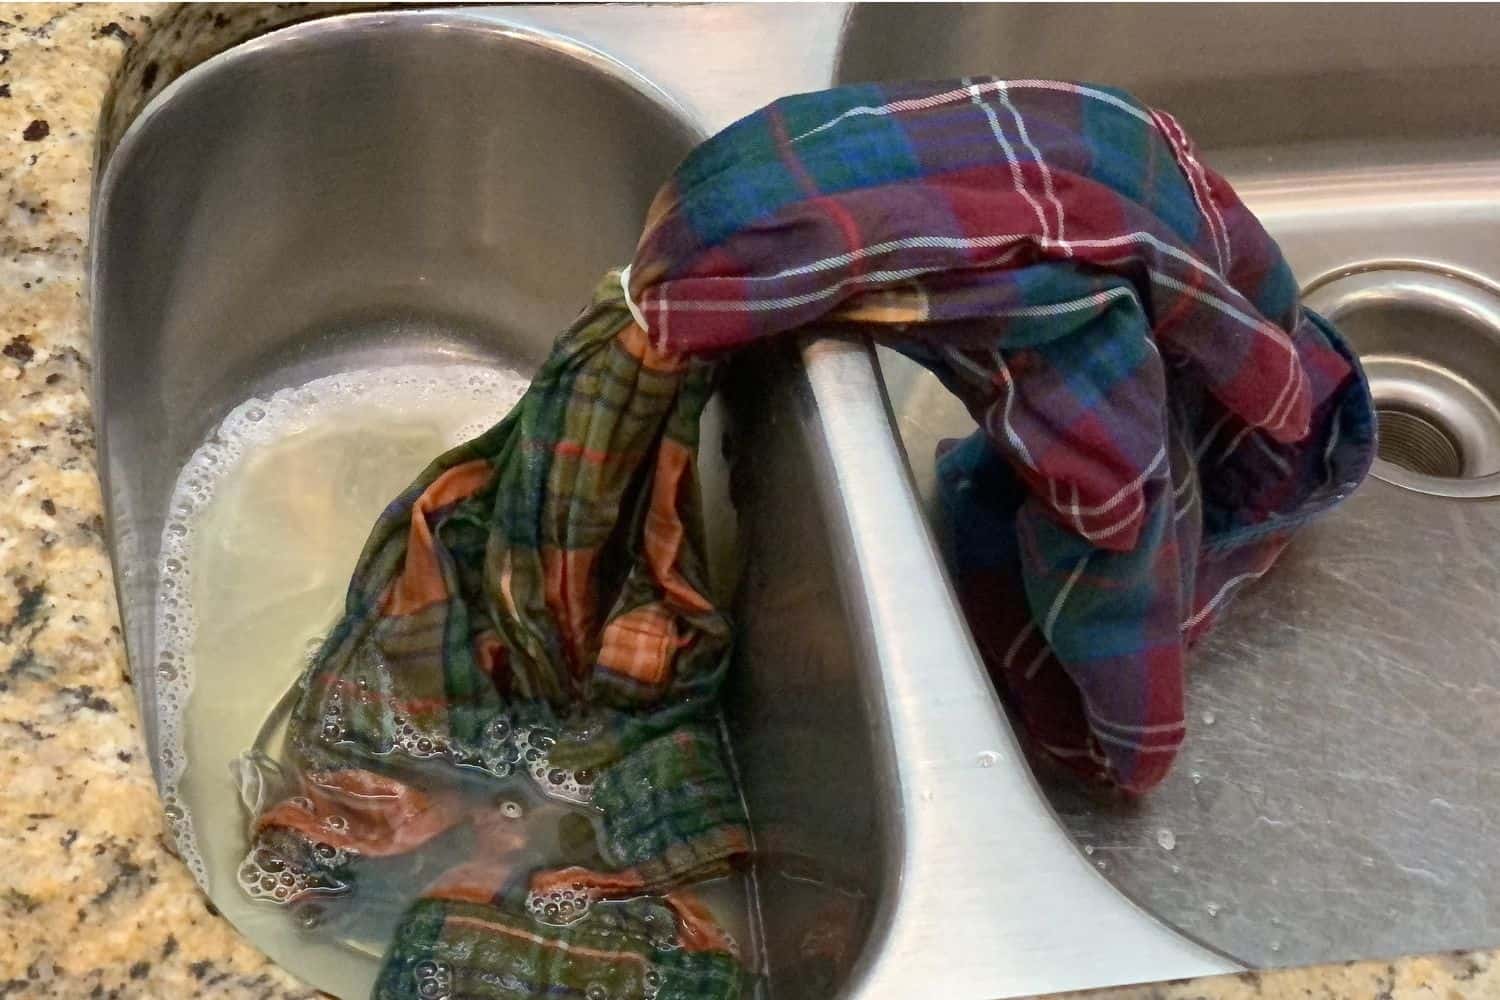

Then I slowly and carefully dipped my flannel shirt into the bleach, stopping just before the rubber band.
I tried to only touch the bleached part of the shirt with one hand, and the dry part with my other hand.
After about ten minutes, the colors started to fade.
It all depends on what type of material your shirt is made of to determine how long it will take before the colors start to change.
Sometimes it happens immediately, sometimes it takes a little while.
Just make sure you don’t leave your flannel shirt unattended and over bleach it.
The Post Bleach Process

Once my flannel shirt got to my desired level of “doneness,” I immediately moved it over to the opposite side of my sink, cut off the rubber band, and started rinsing it.
You’re gonna want to rinse it A LOT. The spray nozzle of my kitchen sink was really helpful for that.
Once I felt it was sufficiently rinsed, I rung the shirt out.
I then placed the shirt in a Target bag and transferred it to my washing machine.
Even with all the wringing out I did, the shirt was still a little drippy, so I was very thankful for that Target bag to prevent getting any bleach anywhere else in my house.
I washed the shirt all by itself to make sure I got out any possible remaining bleach.
***CAUTION: Several other tutorials out there recommend dipping the bleached shirts in a mixture of vinegar and water to “stop the bleaching process”. I absolutely DO NOT recommend doing this!! Mixing bleach and vinegar can create VERY toxic gases and is potentially lethal! Rinsing it with water is enough to keep the bleach from continuing to affect the material.
The Final Results
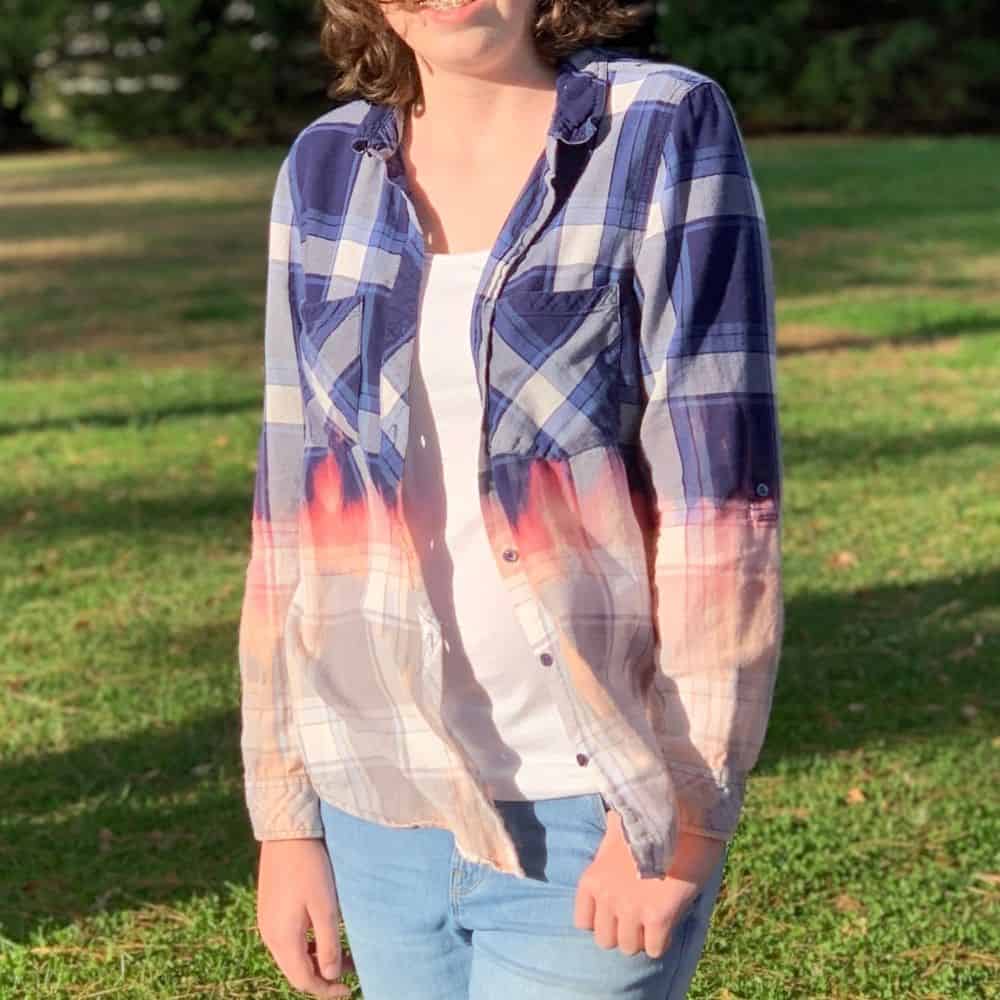


My daughter and I just LOVE how these turned out!
So cute and EXACTLY like the ones we saw in boutiques!
For under $4, we were able to create our own one-of-a-kind shirts instead of paying the $45 price tag we saw in stores.
Helpful Tips for Creating Bleach Flannel
I did learn a few things in the process of doing a few of these that will come in handy in the future.
First of all, I didn’t love how any of the bright red flannels turned out.
That may just be personal preference, but the process seemed to be much cooler on burgundys, greens, and blues.
I also learned that not all material is made for this process. Some plaid shirts were easier for bleaching flannel than others.
Mistakes were ok in this process. I accidentally touched the top of one of the shirts with the hand that had bleach on it.
At first I freaked out a little, but then I decided to incorporate it into the look.
I then purposefully dripped a little bit of bleach on the top part of the shirt, to create a less uniform look to the bleaching. I am REALLY happy with how that turned out, and it covered up my mistake!
Have you tried this process? How did yours turn out? I’d love to hear about it in the comments!
How To Bleach Flannel


Basic instructions for bleaching flannel shirts.
*PLEASE READ THE FULL TUTORIAL FOR DETAILS AND HELPFUL TIPS ON HOW TO BLEACH FLANNEL
Materials
- A plaid flannel
- bleach
- a rubber band
- plastic gloves
- grocery store bags
Instructions
- Wash your shirt to remove any fabric softener or other chemicals that might be on it. Make sure the shirt is thoroughly dry.
- Button the shirt up and lay it out flat, folding the sleeves inward.
- Determine where you want the bleaching to start, and gather the shirt together at that point, placing a rubber band around to are to hold it.
- Set up your bleaching station, making sure to be in a well ventilated area,
- Put on your gloves
- Mix the bleach 50/50 with water.
- Dip the half of your shirt that you want bleached into the mixture, not dipping past the rubber band.
- Leave the shirt in the bleach mixture until it has reached the desired level of color change. Time will vary significantly for how long this will take depending on the material and dye color of the shirt.
- Monitor your shirt at all times to avoid over bleaching.
- Once the shirt has changed color to your liking, thoroughly rinse it with water.
- Place the shirt into a grocery store bag, and transport it to your washing machine.
- Wash the shirt alone to remove any remaining bleach.
- Dry and wear your new bleach flannel shirt!
Julie
Saturday 9th of July 2022
if I do more than 1 shirt at a time, can they all be washed in washing machine at same time or do they really need to be washed individually by themselves?
Louise Emery
Tuesday 12th of July 2022
I've washed several together with no issues at all.
Rose
Sunday 10th of October 2021
I love this look and actually bought a bleached flannel from my friends boutique. I’ve been wanting to learn how to do it so def trying now on both a regular T-shirt and a flannel. Ty!
Pat Patterson
Thursday 30th of September 2021
Can you reuse the bleach/water mixture (to do more than one shirt at a time) or do you need to start with "clean" bleach water every shirt?
Louise Emery
Friday 1st of October 2021
You can keep using it. It doesn't have to be "fresh." I have a bottle of the mixture that I made about a year ago that I still use. It may depend on the bleach you use though. If it seems less effective later, just mix up a new batch.
Mary Michaels
Friday 23rd of April 2021
Fun!I bought a couple shirts at a garage sale. The lady having the sale told me about this! Your site was just what I needed! Thanks!!!!