When I told my friends I was going to paint a piano, most of them were pretty skeptical about it. I heard just about every question you could imagine.
Is that even possible? How would you even go about doing that? Would it ruin the piano? Could the instrument itself stand up to all the prep work? What if it doesn’t work?
Any my answer to all of those questions was the same:
I have absolutely no idea.
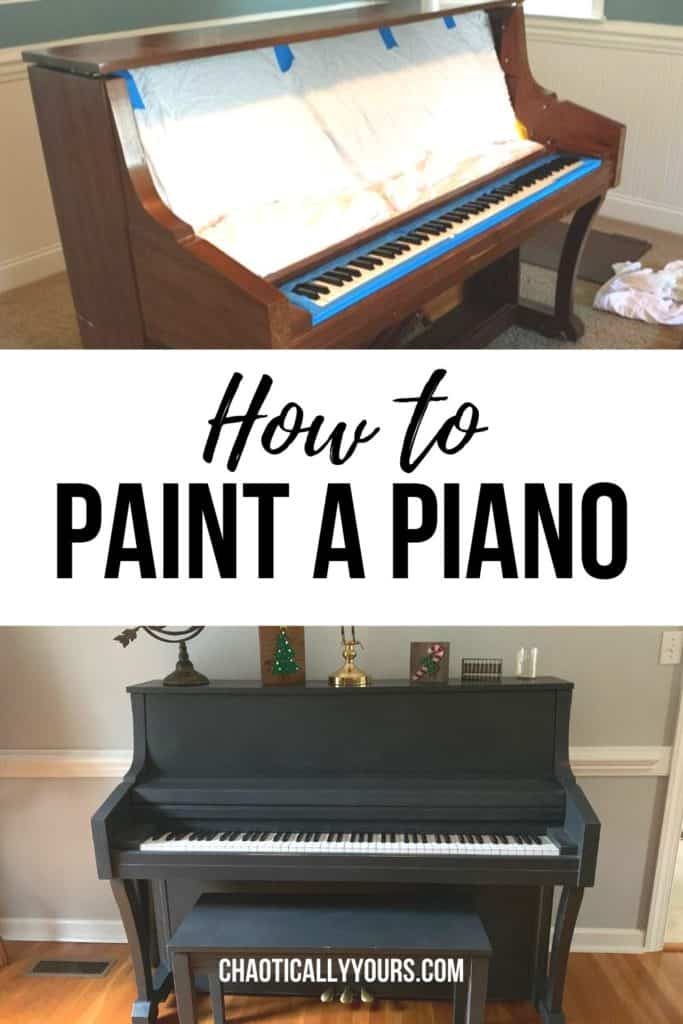
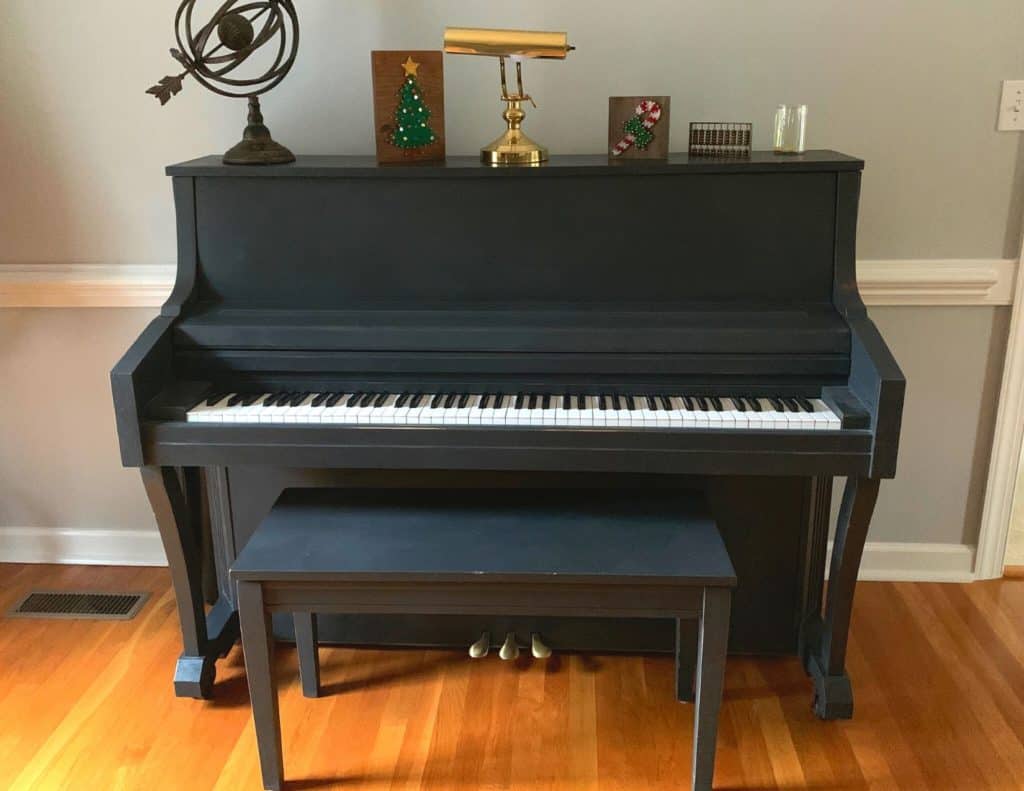
But I decided to to it anyway. And you know what? It turned out GREAT!!!
It took a lot of research and a bit of blind faith, but once the project was completed, I was thrilled with the result.
It took me a while to gather all the info needed to really attempt this project, and it didn’t seem to be readily available. So I’m going to share everything I learned about how to paint a piano with you, so you can do it to!!

Links in this post may be affiliate links, which means I may earn a commission if you make a purchase from any of them. You can read my full disclaimer HERE.
How To Paint A Piano: The Right Instrument
The first thing you’ll need to do is make sure you have the right type of piano to paint.
I wouldn’t approach this decision lightly. Painting a valuable antique or a family heirloom is NOT something I would recommend.
This project is perfect for a piano that still plays beautifully, but the finish has seen better days.
The piano in our home had lots of superficial damage when we got it. It was an upright piano that had lived in a youth hall at a church for years and years. It was being replaced with an electronic keyboard, and was no longer needed.
It was covered in scrapes and pen marks. Three or four circles made by water damage dotted the top.
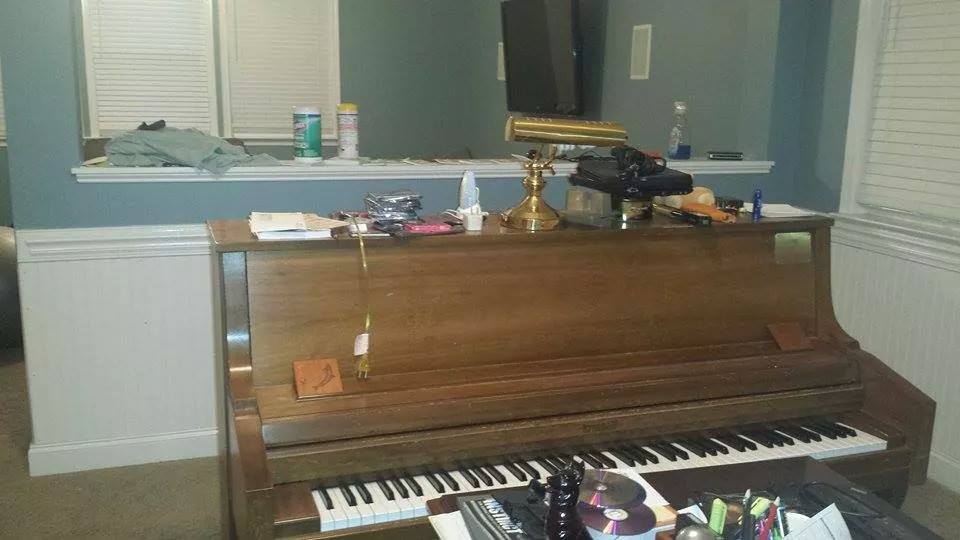
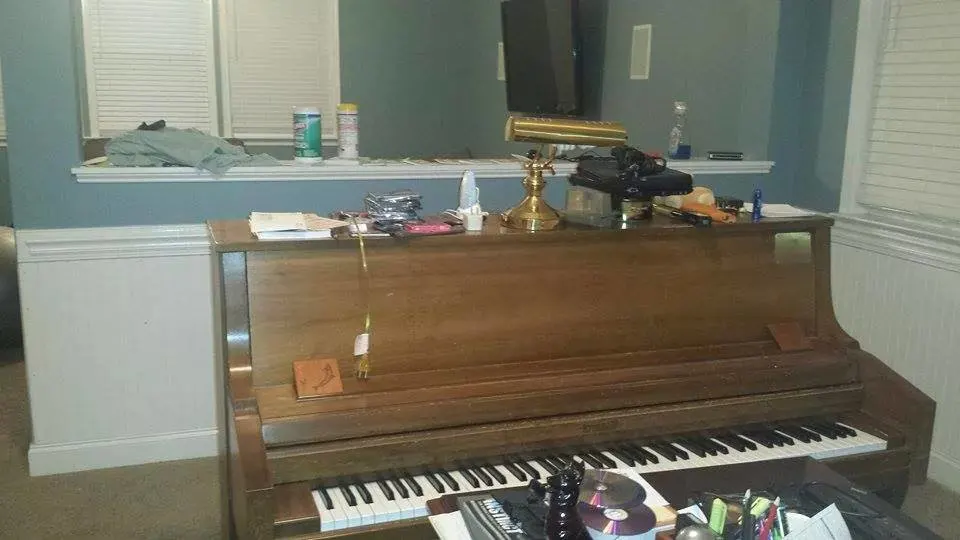
It’s not a great before picture of the piano, but I completed this project long before I started this blog, so I didn’t really think about getting good before and after shots.
But the piano still played beautifully and the instrument itself had been properly maintained and tuned regularly. It was offered to us for free, and I thought it was worth saving.
You can frequently find pianos in this type of condition very cheap or even for free on Craigslist or local buy/sell/trade pages on Facebook.
Painting A Piano With Chalk Paint
Trying to paint a piano seemed like a pretty insurmountable task when I first started researching it. Using a standard method to paint or refinish a piece of furniture requires a LOT of prep work.
The sanding alone seemed like it would make this task impossible, since I couldn’t figure out a way to do it without getting sawdust all inside the piano.
Mind you, this was all the way back in 2014.
But then I had a conversation with my favorite designer who happens to be my best friend, Beth from Atlanta Shabby Chic. She had been refinishing furniture for a year or two at that point and had turned some really run down items into absolutely gorgeous showpieces by repainting them.
She told me all about the amazing abilities of chalk paint.
Chalk paint is an easy to use paint that adheres beautifully to hard surfaces and requires little to no prep work before use. It’s not the same as chalkboard paint. It’s called chalk paint for the chalky finish the paint has when it’s dry.
This dull, chalky finish might not sound desirable. But with a wax coat on top of the paint, you can create a gorgeous, lustrous look that works with any decor.
Once I heard Beth rave about how easy it was to use, and how beautiful the results turned out, I was completely sold.
How To Paint A Piano: Materials
So to start this project, I went out and gathered up all the necessary materials I would need. The list included the following:
- A quart of chalk paint
- A high quality paint brush
- Furniture wax
- A high quality wax brush
- Cheesecloth
- Old sheets
- A large drop cloth
Chalk paint is sold at lots of retailers now a days, but back in 2014 it wasn’t as readily available. Now you can even order it off Amazon!
I used Annie Sloan Chalk Paint for this project. It comes in a variety of colors, and is amazing to work with. You can order everything you need here:
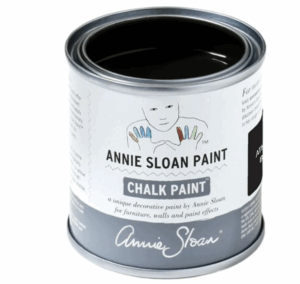
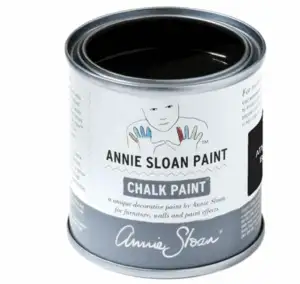
Annie Sloan Chalk Paint in Graphite
I used the dark gray Graphite paint with a clear wax for our piano. I wanted a traditional look without it being completely black. If I’d wanted it darker, I could have used a dark wax, but I really loved the deep gray color we ended up with.
How To Paint A Piano: The Prep Work
The biggest appeal of chalk paint is the minimal amount of prep work needed to get your project started. That’s what makes it perfect to paint a piano with.
I started by spreading out a large drop cloth to protect my floor. Our piano is on wheels, so my husband and I were able to easily just roll it into place on top of the drop cloth before I really got started.
With chalk paint there is no need to sand or or prime what you are painting. But our piano had more damage than we were comfortable with just painting.
So I filled in the gouges and holes with wood putty and let it thoroughly dry. Then I sanded just the areas I had filled with the wood putty until they were smooth and even with the surrounding area.
Once these repairs were completed, I moved onto the cleaning the piano.
You DO NOT want to use an intense chemical cleaner when preparing your piano for painting.
I used warm water with just a small bit of dish soap. I dipped a cloth into this water and wiped down all the surfaces of the piano that I was planning to paint. Then I wiped the piano dry with another cloth.
I repeated this process three or four time, just to make sure the piano was really good and clean.
Then I enlisted the help of my husband to disassemble what we could of the piano. We took off the panels covering the keys and the strings. We also took off the bottom panel above the foot pedals.
We then covered the vulnerable parts of the piano with a old sheet that I cut specifically to fit the area. I used painters tape to affix it to the wood of the piano to protect the keys and the parts we didn’t want painted.


Painting the Actual Piano
Once we were done with the prep work, it was time to get going on the real fun of painting the piano.
With chalk paint, it’s important to make sure the paint is thoroughly mixed. I shook my quart of chalk paint thoroughly before opening it, and I kept a paint stirrer in my can to make sure it didn’t settle.
Then I got to it. Working in small patches without overloading my brush, I put the first coat on the piano.
It didn’t take long to dry so I was able to get a second coat on fairly quickly.
You’d be surprised how easy it is to actually paint a piano. Most of the areas are large and easy to cover.
Once I finished painting the piano, I let it dry for a full 48 hours to make sure the paint was completely cured. I wanted it thoroughly dry before I took any more steps.
Distressing
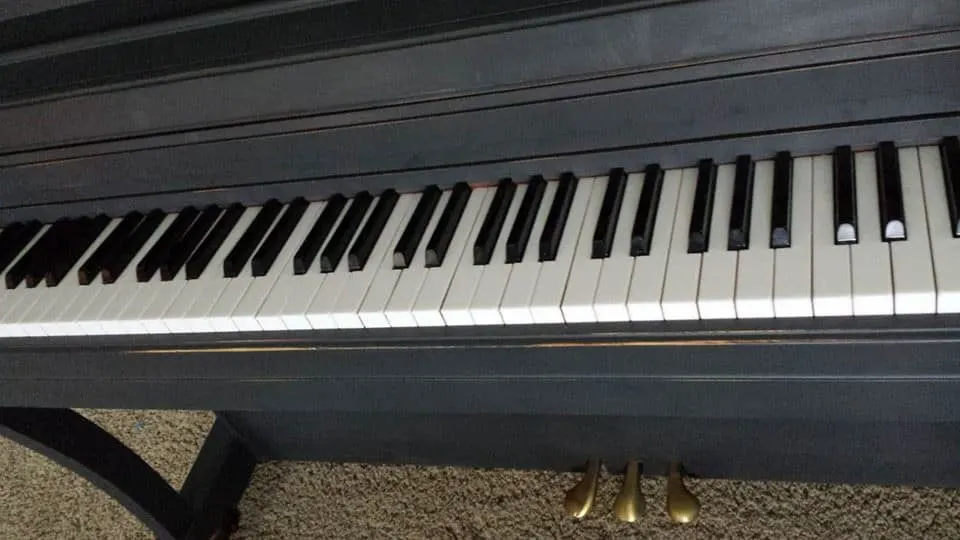
This step of the process is completely optional, but since I wanted our piano to look antiqued, I choose to distress it just a little bit to let the wood peek through the paint.
I used a very fine sandpaper, and sanded off just a little bit of paint in areas that get a lot of wear, like by the keys and the edges of the piano bench. I went really really conservative with the piano. I just wanted it to look a little bit loved.
You could really distress the whole thing if you wanted it to look really really old, but take your time!
You can always distress it more a little further down the road, but once you take that paint off, there’s no putting it back on there and getting it to look right without painting the whole piece.

If you choose to skip distressing the piano all together, that’s totally fine. It’s all about personal preference.
Finishing The Piano
There are several ways you can finish the surface after you paint a piano. You can use a lacquer for a high gloss finish, but be sure to used one designed for chalk paint. Annie Sloan makes a great one.
I choose to use an Annie Sloan wax because the process for putting it on is way more forgiving than using a lacquer.
I used a clear wax so I could keep the finish looking gray, but I could have gone with a dark wax to get a more black finish on the piano.
Waxing is relatively easy, but does require a lot of elbow grease.
Beth at Atlanta Shabby Chic recommended I use a specialized wax brush from Annie Sloan for this step. She explained that the stiffer hairs on the brush and unique shape make it easier to get the wax into all those little nooks and crannies.
She was totally right! I dabbed a little bit of wax at a time onto my brush and used a circular motion to spread it evenly. Working slowly and methodically over the entire painted surface.
Once the piano was completely covered in wax, I used cheesecloth to buff it. Beth recommended using the cheese cloth because it doesn’t leave fiber residue in the wax.
It worked beautifully. The more I buffed, the more the luster of the finish shined. I choose to do a minimal buffing because I wanted to keep the more matte finish of the chalk paint, but with more buffing, and maybe even a second coat of wax, it could “shine like the top of the Chrysler Building!”
After the buffing the piano was finished!

How Has The Piano Held Up Over Time?
It’s been over a decade years since I originally completed this project, and I can easily say that I am still thrilled with the result! I have never felt like I needed to add another coat of wax to the piano, but I have buffed it once or twice just to freshen it up a bit.
Would I paint a piano again? Definitely! Would I used chalk paint on other items of furniture? Without a doubt! Would I recommend this project to others? Of course!
Have you ever attempted anything as risky as trying to paint a piano? Let me know in the comments!
Barbara Sluis
Saturday 20th of January 2024
Like you, my spinet piano is coming from our church. My husband suggested chalk paint as its finish is really messed up, too. I'm so glad I found this page so now I know what he is talking about and what we'll need. This piano definitely will not have a blond finish when we're done! Thanks!!
Ashlie
Friday 5th of March 2021
Hi there. I just got a used piano for my son and am excited to refinish it. I have never used chalk paint but am thrilled to try it. I have refinished 2 of my homes’ cupboards, a China hutch, and many pieces of furniture. I am totally hoping that this chalk paint is as simple as you say. Yours looks wonderful. Thanks for your blog and advice!
Susan Orchard
Sunday 20th of December 2020
Thank you for sharing your experience of chalk painting your piano. Great article and it is just what I needed to hear. I too have questions if you don't mind. I have an very old Schiller Grand piano, rebuilt and refinished about 50 years ago. The top has been damaged by the sun, which I would like to chalk paint. I cannot tell that it has any sealer on it. But it is a Satan finish, dry and scaly. How would you go about matching the black color? Any ideas will be very. appreciated. Thank you.
I think I have seen only one black color per brand.
I do recommend windows with tinting as high as 99%.
I think I will sand it a bit. It doesn't have no that is not new and shiny
admin
Sunday 20th of December 2020
Unfortunately I don't think you could get an exact match for the color in chalk paint. My best recommendation would be to use the closest color to black that you can find and the finish with a dark wax. Sanding it before you paint won't inhibit the chalk paint, if you feel that the finish needs some evening out. It's just not always necessary to sand when using chalk paint, which is kind of why I like it. If you do choose to sand it, do your best to protect the inside of the piano from the sawdust to preserve the integrity of the instrument. I hope this helps!
David Oostendorp
Friday 14th of August 2020
Thanks for the tips. Tackled my daughter’s piano as my first ever chalk paint project. I was very nervous about it, but it turned out great. A tip from another site: she wanted an very smooth finish (no distressing). I thinned the paint with a little water and applied the second coat with a foam roller. I posted a link to a picture.
admin
Monday 17th of August 2020
I absolutely LOVE your finished piece! The piano looks amazing! Thanks for the extra tip about that finish. I'll have to try that on my next chalk paint project.
Elizabeth Fernandez
Saturday 1st of August 2020
My father bought a piano for me when I was a kid. I no longer use it, but it has great sentimental value because he died some years ago. It has a glossy finish so I've been reluctant to take on a painting project. I had a question about your instructions. You say that you removed the panels covering the keys "and the strings". Are you referring to the inner strings that are struck by the keys? I'm not clear about that. I could use your help on these issues if you have the time. Thank you. P.S. your piano looks exquisite!
admin
Monday 3rd of August 2020
Hi! Sorry that wasn't clear. Yes, we are referring to the panel that covers the inner strings. On our upright, it's the panel that the music leans against when it's being played. Basically anything we could take off and put back on with little work, we took off to paint separately.
Happy Painting!