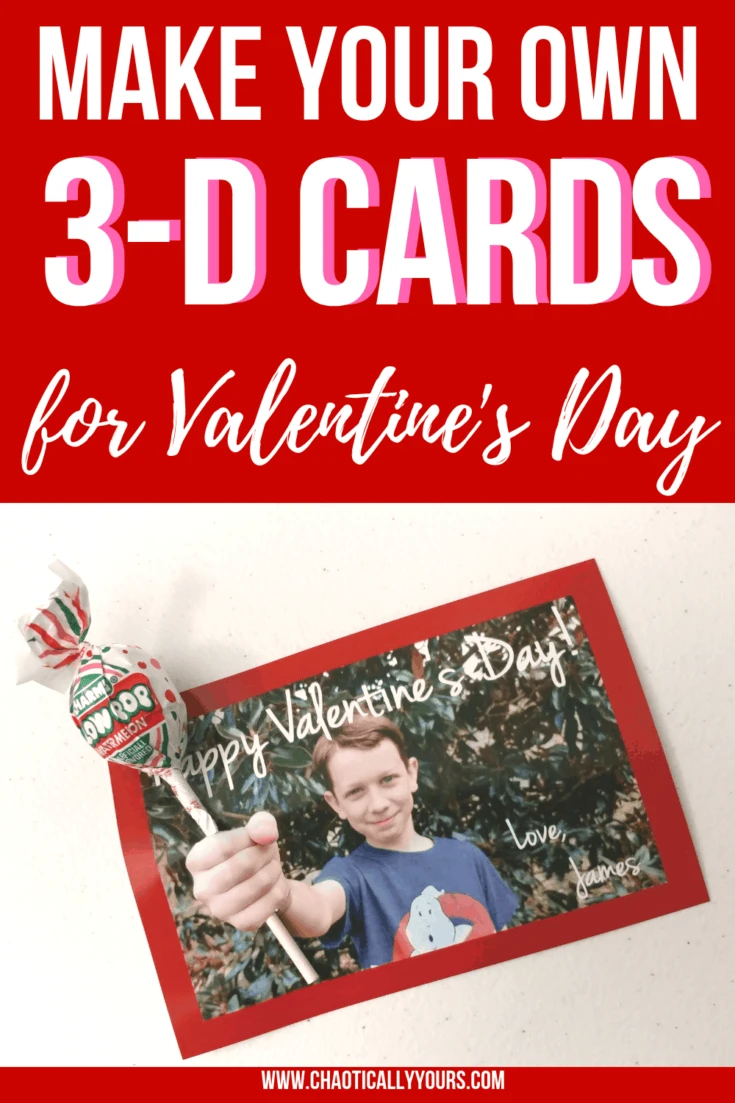
My kids and I have been making this super easy, super fast 3D DIY Valentine cards for several years now and they are always a HUGE hit in their classrooms!
The simple 3D optical illusion is super popular and fun to make.
I like them so much better than traditional style Valentine pop-up cards because, with this method, the part that’s popping out is actually the candy!


They also take almost ZERO craft skills, but turn out to be super impressive!
All you need is a few basic supplies and you can make the most memorable homemade Valentine card your class has ever seen.
DIY Valentine Cards Supplies
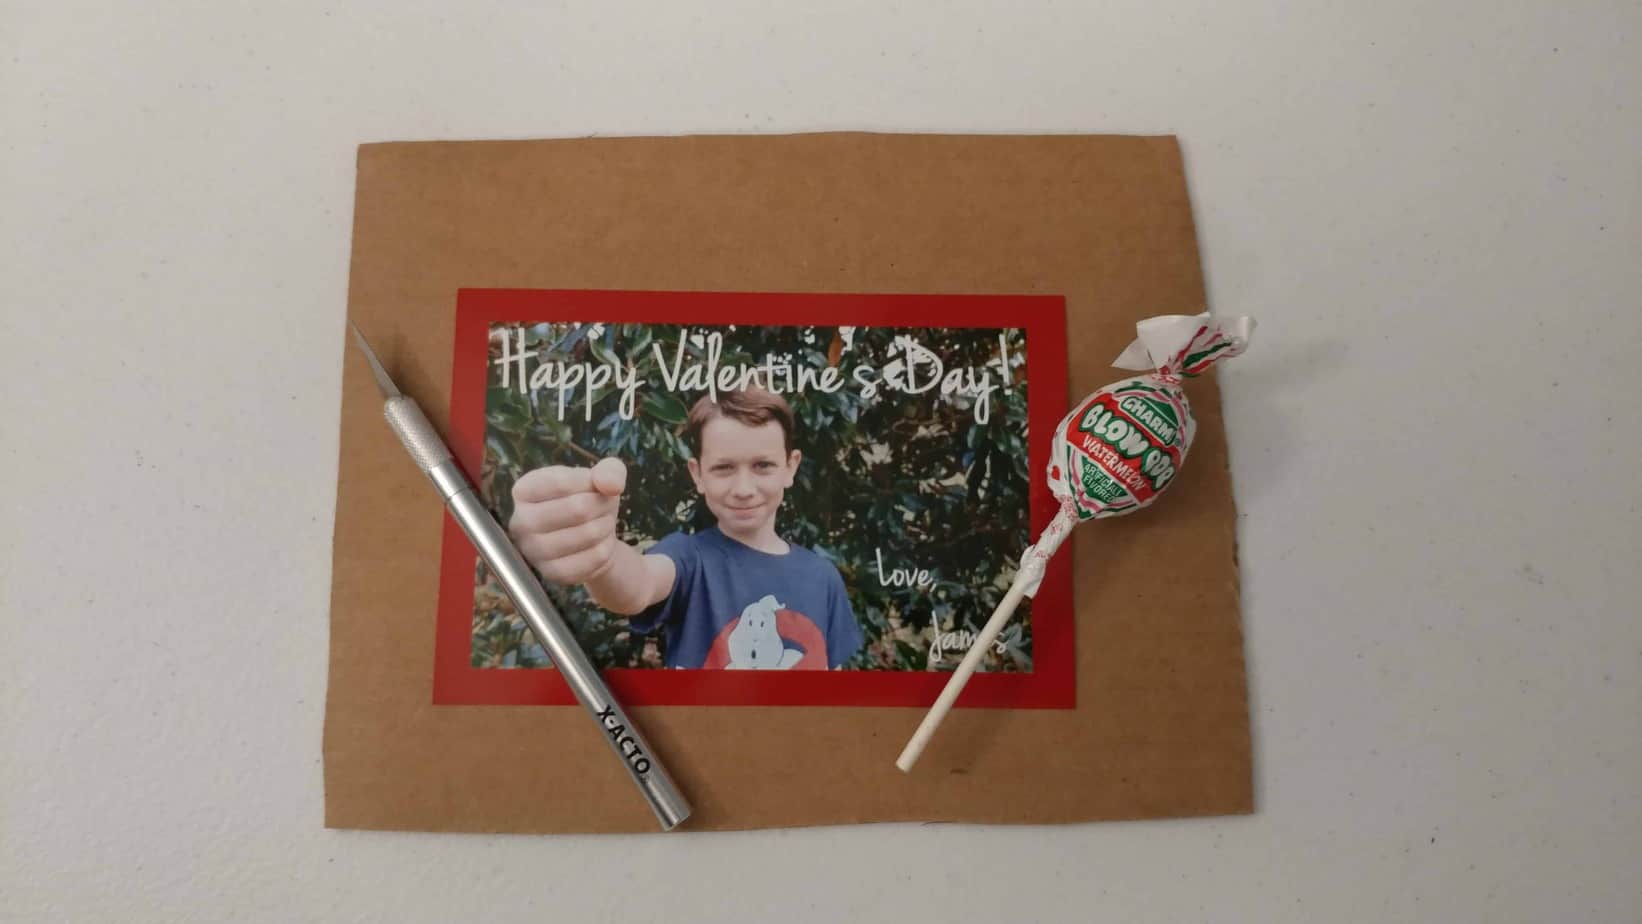
What you’ll need:
- a camera (I used the one on my phone, so it’s not pictured)
- lollipops (we love Blo-Pops around here, but any candy on a stick will do!)
- an exacto-knife or a razor blade
- printed pictures (that I’ll tell you exactly how to take)
- a piece of scrap cardboard
How to Take the Picture for your 3D Valentine
Take a close up shot of your child holding their fist directly out in front of them.
For the most realistic shot, focus your camera on their hand, not their face.
I always take several, just to make sure I’ve got at least one awesome shot.
If you want to, use your favorite photo editing program or app to add a border and a personal Valentine’s message to the picture.
Even if you don’t fancy up your DIY Valentine cards with a border or anything, you can still have your child sign the back of the picture with a permanent marker to personalize them. Either way they are SUPER cute!
Once you’ve got your perfect picture, send them over to your preferred picture printing service, making sure to get enough copies for every person you want to give one to.
I’ve used Shutterfly.com and Snapfish.com when I’ve had time to wait, but when I’ve procrastinated to the last minute, the one hour photo at CVS has come in handy!
If you really want to do it all at home, you could print your image on cardstock from your own printer. We just really like how the glossy photos look.
Create Your 3D Effect
Once you’ve got your pictures back, you’re ready to put your 3D DIY Valentine Cards together.
To get started, place a single picture on top of that scrap piece of cardboard.
This will prevent damaging any surface below as you cut the cards.
Cut a small slit in the paper exactly at the top and at the bottom of your child’s fist in the picture.
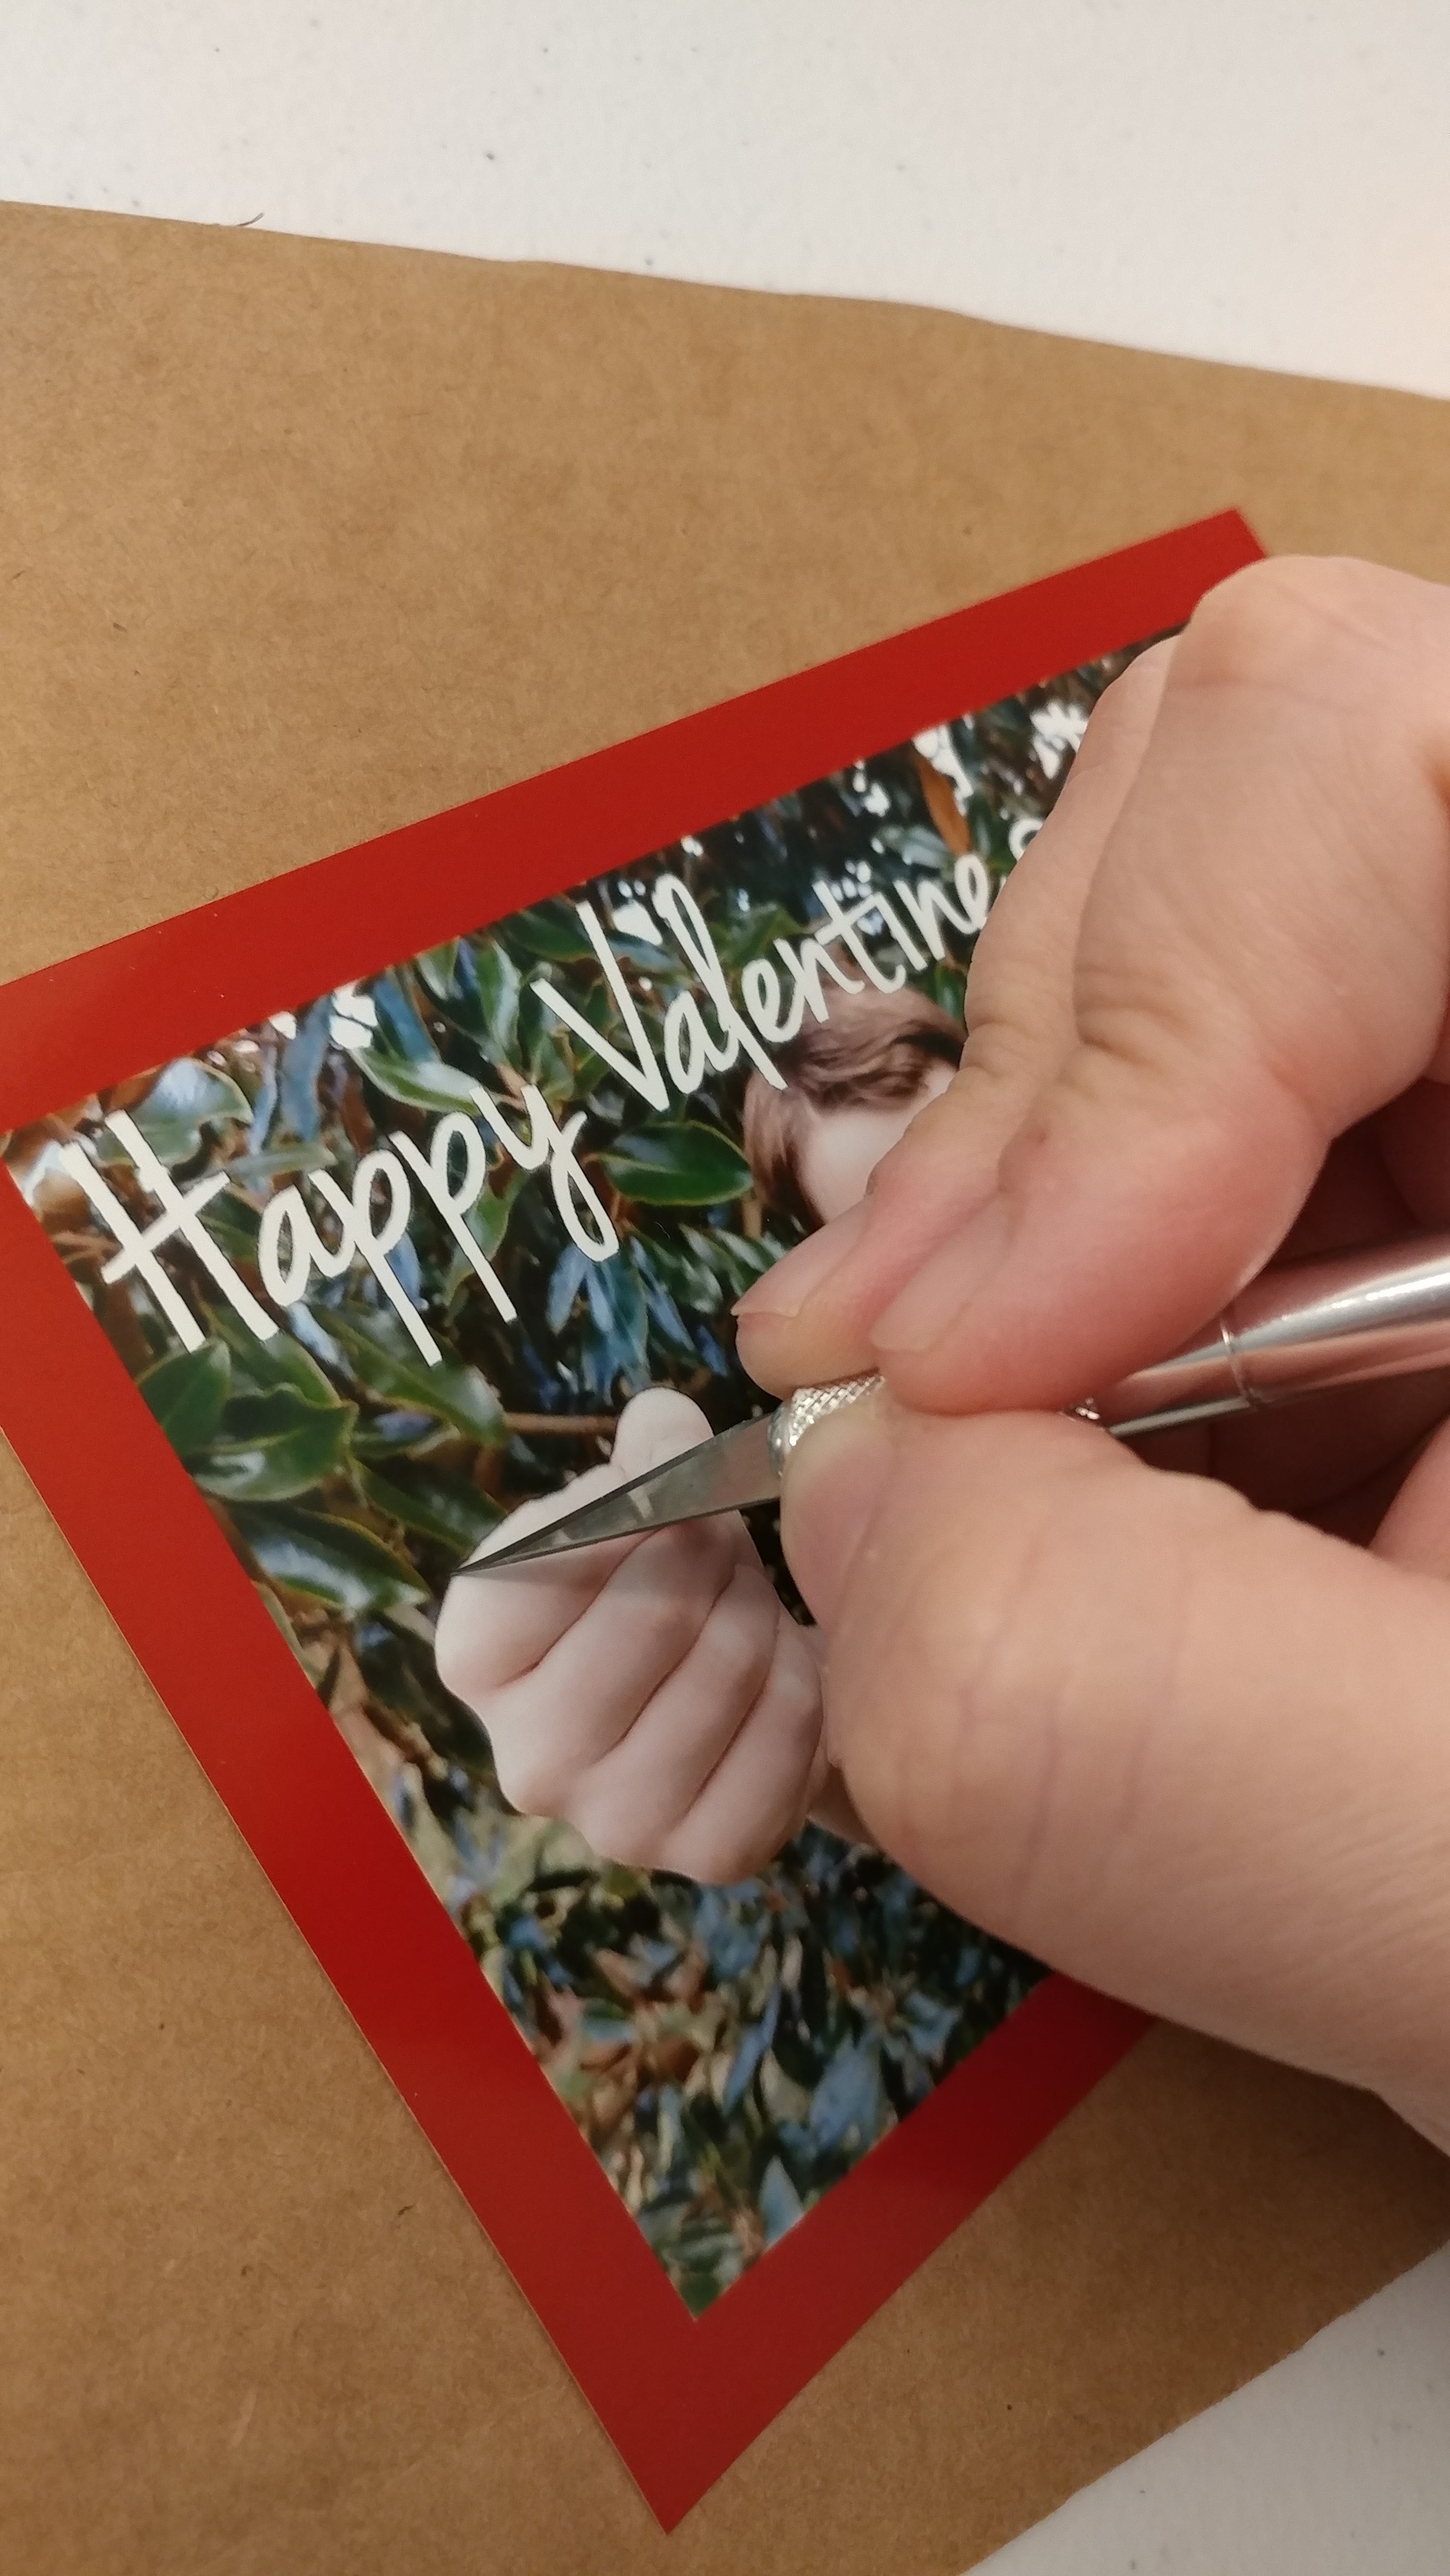
The slit will need to be about three times as wide as the width of the lollipop sticks you’ll be using to make sure there’s enough room to thread it through without tearing the picture.
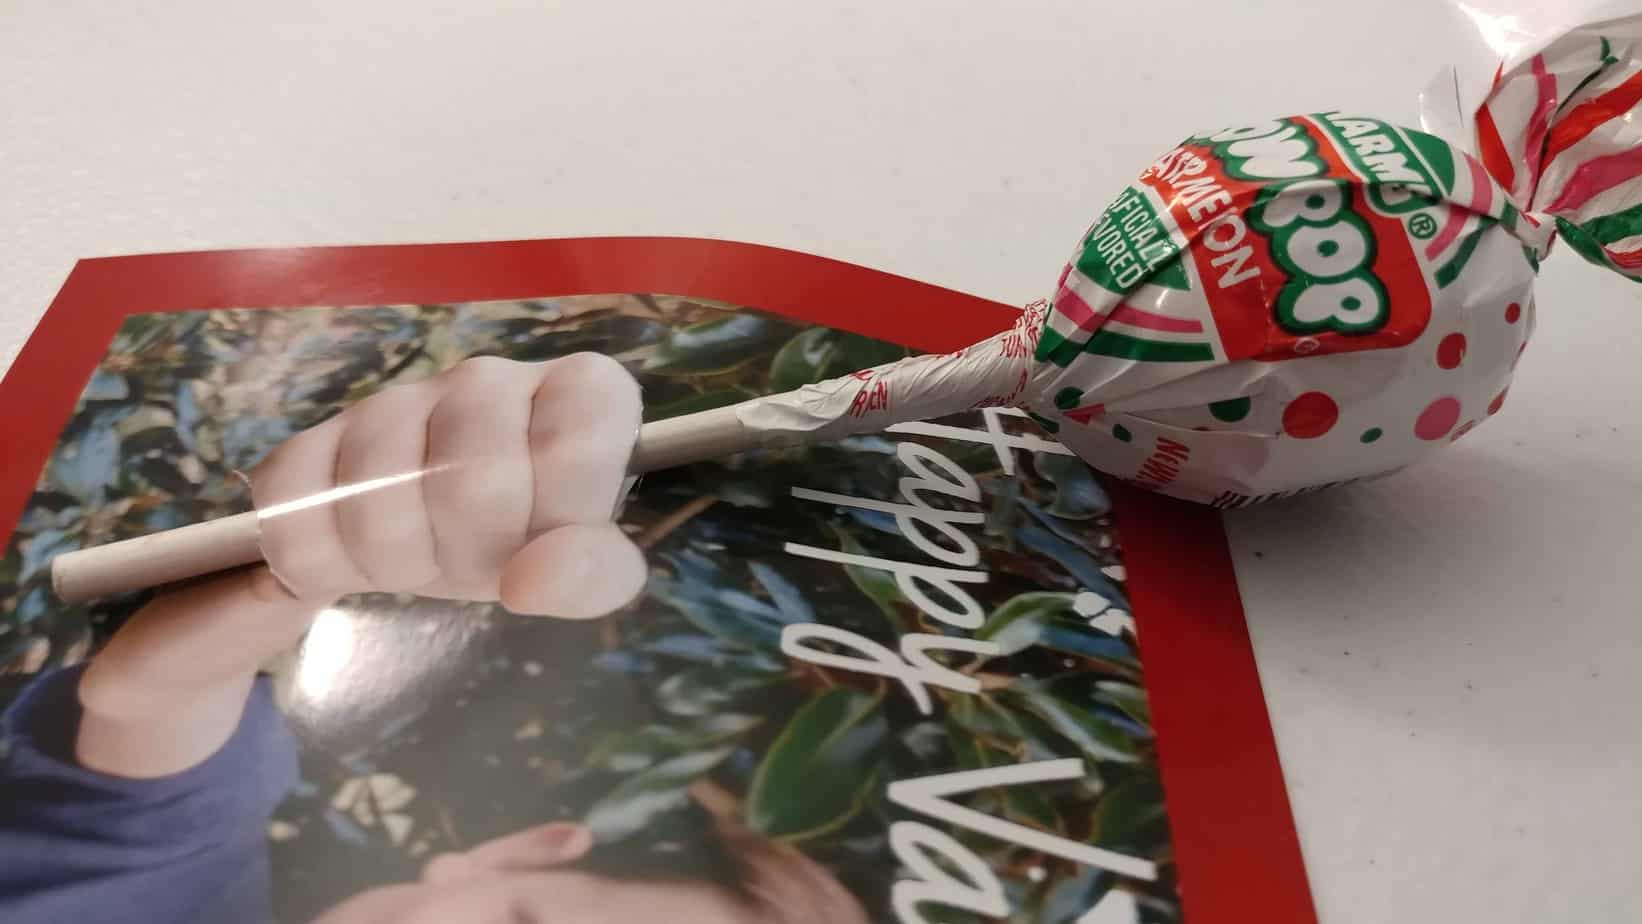
After you’ve made your cuts, thread a lollipop stick through the picture, creating the illusion that your child is handing the candy directly to the recipient of the DIY Valentines Day card.
Once you get the hang of it, it only takes a few seconds to cut each picture. Repeat this method for each one, and pretty soon, you’ll have a pile of 3-D Do It Yourself Valentine cards!
It’s seriously that easy!
I’ve used this idea year after year to create adorable 3D homemade Valentines Cards for my kids to bring into their class parties, and it never fails to be a huge hit!
They’re quick and easy to assemble and make a great impression!
Have you made these 3D DIY Valentine’s Cards? I’d love to hear how they turned out in the comments!
Learn how to make your own bleach stencil t-shirts in my next post!
3D DIY Valentines Cards

Make a whole stack of these optical illusion DIY Valentines Cards in just minutes!
Materials
- Lollipops with Straight Sticks
- Printed Pictures
- Scrap Piece of Cardboard
Tools
- Camera
- Exacto Knife or Razor Blade
Instructions
- Take a quick close up shot of your child holding their fist directly out in front of them.
- Send them over to your preferred picture printing service, making sure to get enough copies for every person you want to give one to.
- Once you've received your pictures, place a single picture on top of that scrap piece of cardboard.
- Cut a small slit in the paper exactly at the top and at the bottom of your child’s fist in the picture.
- Thread a lollipop stick through the picture, creating the illusion that your child is handing the candy directly to the recipient of the DIY Valentines card.
Notes
Use caution with razor blades or exacto knives. Do not let children handle them for the cutting portion of this project.
Sara
Friday 10th of February 2023
Thank you so much! Such a cute idea.
Louise Emery
Wednesday 15th of February 2023
You're so welcome! I'm glad you enjoyed it!