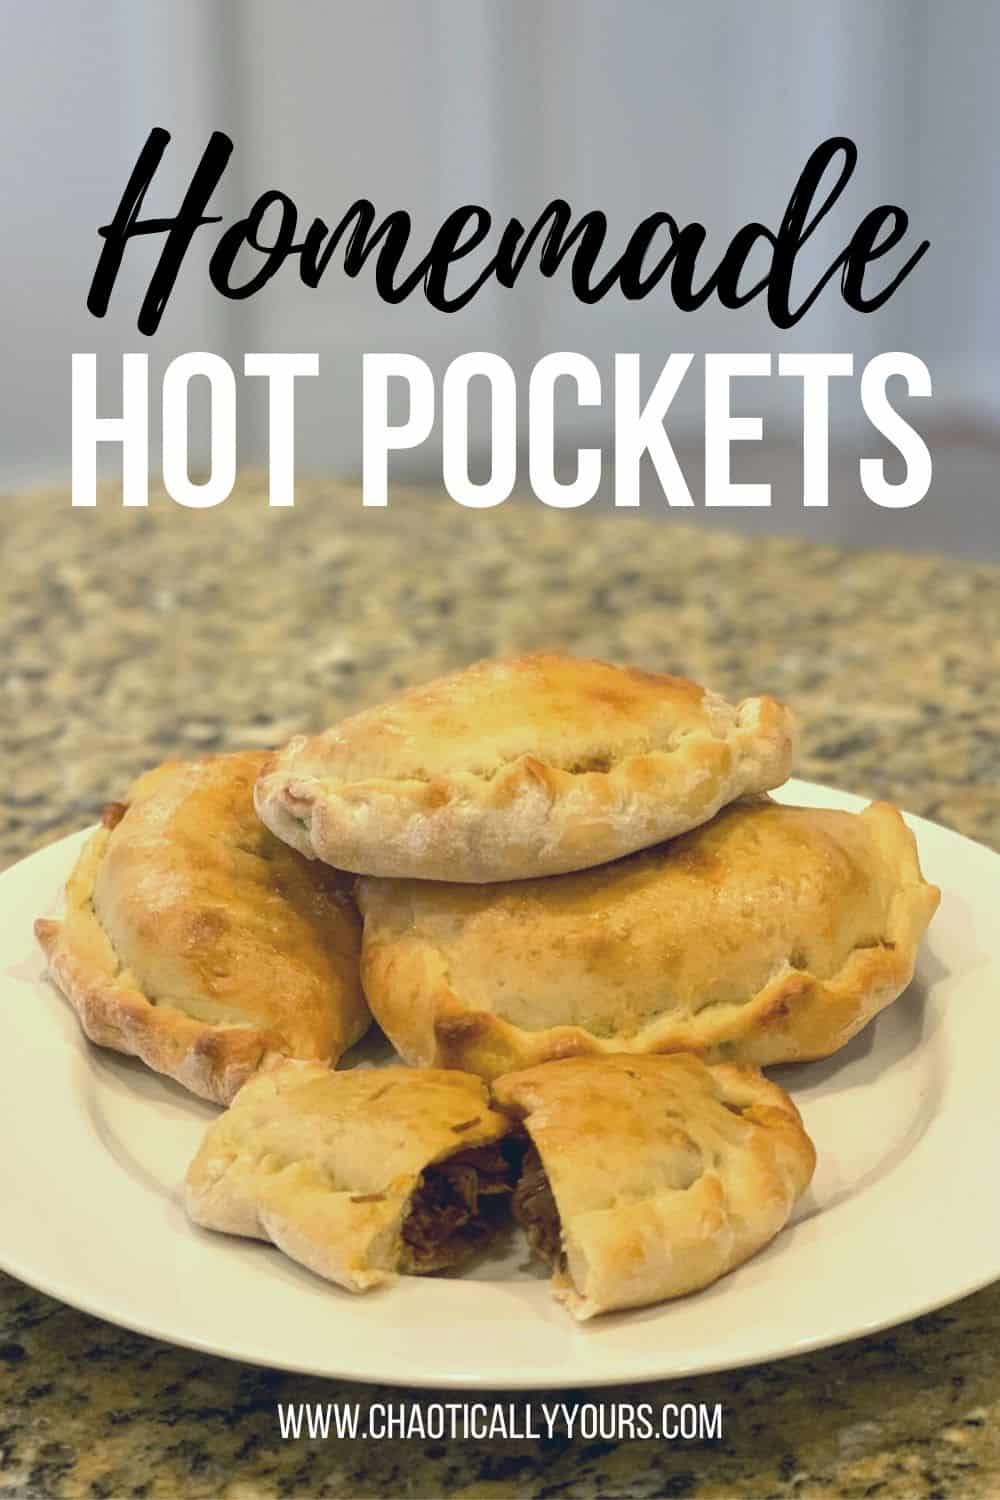
Homemade hot pockets are the perfect make-ahead meals for a quick lunch, dinner or even breakfast!
Admit it.
When you read the words “hot pockets,” you sang it like they did in the 90’s commercials.
Like most of us, hot pockets were a mainstay of my diet from my teenage years through my early 20’s.
The convenience of just tossing your favorite flavor into that cardboard sleeve and zapping it in the microwave for a couple of minutes could not be beat.
That hot, melty, cheesy flavored goodness still brings back memories.
Links in this post may be affiliate links, which means I may earn a commission if you make a purchase from any of them. You can read my full disclaimer HERE.

Now as an adult, I’m trying to avoid a lot of processed foods, and want to provide a healthier diet for my kids. But I still want that super fast lunch of dinner available for the crazy schedule we normally maintain.
To solve this problem, I make homemade hot pockets. They’re super easy to put together, and super customizable to exactly your tastes!
Plus, by making homemade hot pockets instead of store bought ones, you can avoid preservatives and make them to fit your own dietary needs.
Homemade Hot Pocket Fillings
My kids absolutely love these, so I usually make a whole bunch of them at once, filling them with all their favorites.
Pepperoni pizza is always a popular filling in our house, but I’ve also been known to fill them with taco meat, ham, or even scrambled eggs and sausage.
Of course every one of ours gets a generous service of an appropriate type of cheese as well! It’s not a hot pocket without molten lava cheese!I like to get creative with whatever I have around the kitchen, experimenting with new flavors.
I’ve actually found that making homemade hot pockets is a great way to use leftovers! Sometimes I’ll actually make extra dinner just to use the leftovers to make hot pockets the next day.
I’ve also really been wanting to make a dessert version of this recipe, and I plan to use this fried apple recipe from my friend Kenya, over at Kenyarae.com for the filling!
Today, I made homemade hot pockets with one of our favorite fillers: barbeque beef and cheddar.


The ingredients are super easy to bring together.
Basically, all you need is pizza dough and whatever fillings you want.
To save time, I usually pick up a few balls of pizza dough from my local grocery store, but you can easily make your own! Nicole, over at OrWhateverYouDo.com has a great, versatile pizza dough recipe that can be found here.
I can usually get six to eight hot pockets out of each ball of pizza dough, depending on how thick I want the crust to be.
It’s really a very simple process. Just divide the dough, roll it out, fill it up with whatever you want, and bake!
A few tips for making homemade hot pockets:
Keep some flour on hand when you’re rolling out each piece to help the dough keep from sticking to your surface or your rolling pin.
With whatever filling you use, you’ll want more sauce and cheese than will probably seem reasonable. The baking process can really dry out the moisture in each pocket, so you’ll want extra.
Don’t over fill each homemade hot pocket. Leave some room around the edges to seal up each pocket.
Seal up the pockets by pinching together the dough along the open edge.
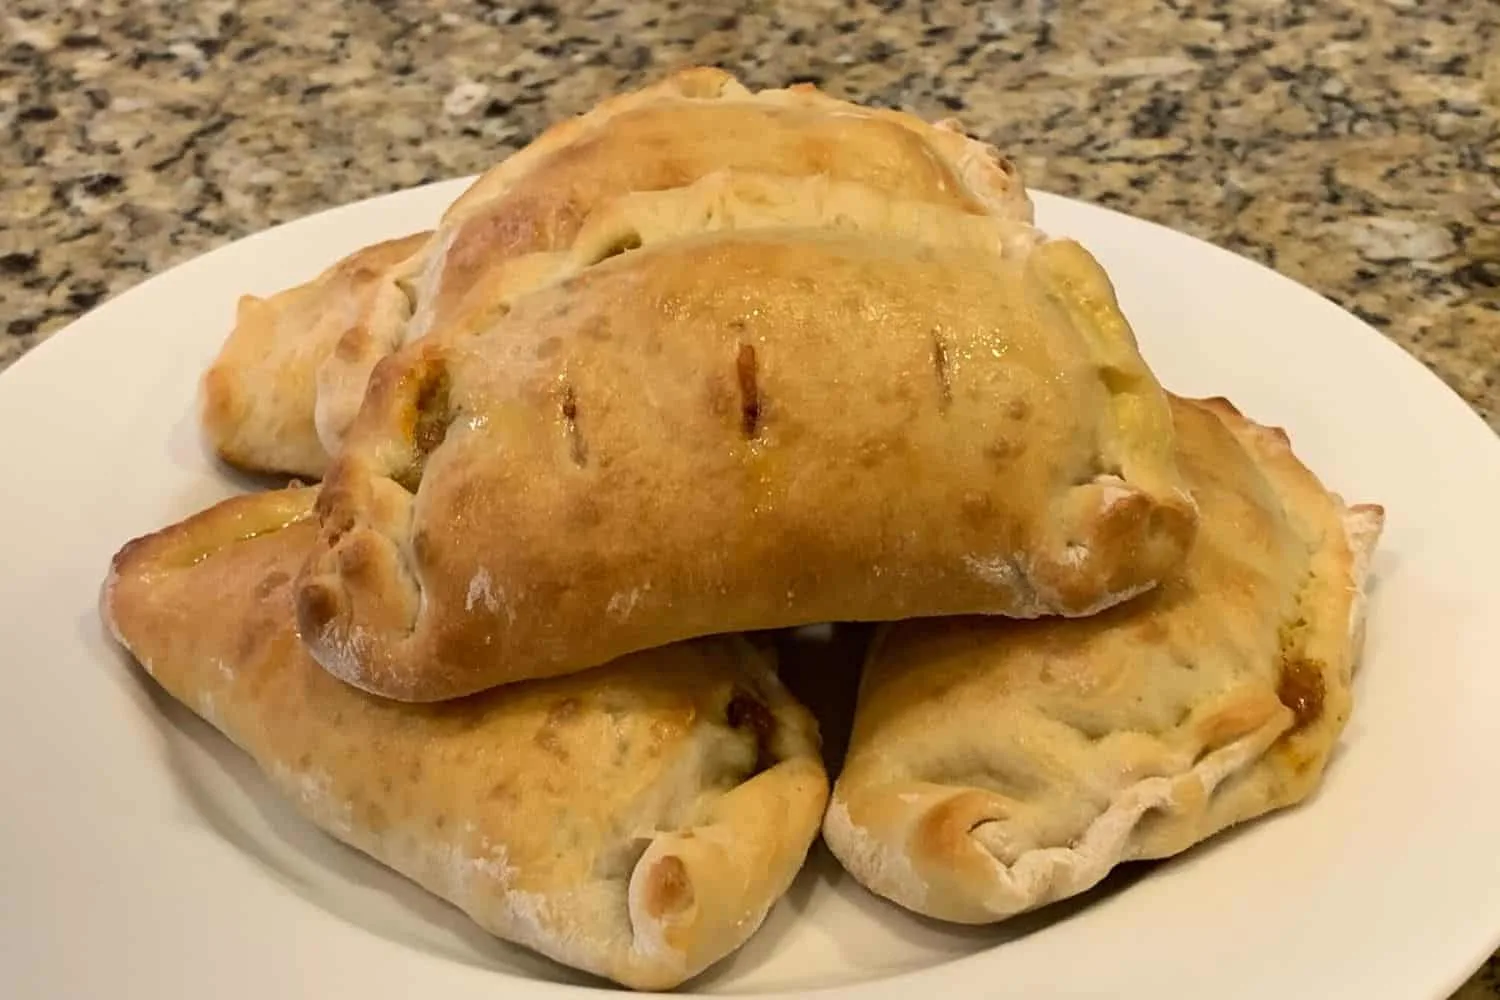
Putting a little egg wash on each homemade hot pocket before baking gives them a nice brown top.
Be sure you cut a small hole or two in the top of each pocket to let the air release while they’re cooking.
I make these in large batches, then freeze them individually.

A FoodSaver makes this process SO easy!
A few years back, we purchased a FoodSaver system, and I cannot tell you how much I love it!
I use it ALL. THE. TIME. and it works like a dream!
It’s perfect for packaging these homemade hot pockets, but so useful for some many other things!
I frequently make double batches of dinners and use my FoodSaver to freeze half of it for another night.
I’m able to buy meat in bulk and save a bundle by repackaging it in smaller amounts for use later.
The possibilities are endless.
The exact model I use can be ordered here:
A few more tips…
If you’re planning to freeze your homemade hot pockets, let them cool completely before vacuum sealing them or packaging them for the freezer. This will help keep them from getting soggy when you reheat.
Always make sure you label them with what you put in them! Nothing worse than wanting ham and cheese, but getting taco when you go back to eat one.
Once you’ve put them in the freeze they can last up to 6 months if they’ve been packaged correctly.
That’s one of the reasons I love my FoodSaver so much! It prevents freezer burn and keeps foods like these beautifully!
When you’re ready to eat them. Simply pop them in the microwave for one to two minutes, and enjoy!
Homemade Hot Pockets - BBQ Beef & Cheddar


Make your own hot pockets to freeze and eat whenever you want! Make BBQ Beef & Cheddar, or see the variations at the bottom for other fillings.
Ingredients
- 16 oz ball of Pizza Dough
- 3 cups roast beef - shredded
- 1 1/2 cup barbecue sauce
- 1 1/2 cup cheddar cheese
- 1 egg (Optional)
- 1 tbs water (Optional)
Instructions
- Preheat over to 400°
- Mix shredded roast beef with barbecue sauce
- Cut pizza dough into 8 equal pieces
- Roll out each piece until it's about 6 to 8 inches wide
- Place a ¼ to ½ cup of beef mixture onto dough
- Top with desired amount of cheese
- Fold one side over, making a pouch
- Pinch open sides of dough together
- Cut slits into the top to release air during cooking
- Place pouches on baking sheet
- (Optional) Mix egg with water and brush egg mixture on top of each pouch
- Bake at 400° for 20 to 25 minutes
Notes
If you're planning to freeze them, cool completely before packaging.
Filling variations include:
Pizza toppings
Taco Meat and Cheese
Sausage, Egg, and Cheese
Ham and Cheese
Nutrition Information:
Yield:
8Serving Size:
1Amount Per Serving: Calories: 403Total Fat: 14gSaturated Fat: 6gTrans Fat: 0gUnsaturated Fat: 7gCholesterol: 89mgSodium: 1450mgCarbohydrates: 41gFiber: 1gSugar: 13gProtein: 26g
Laurel Emigh
Thursday 27th of August 2020
Great for those of us who are dairy sensitive.